Cleaning and disassembling the Maschine MK2
The Maschine MK2 is a trustworthy drum pad but if you found a unit second hand or had yours for a while, chances are the Maschine has accumulated a fair share of dust residue. It’s pretty common for those things to build up over time and thankfully cleaning and disassembling the Maschine MK2 isn’t that difficult, if you prepare yourself with a few things and most importantly, take your time when you are taking apart something new. Because of this brave producer’s video I was brave enough to finally crack open my Maschine MK2 after issues with a few pads and an encoder. Specifically, when I was auditioning, the encoder would need to be turned a lot to change a selection and just skip around. Also the bottom pads were clearly unresponsive at low velocities.
Disassembly
Disassembly is a simple matter of 14 screws on the bottom of the unit. First, get a large and small Phillips screwdriver, some 99% alcohol for cleaning, as well as some paper towels and some light soapy water. Some Deoxit fader is also great to have for encoders if they are skippy or gritty. It’s specially formulated and conditions and cleans pots and faders. If you are going to be cleaning and disassembling the Maschine MK2 you might as well go for some deoxit fader. If you are having issues or have a lot of hardware to maintain it’s a good buy but at over $35 a can, it’s not cheap.
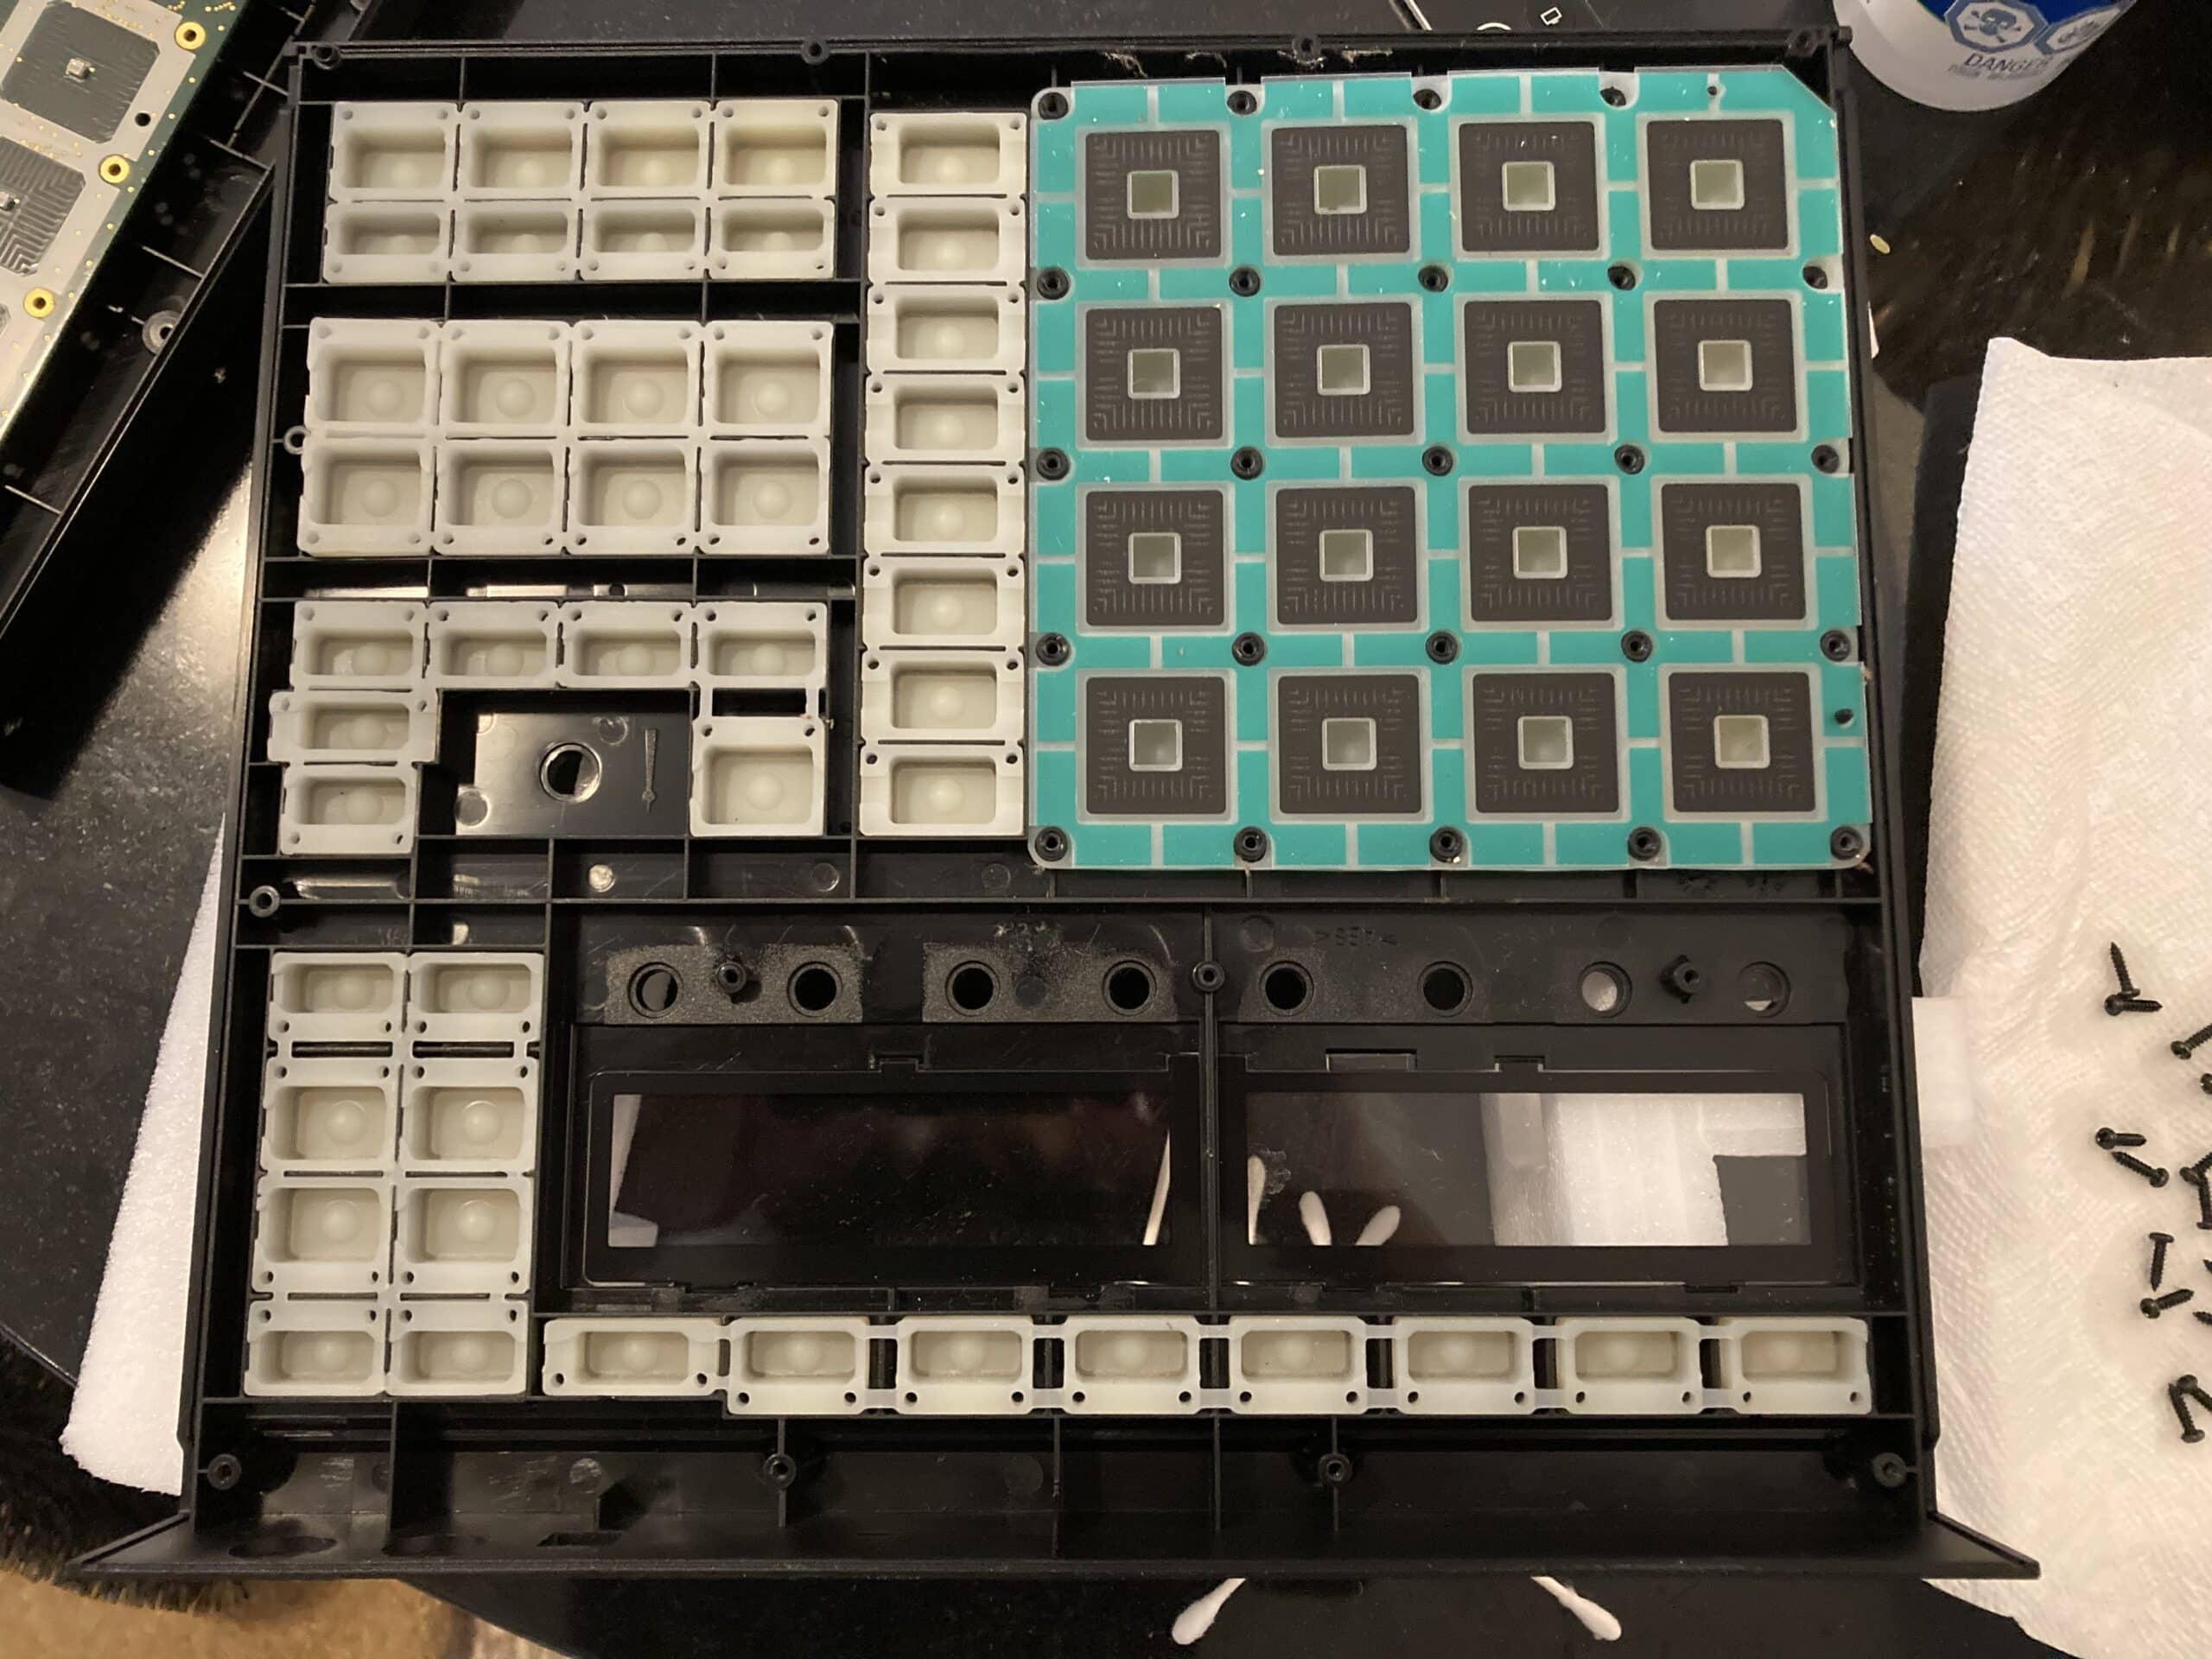
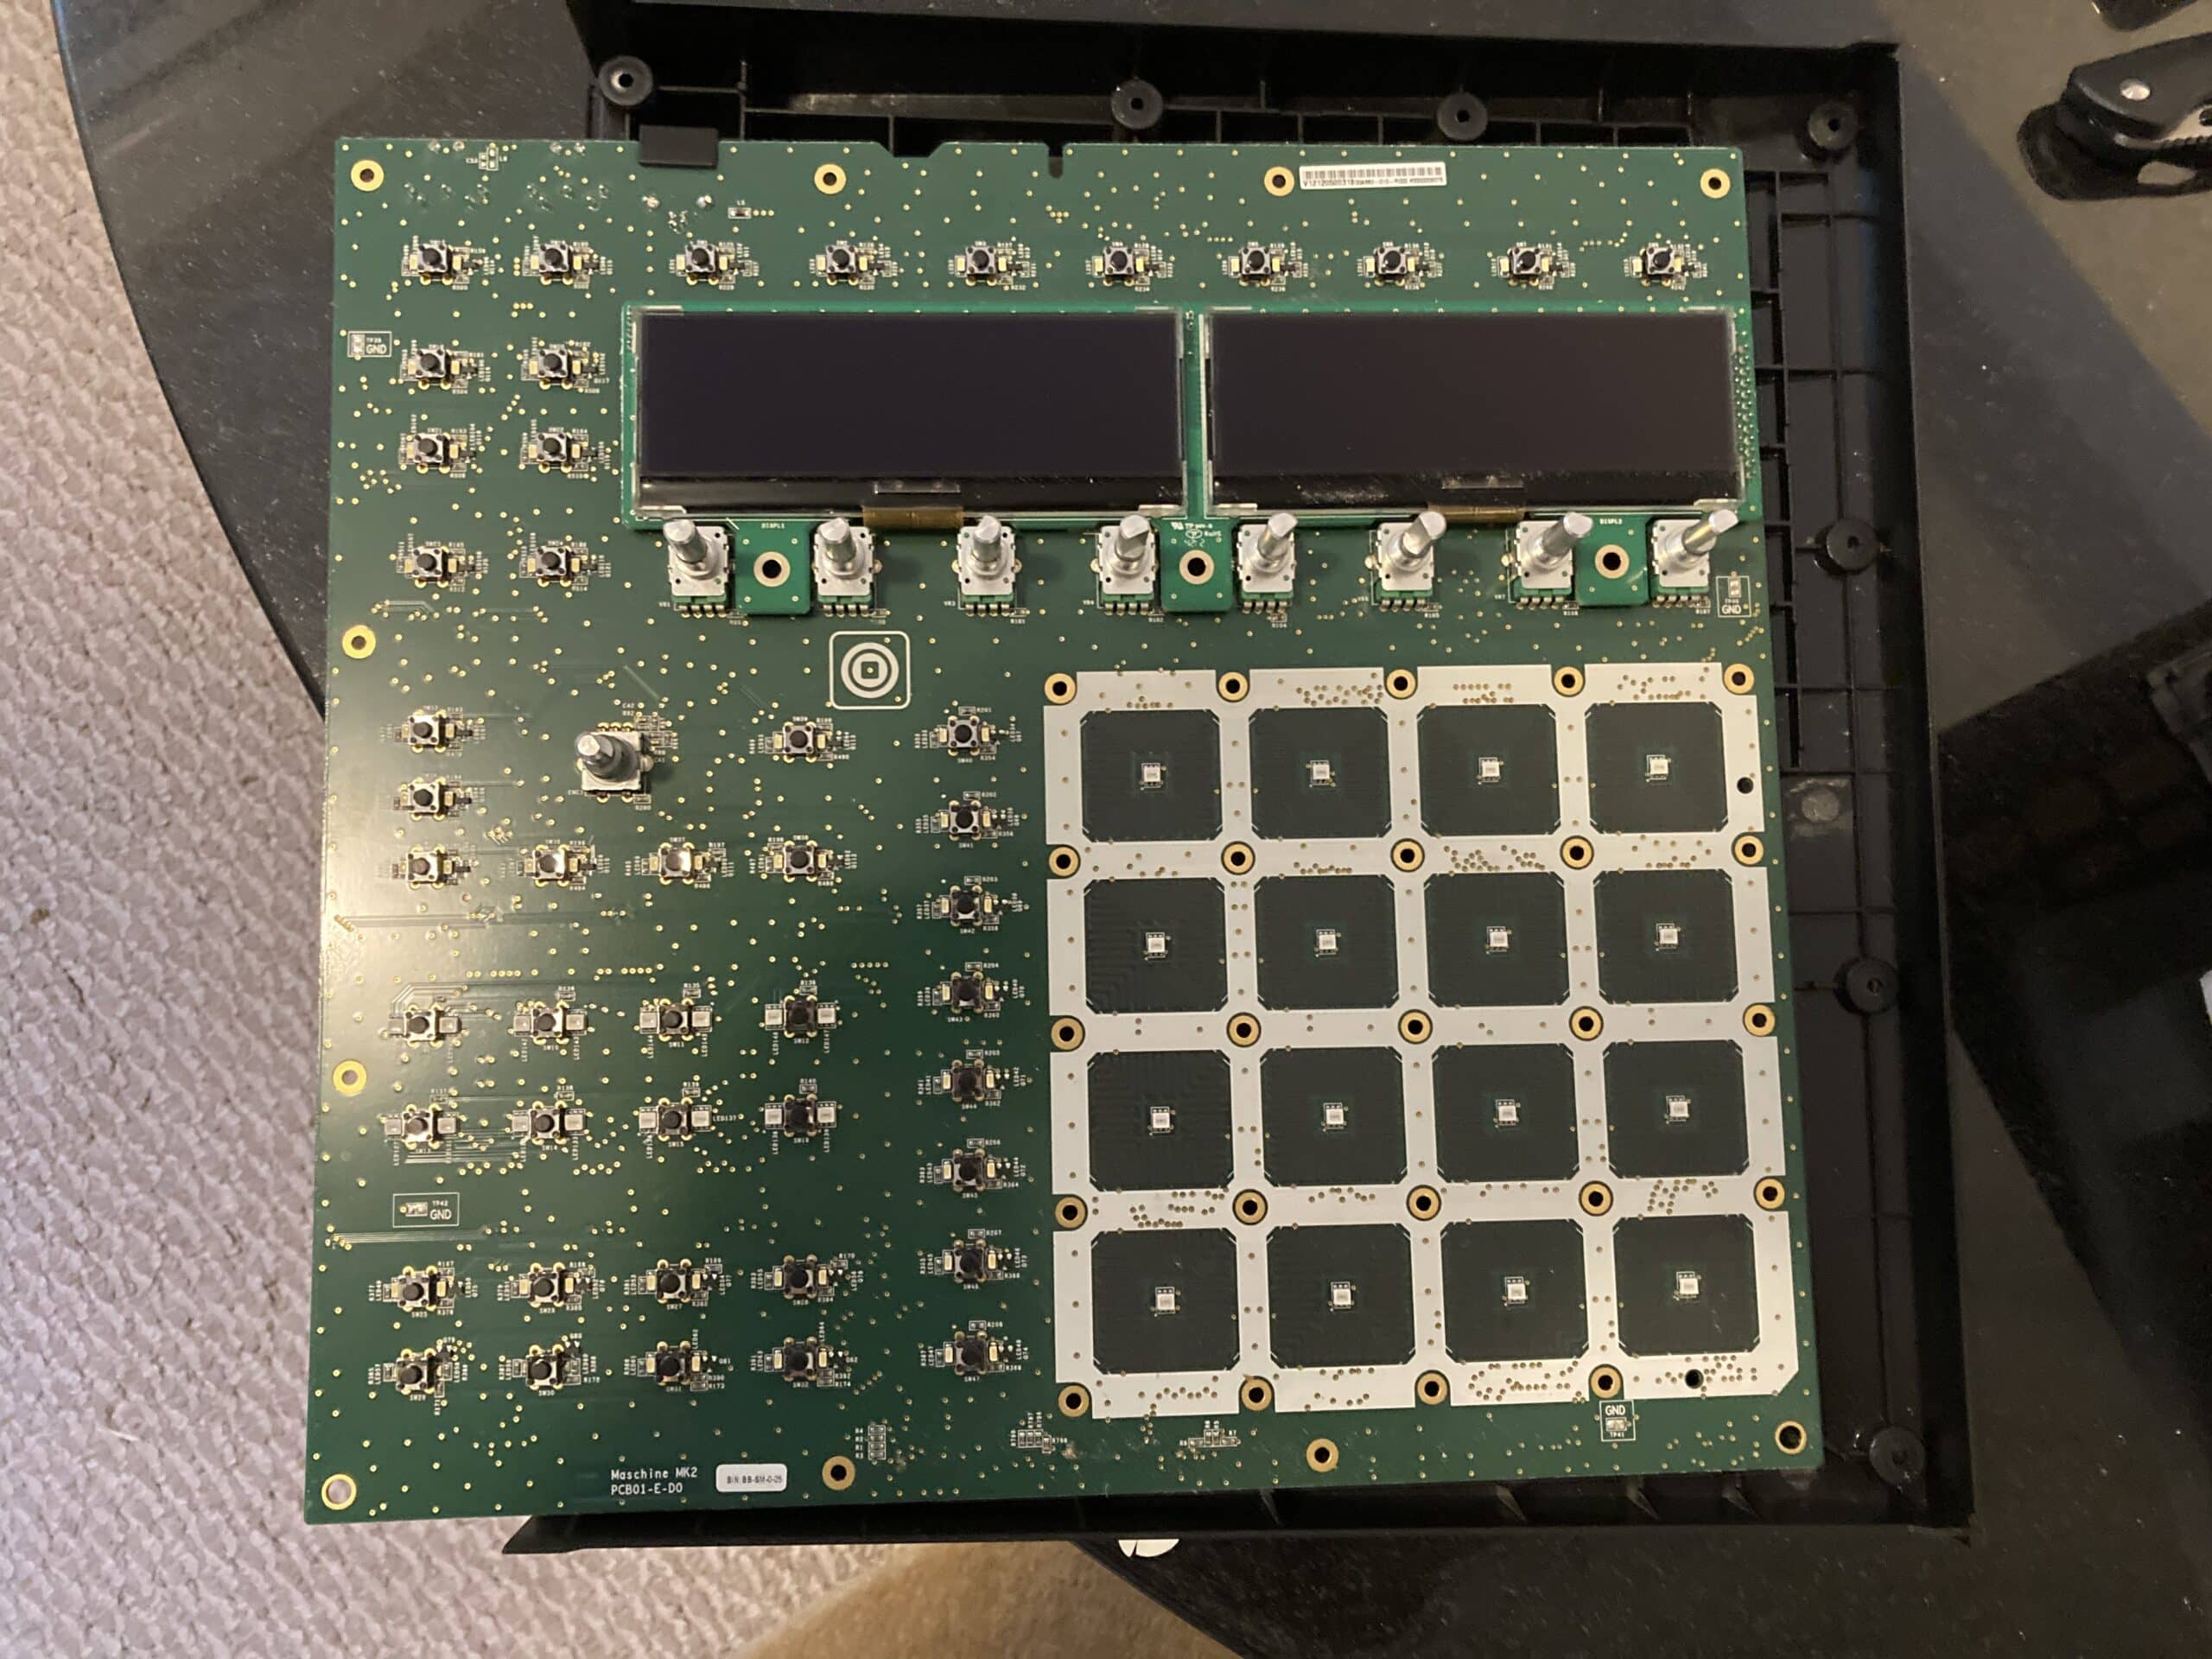
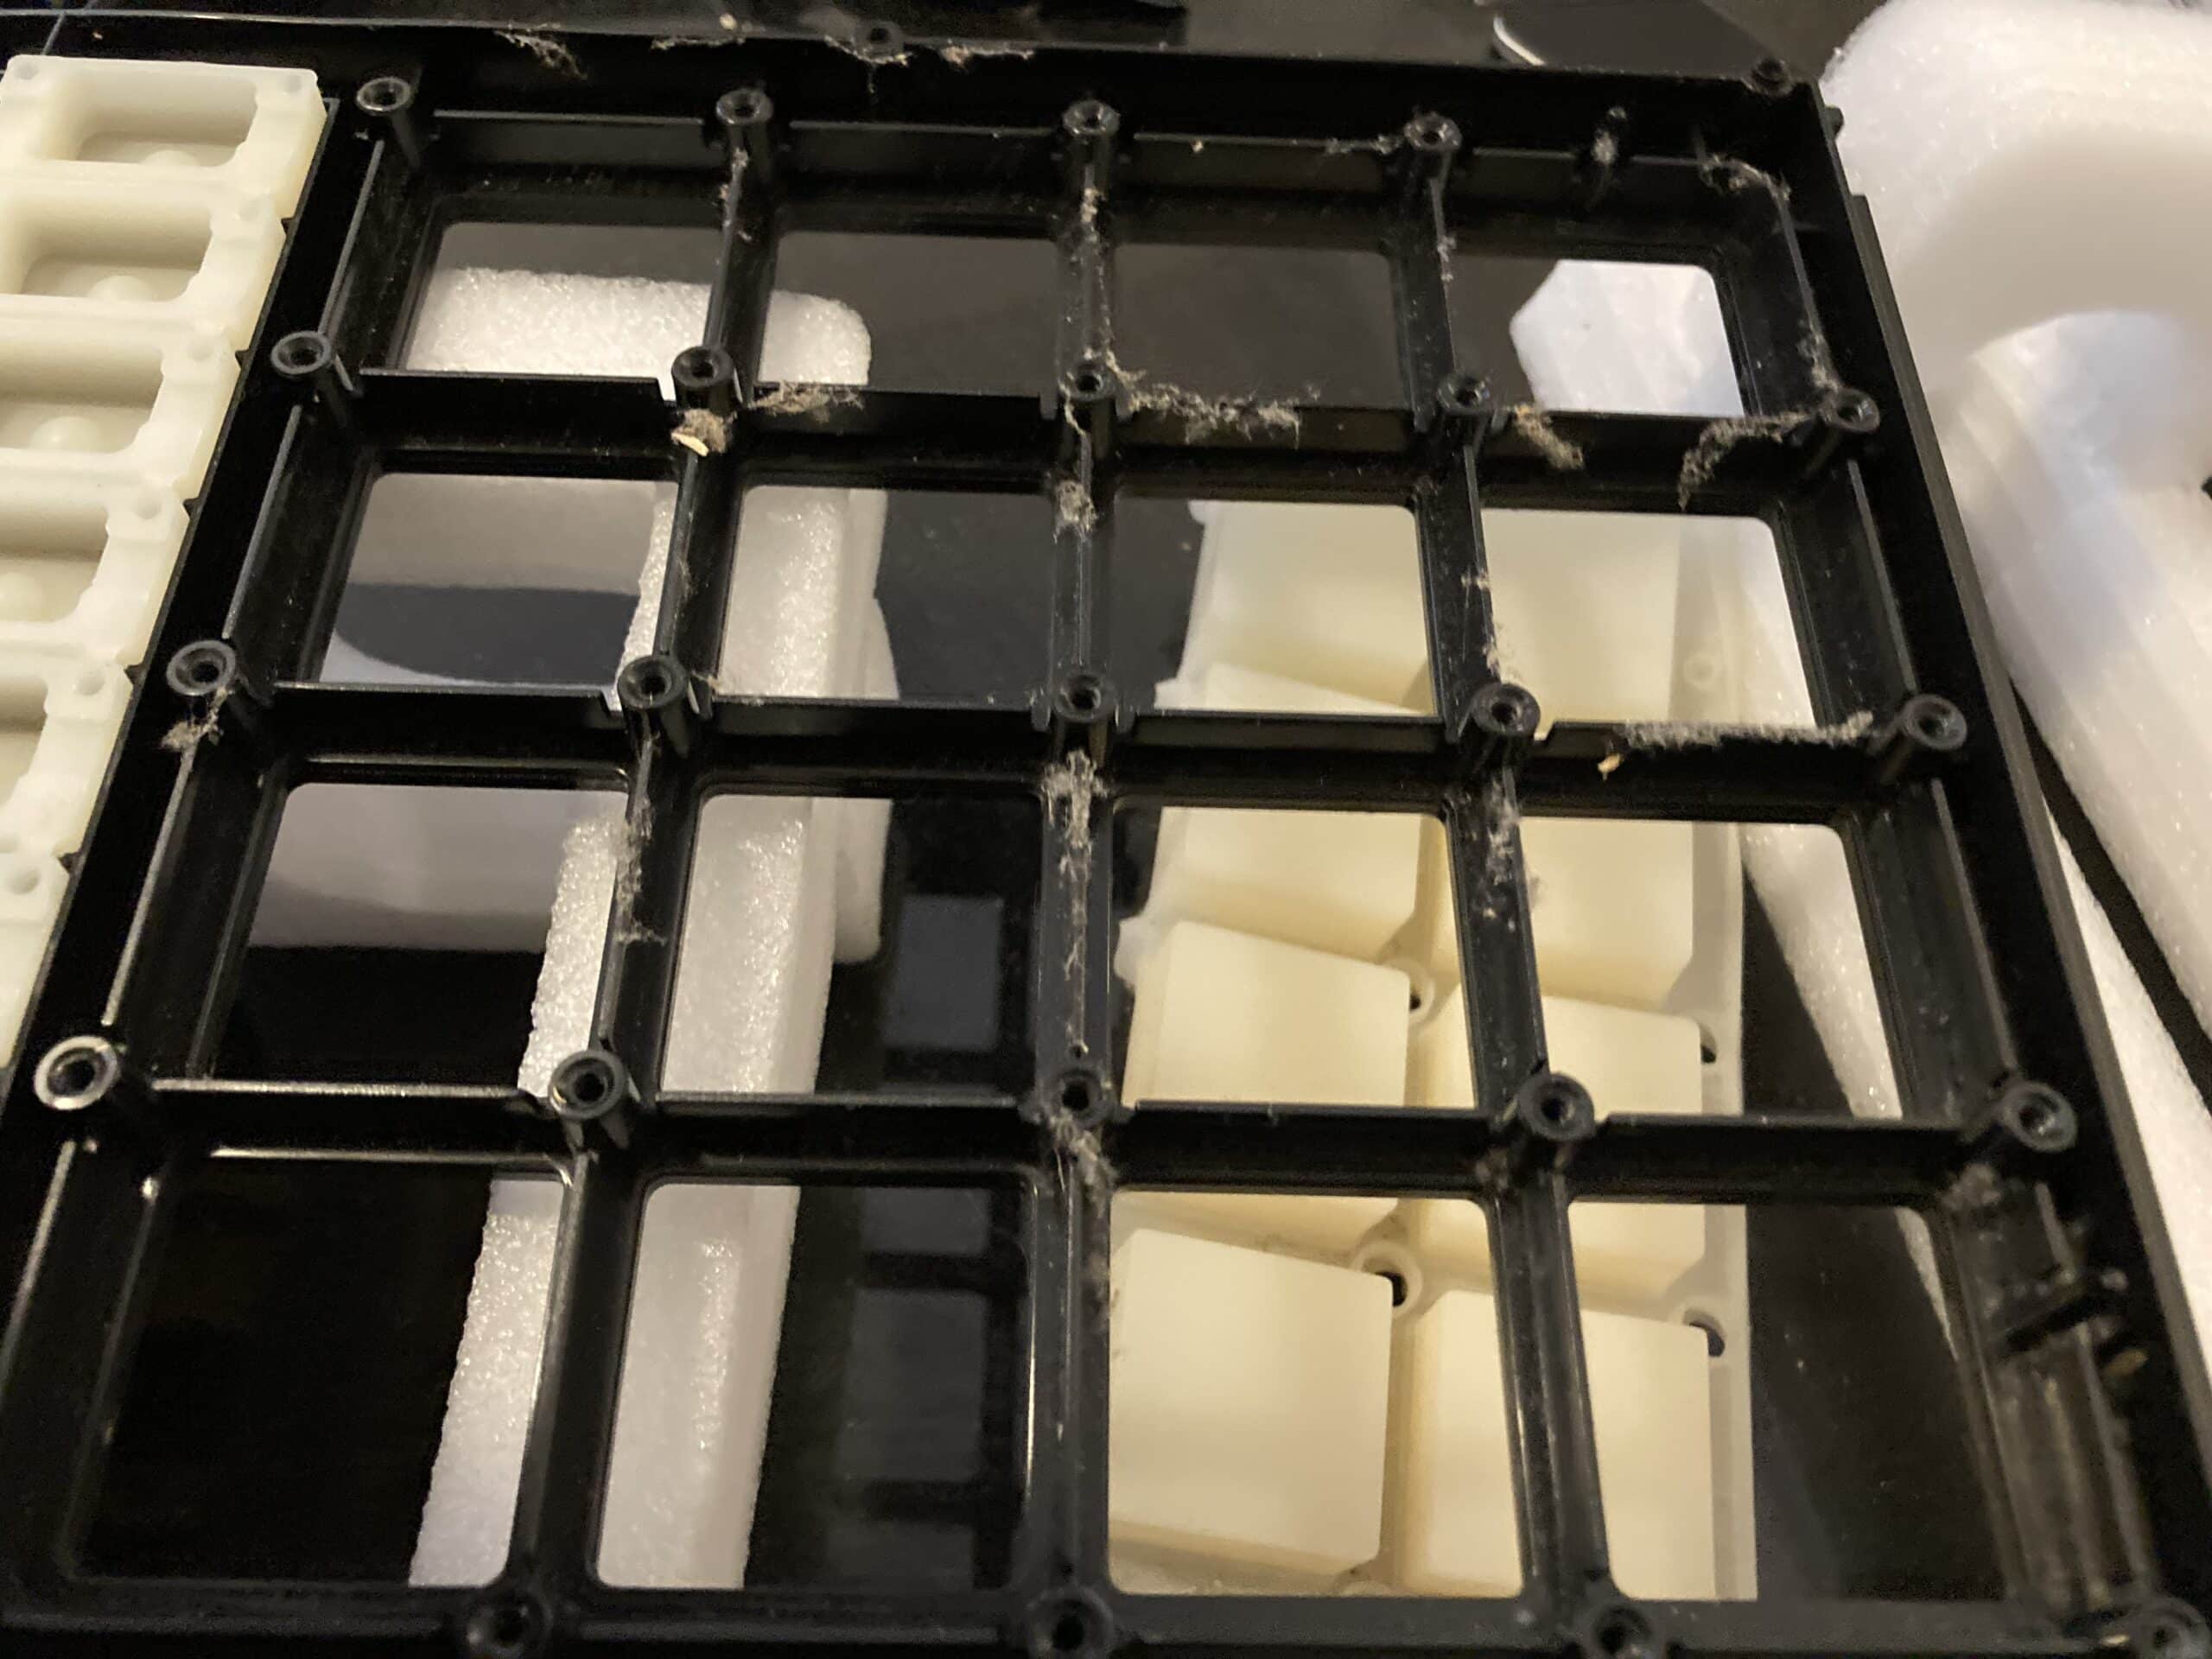
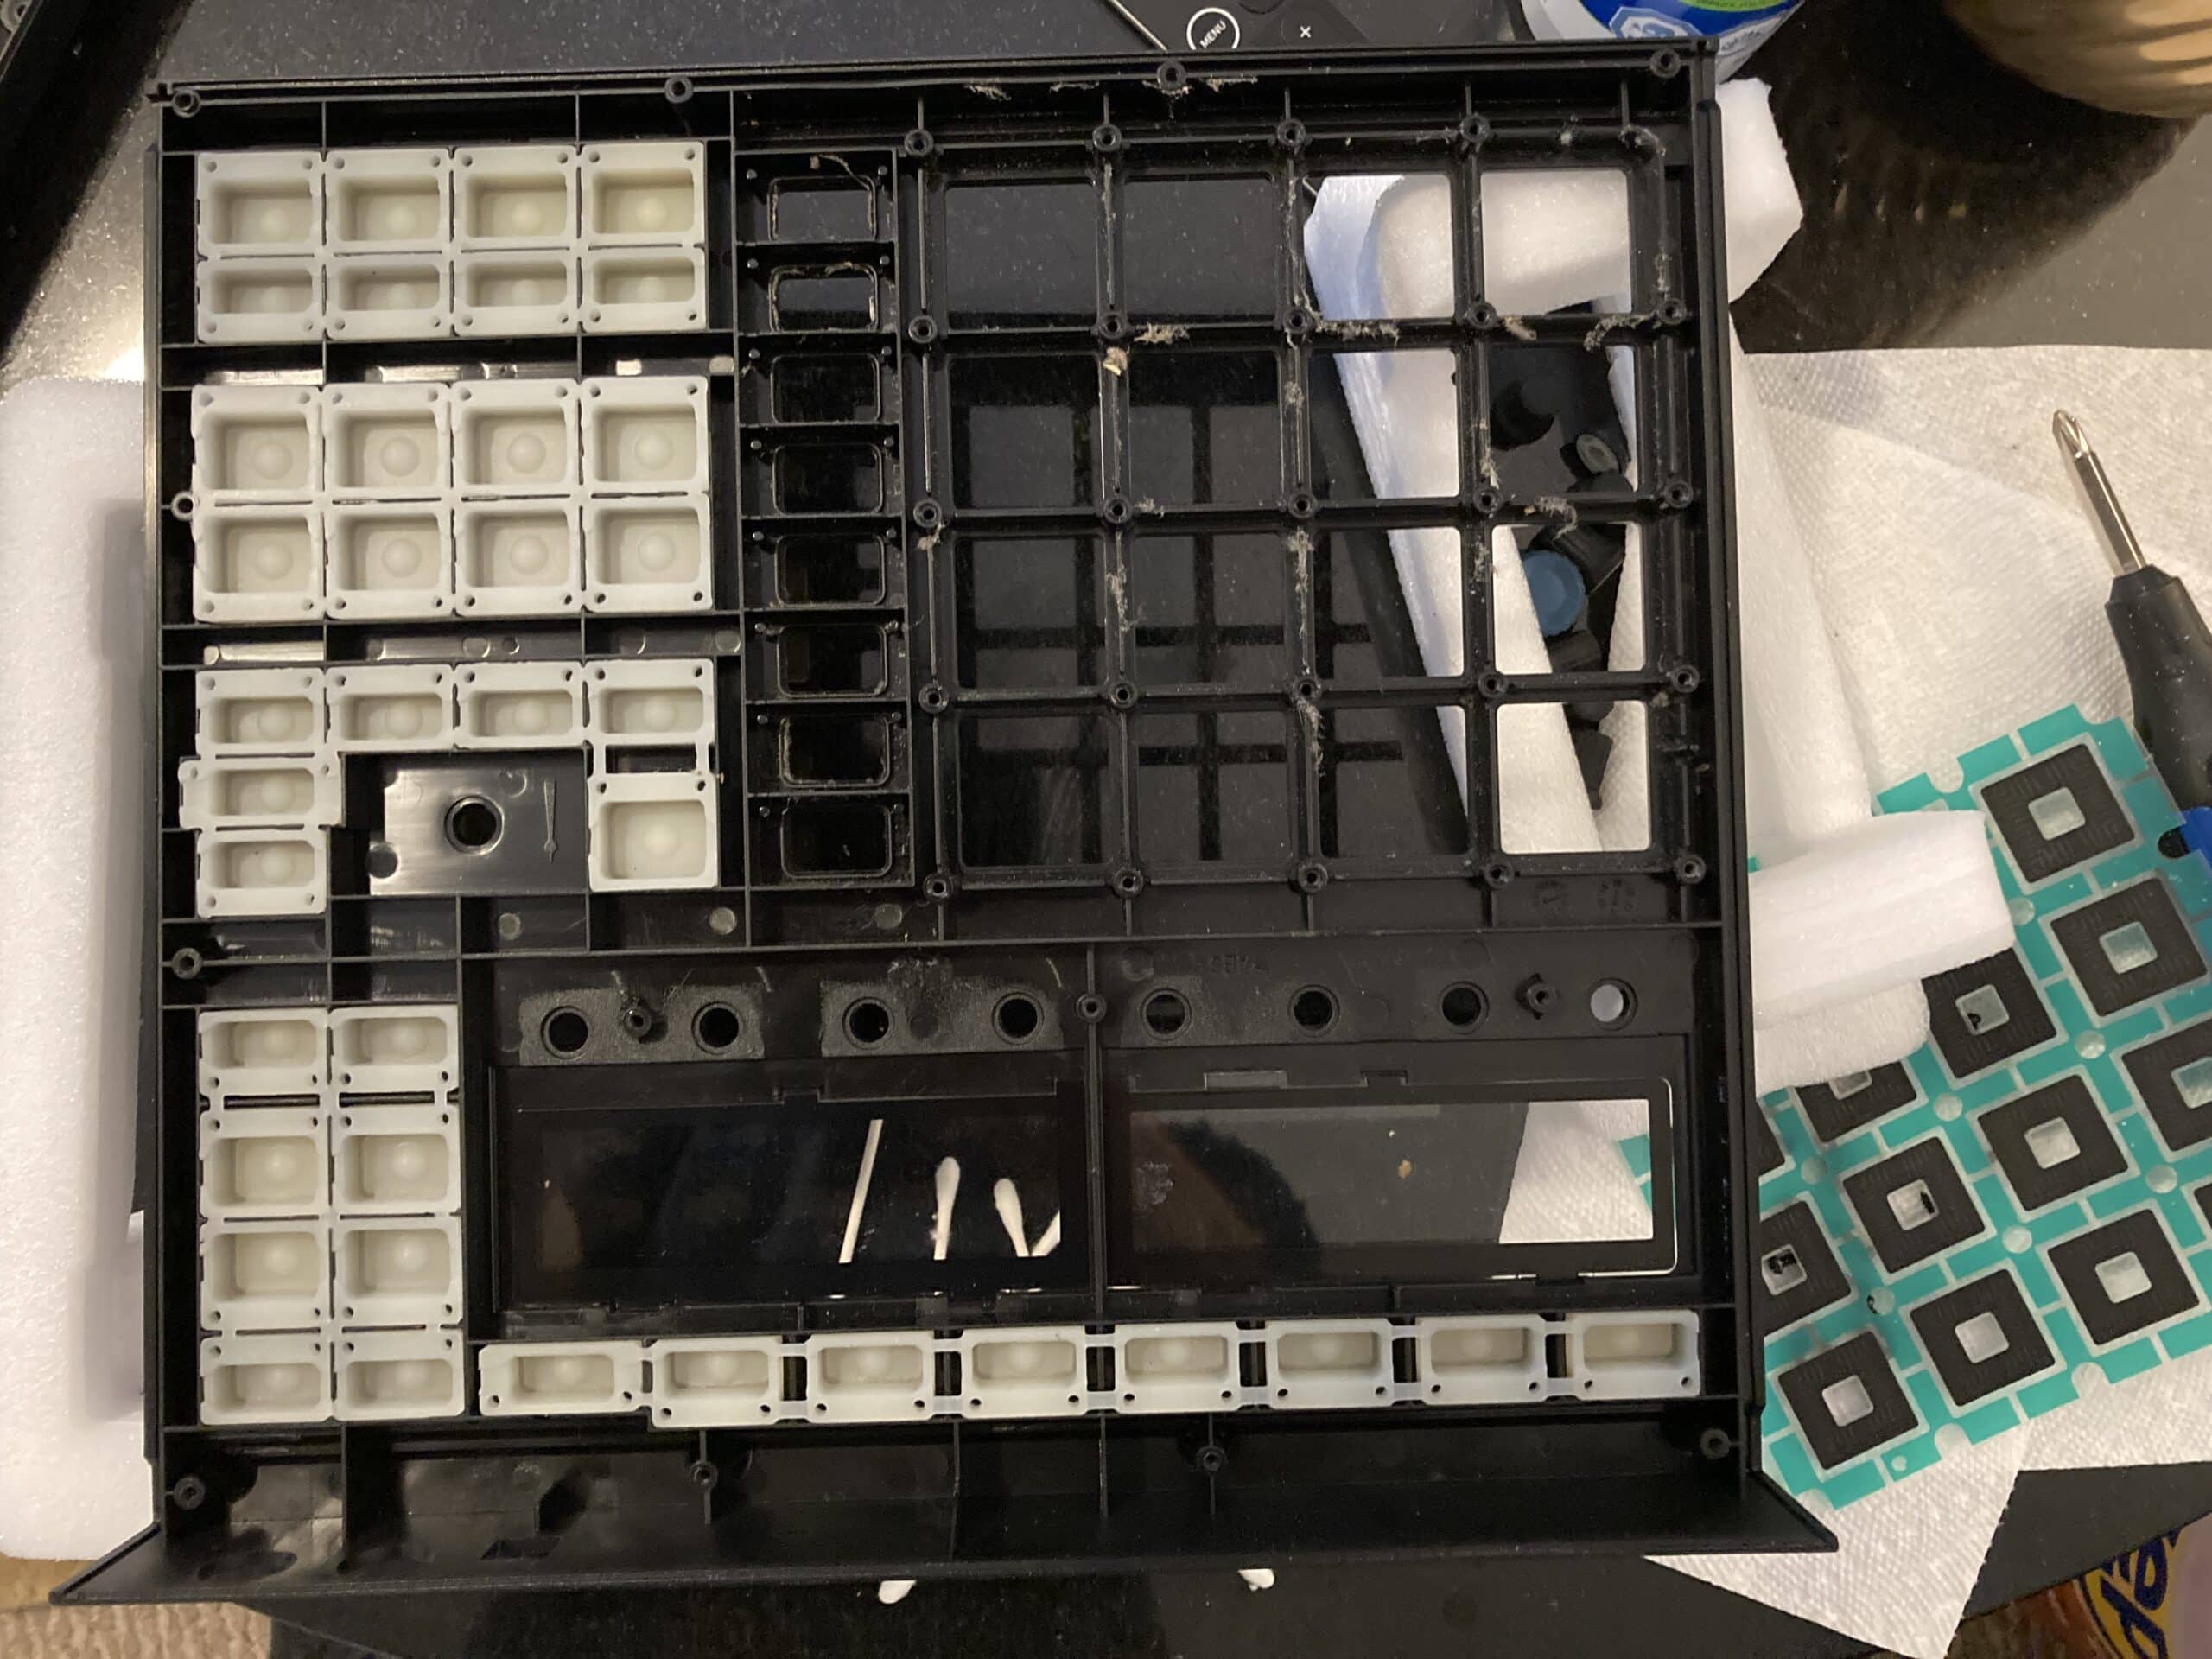
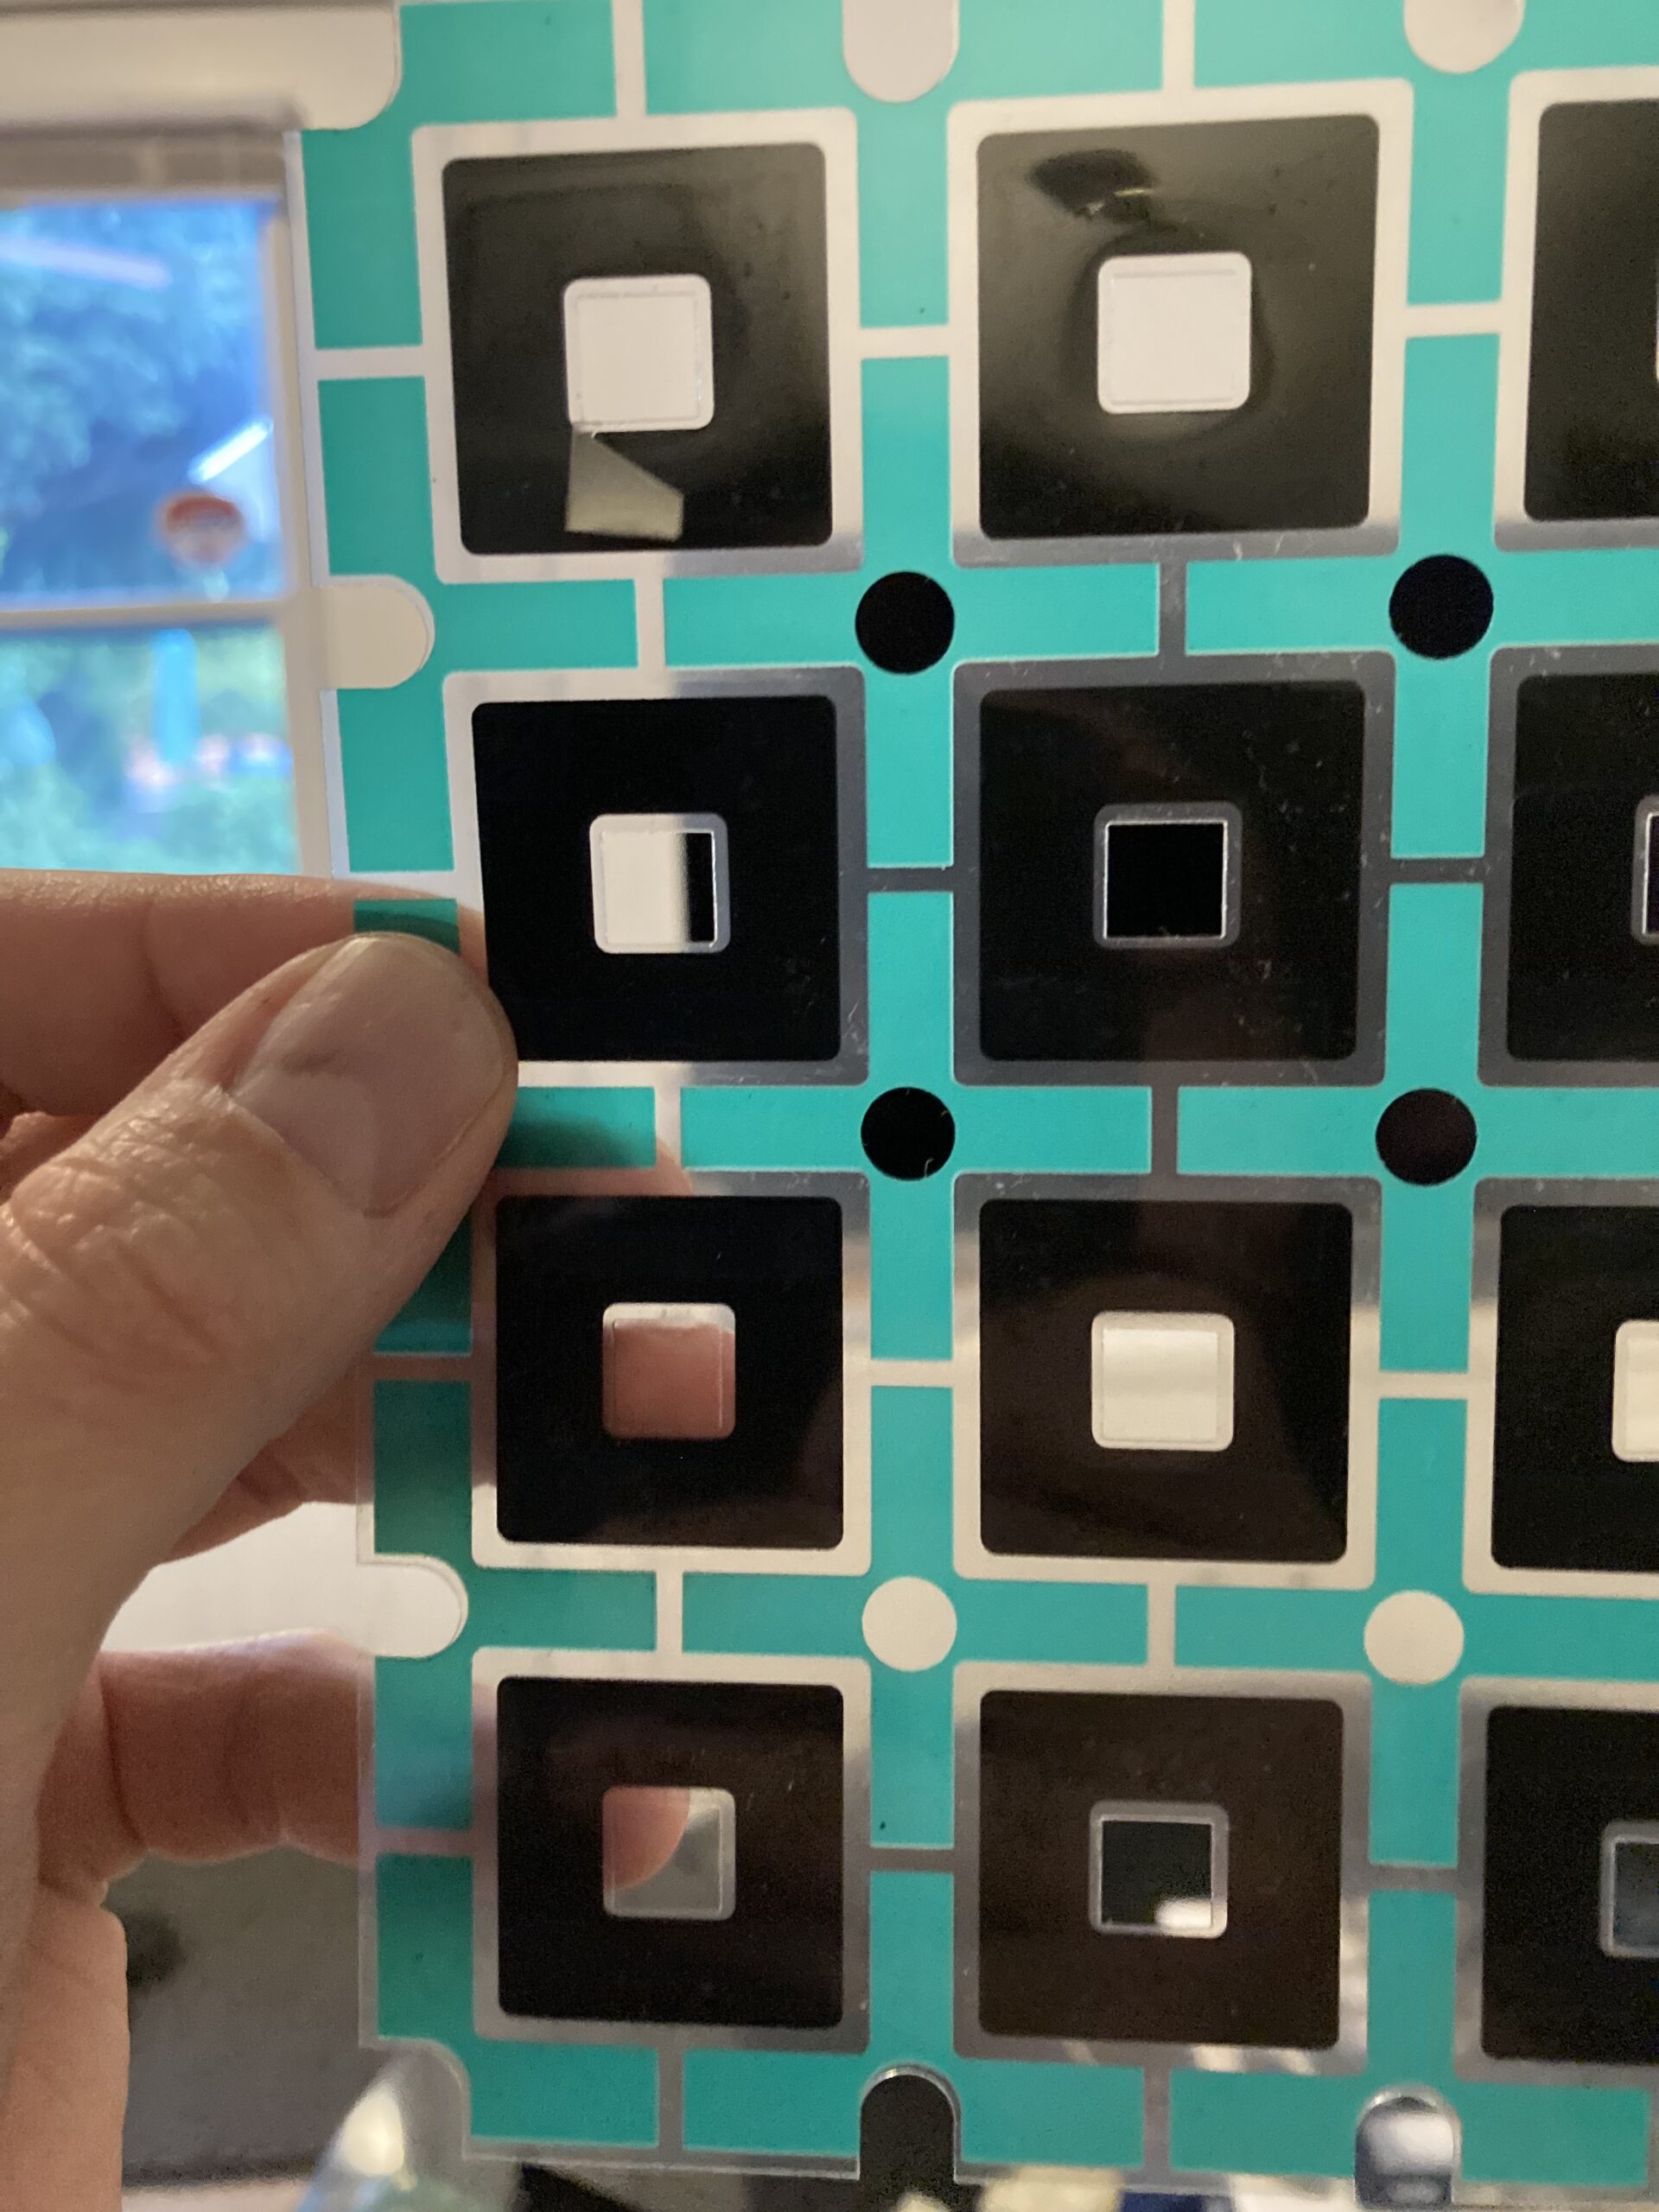
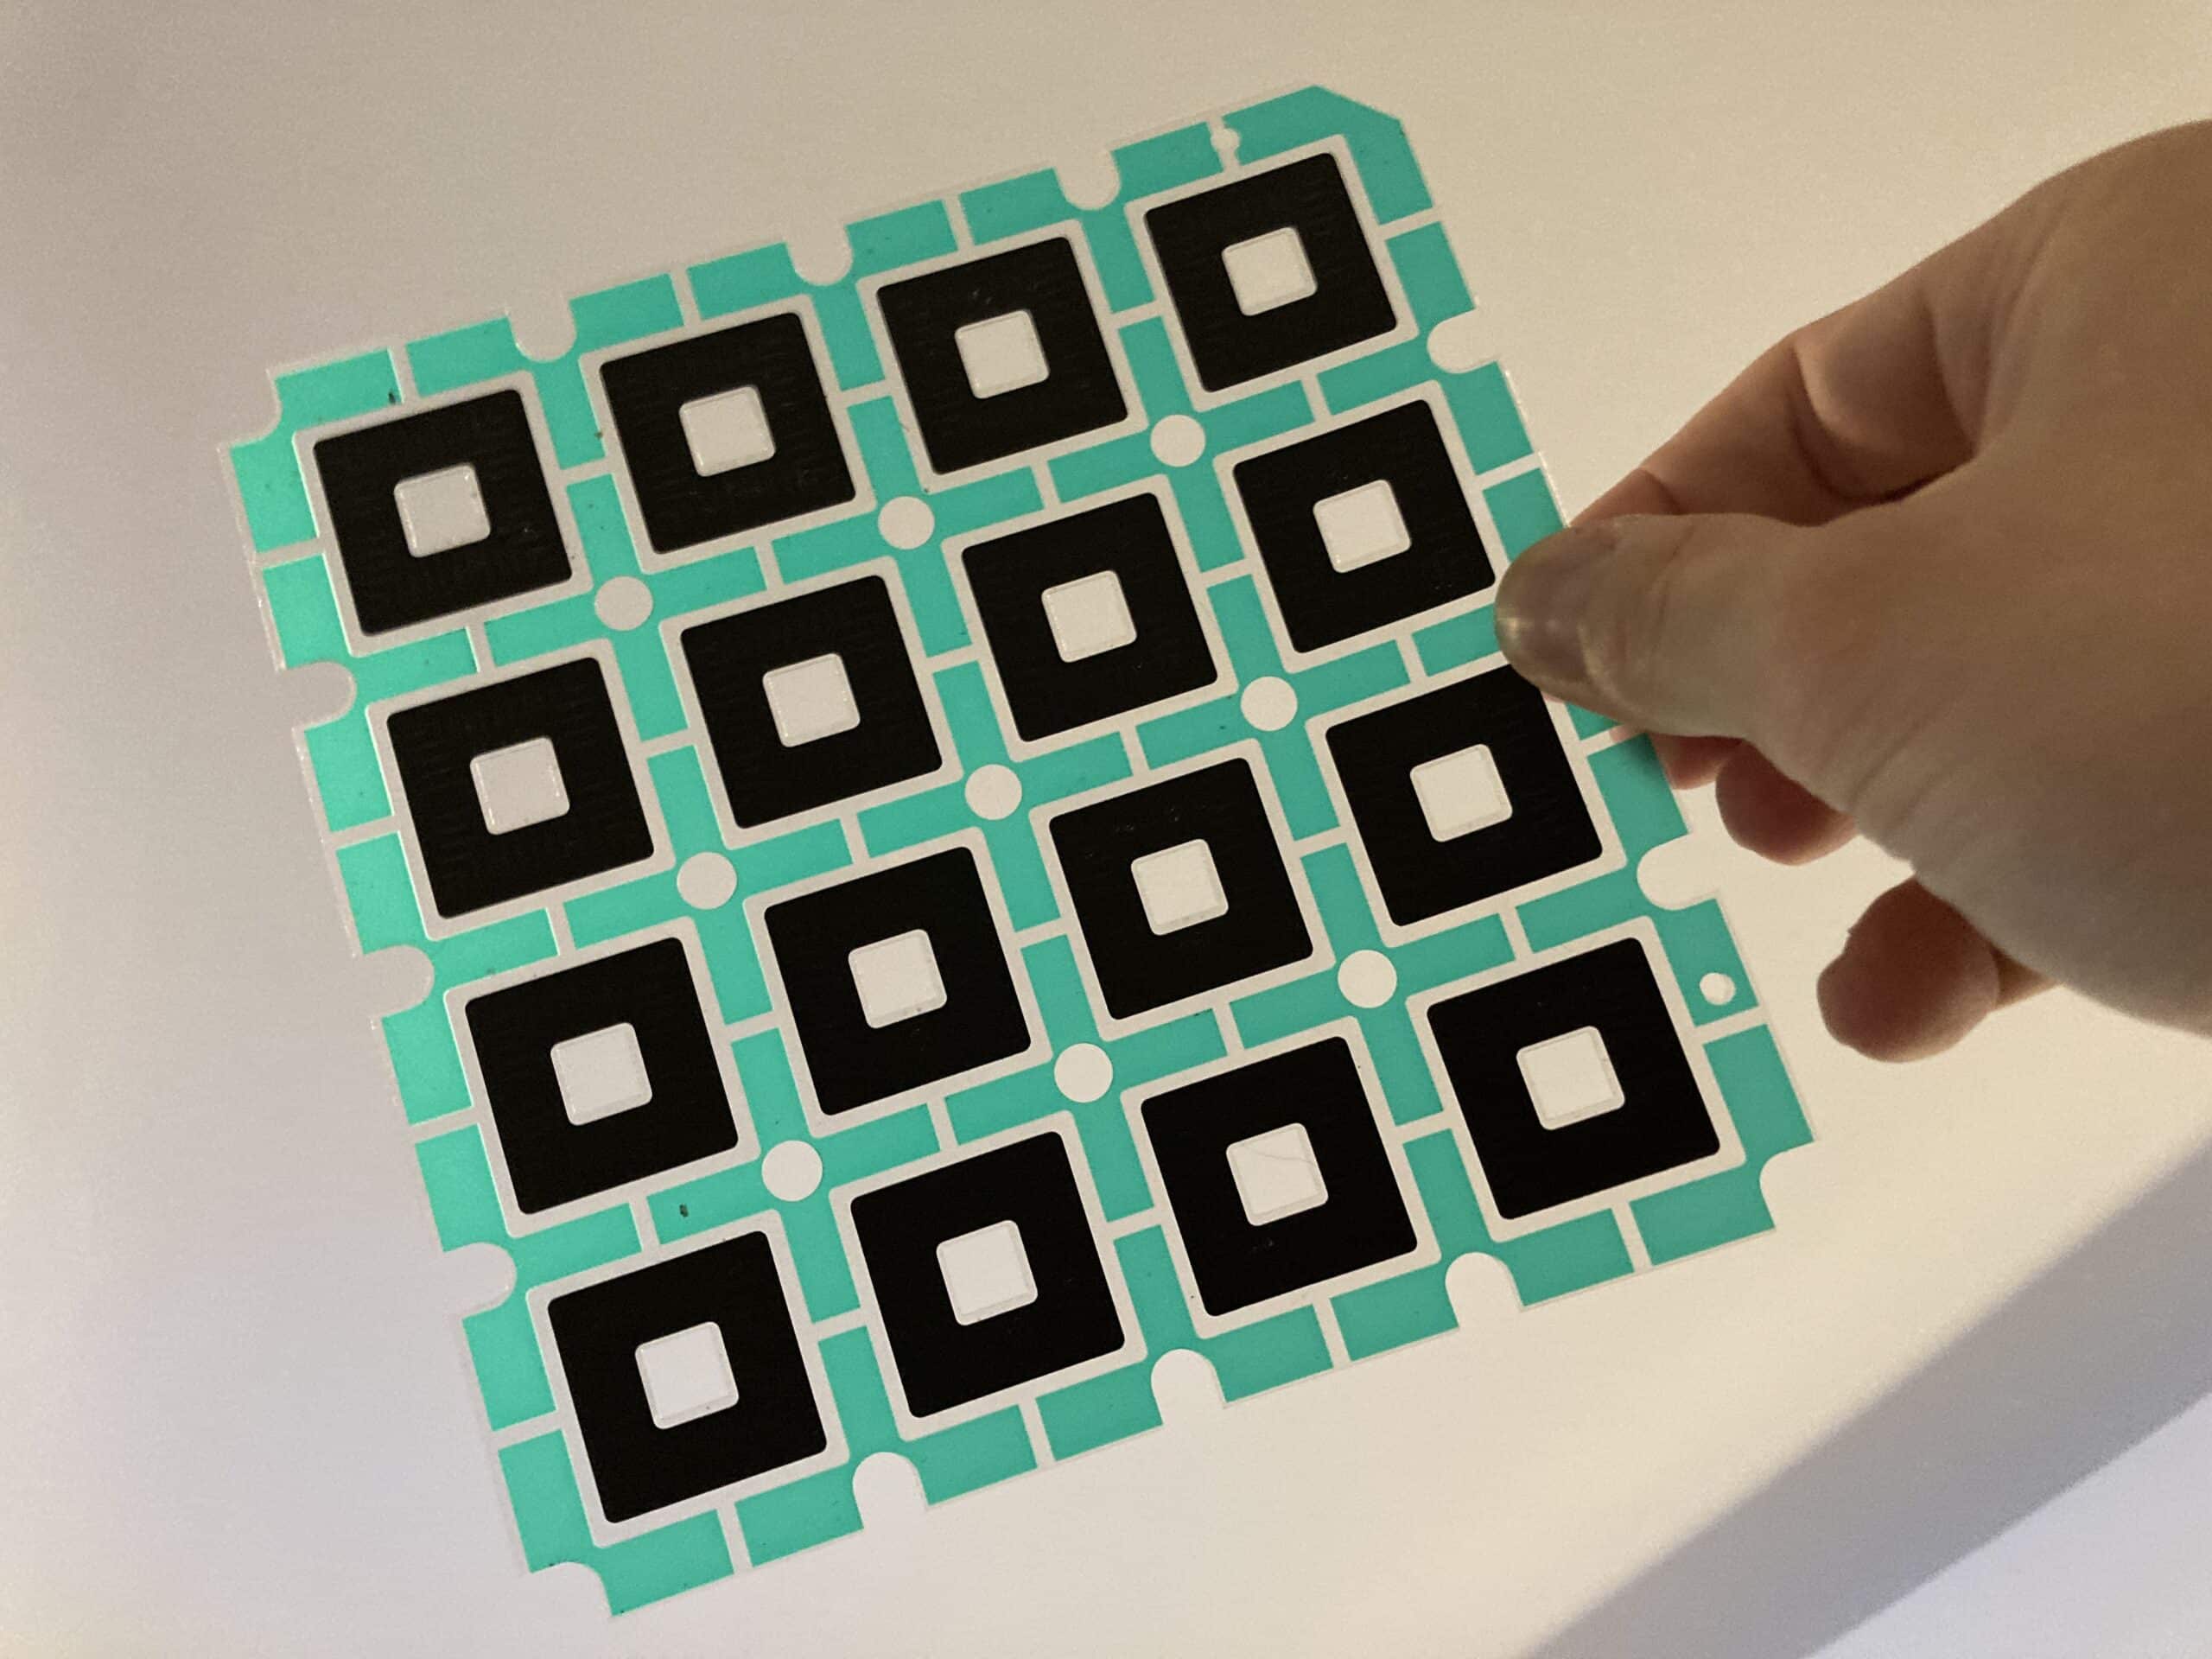
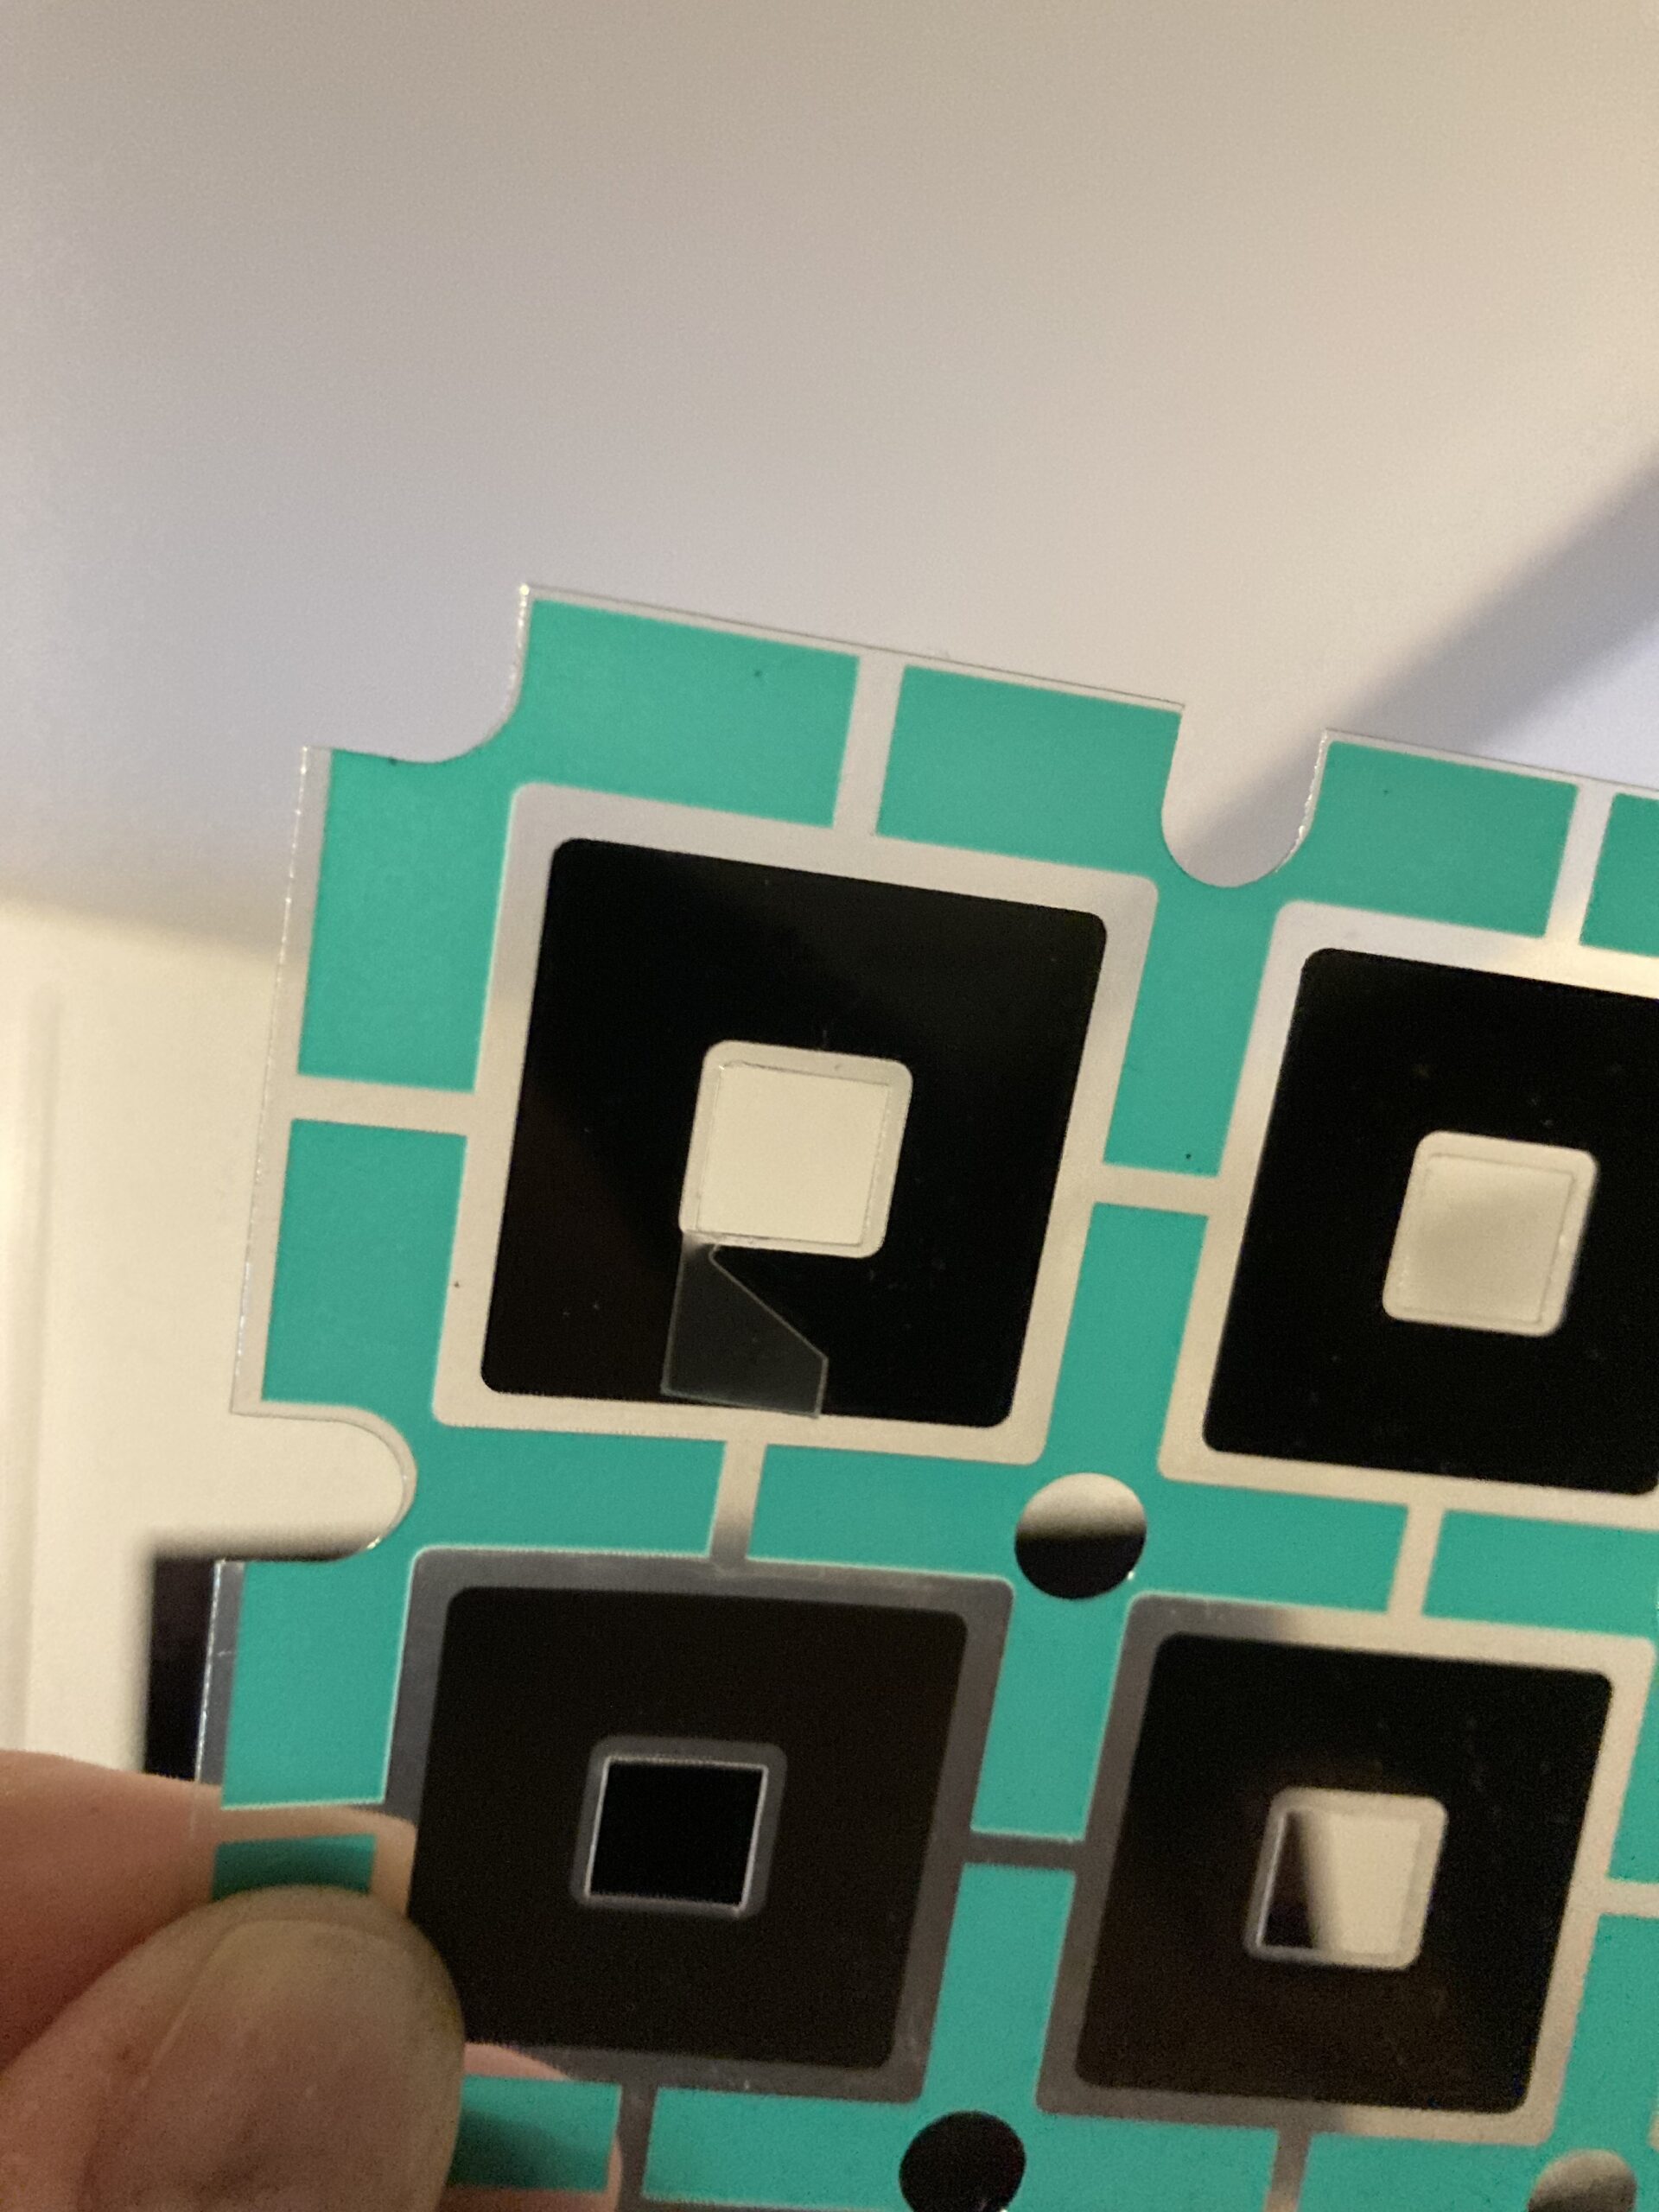
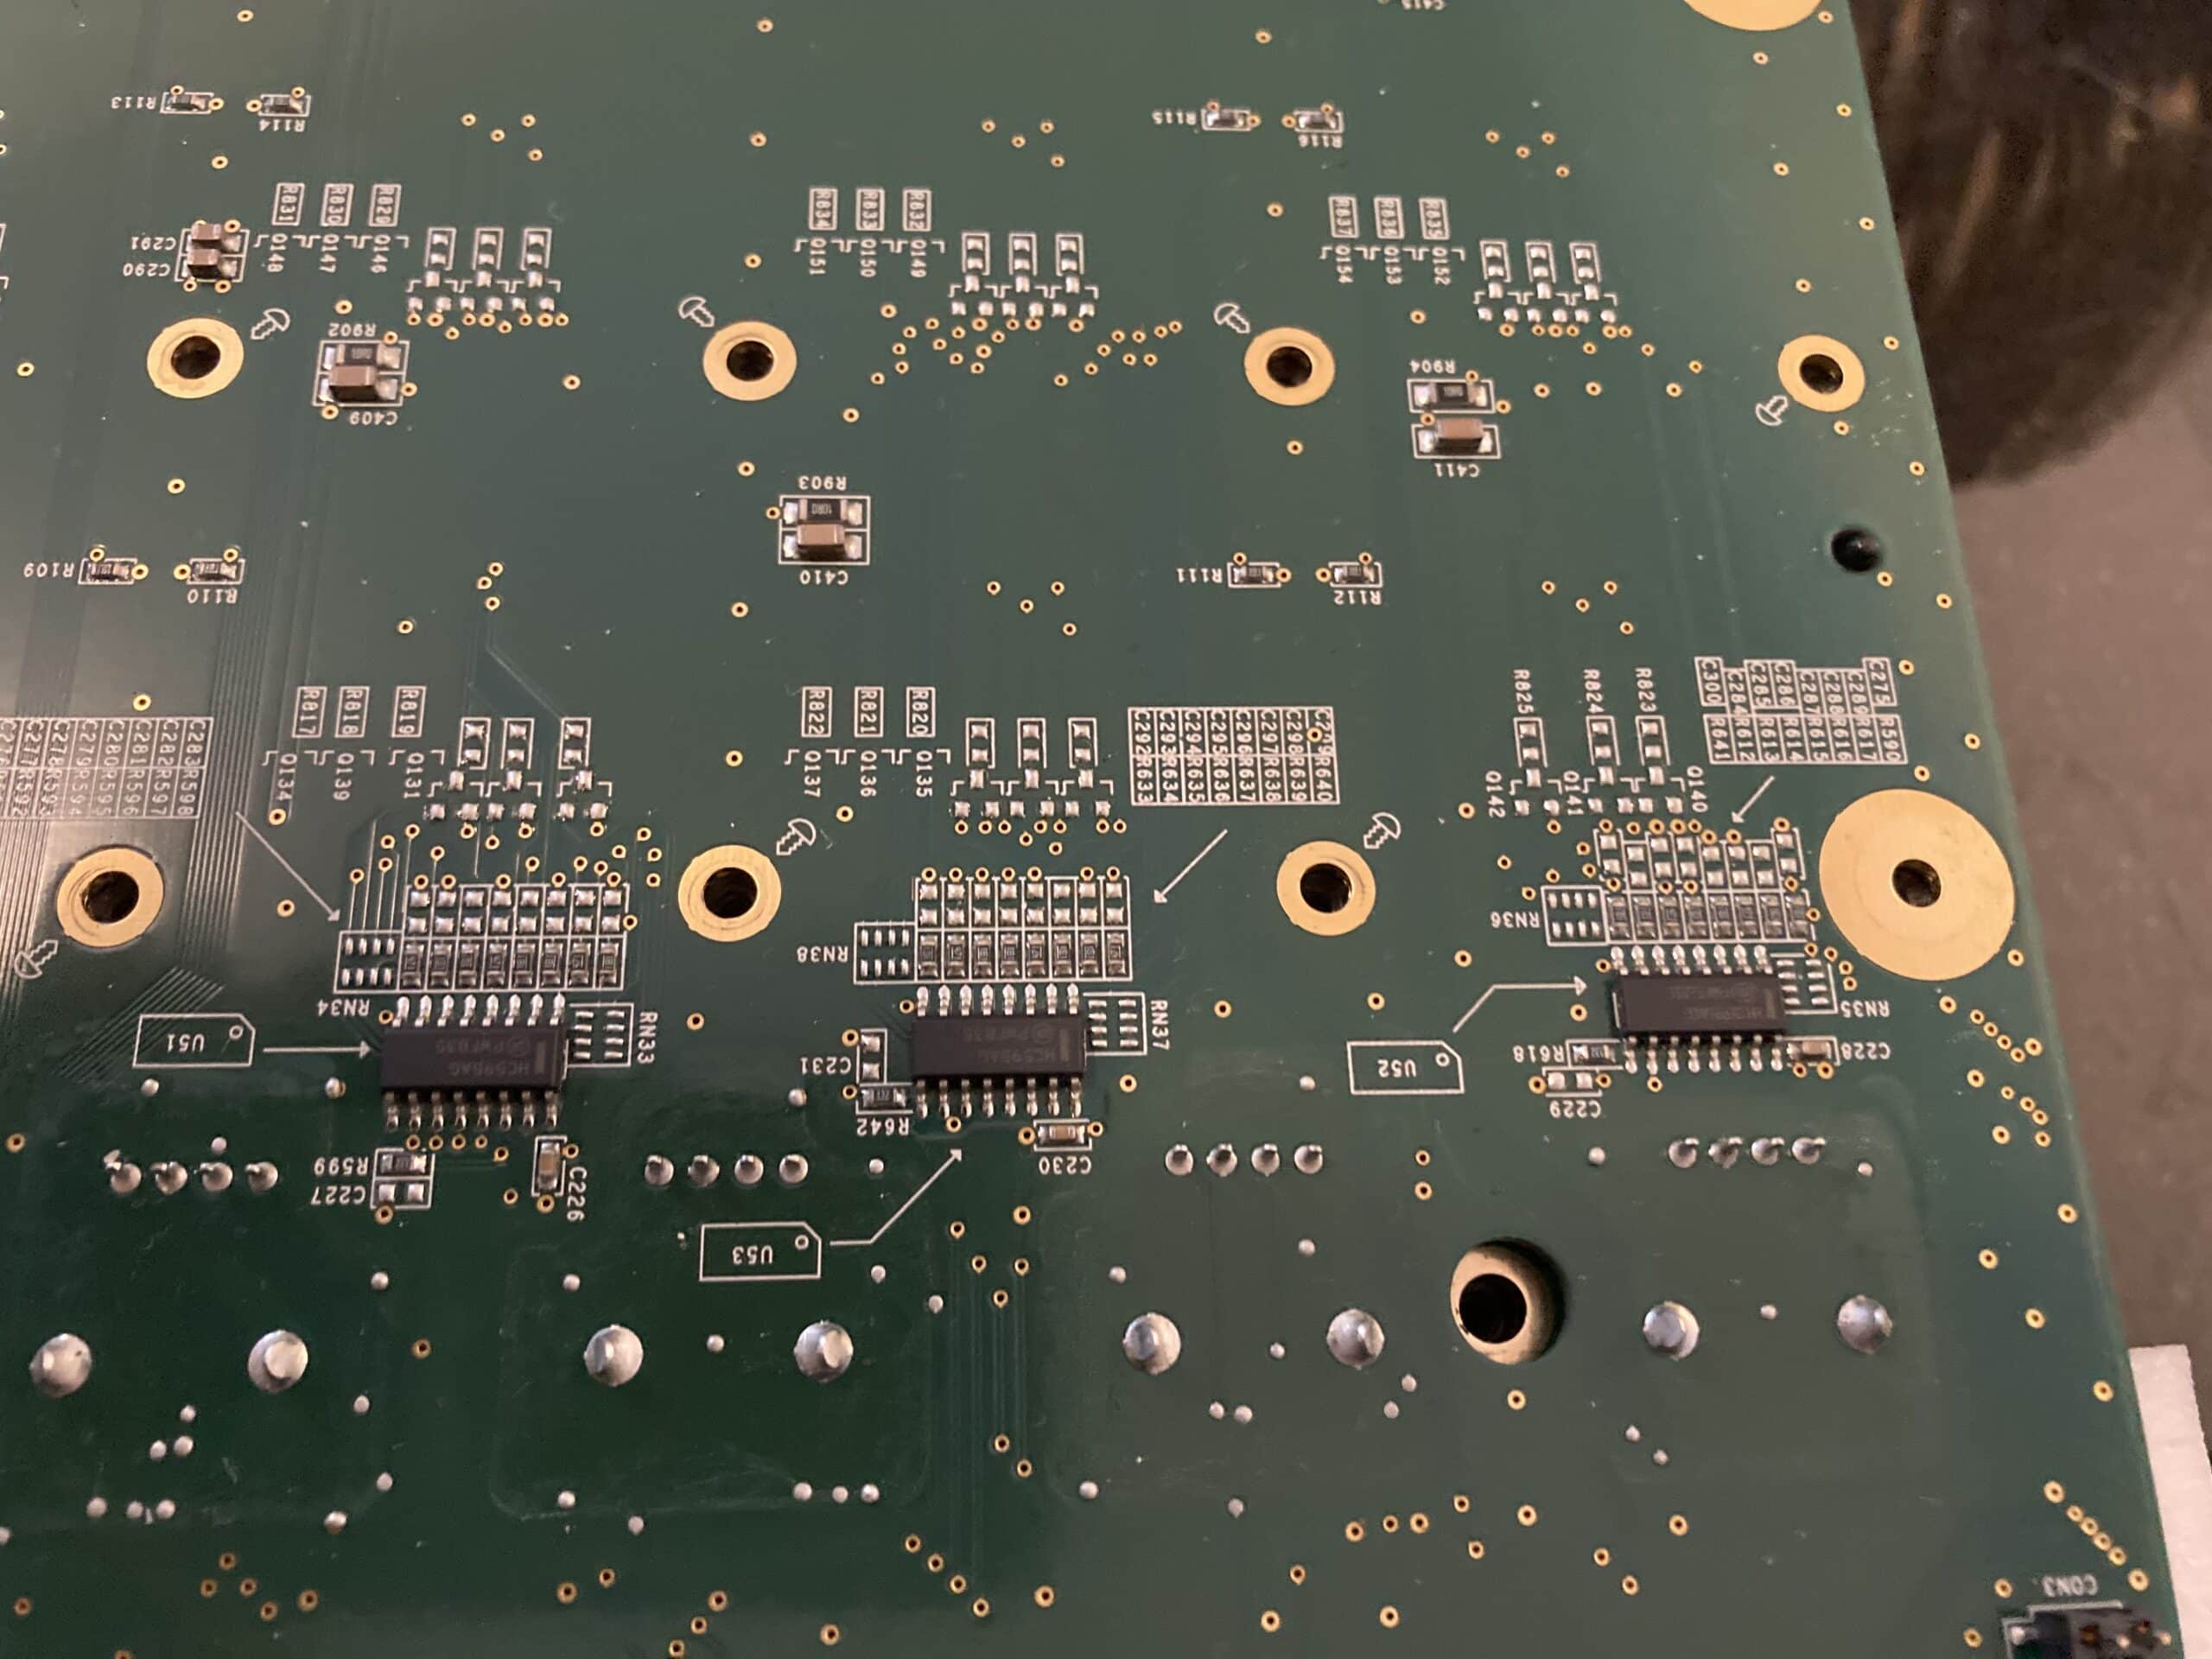
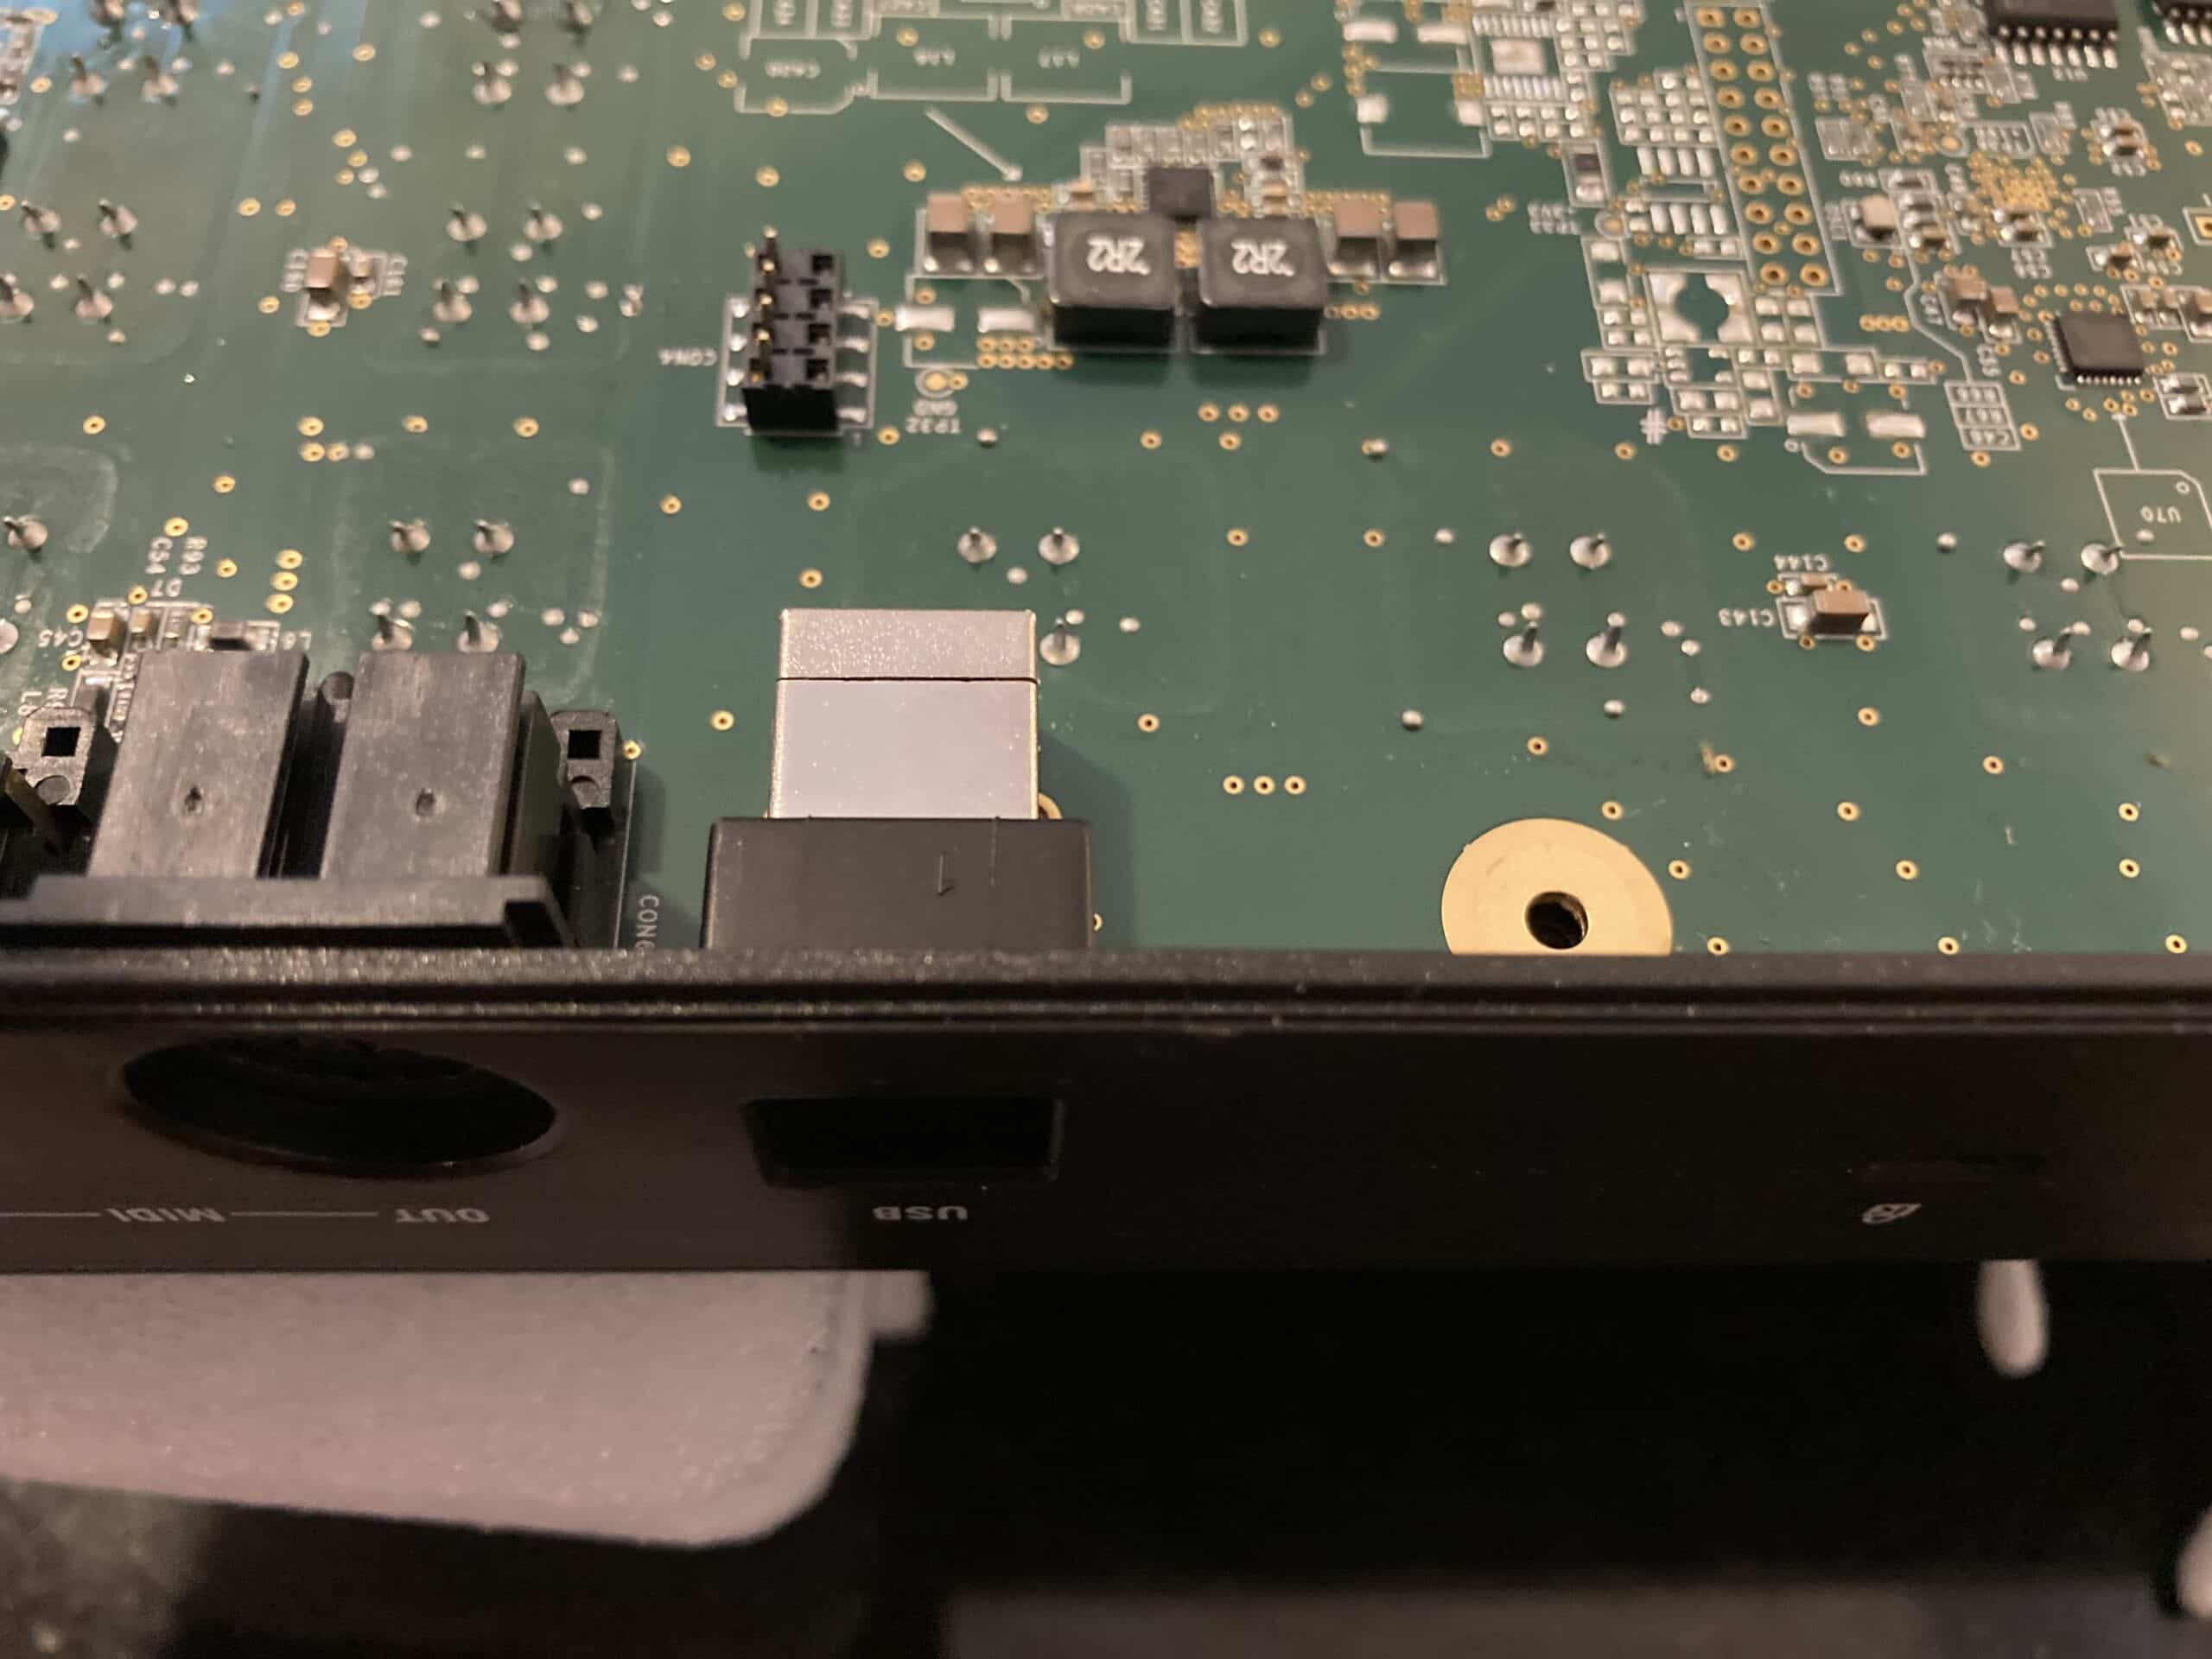
Once you have the bottom plate off, there are again a number of screws to remove holding the board to the face. The screws are marked so you don’t have to guess which ones need removal. There are three shorter and smaller screws that are recessed, as well as unmarked that run in a row underneath the displays. Once you get all of the screws out, the entire board easily lifts out revealing the pads, the carbon sheet and the sensors below. Examine everything thoroughly and take your time. I was surprised when I found my issue wasn’t only dirt. The sheet in my case seems to have a manufacturing defect where some of the punched out sheet material was trapped under the pad in my case. There was also a bit of dust in there. Upon further review of the photos I think the dust was actually the main cause of my issues. The carbon on the mylar sheet is meant to be there, carefully preserve it if cleaning it, don’t work it too hard. Lightly dust off any foreign debris and put it aside once it’s clean. You can lightly clean it with alcohol if there is any residue from liquids.
I swabbed every other square inch including the LEDs with alcohol and used warm water with dish soap on the pads. You want to be sure everything is dry so I followed Maribel’s lead and used a hairdryer to speed drying the pads. Without this step I wouldn’t assemble it for 24 hours to be sure they dried. Next, I sprayed all the encoders with some deoxit and worked it in by spraying the casing and turning the knobs back and forth all the way around. Then to reassemble I just did the reverse. And that’s it, you have finished disassembling and cleaning the Maschine MK2, all by yourself. Thanks Maribel.


If you have issues with an uneven drumming experience or gritty knobs that skip give this a try over an afternoon. You will fall back in love with your Maschine. If you gig with your Maschine you almost certainly need to do this yearly. Replacement parts are not hard to find but are also not cheap so inspect before ordering. Opening the whole thing up and putting it back together doesn’t take longer than 2 hours with dry time. The longest part of the whole thing is scraping the dust from some of the details in the paneling and button recesses. Spa day for your buttons.
Leave a Reply