Quadro FX 4800 teardown
Recently I had been having issues with heat and intermittent freezing of my Hackintosh. These crashes always happened during graphical processes like watching Netflix, or editing sound and it started getting out of hand as the temperature outside was rising. I figured I was experiencing that which I had been seeing at work with a few workstations at the studio. The older GPU’s were starting to get sluggish and glitching out. The thing is after 7 years of dutiful service, the paste that is nestled between the chip and heatsink just gets a little less thermally conductive. There is a lot of talk of how Arctic Silver is useless but it does edge out a few extra degrees of cooling efficiency and is rated for around 5 years. As with all thermal pastes, with time they migrate and leave air gaps. This brings the temperatures of the cards up slowly but surely and eventually the heatsinks and fans you have will be no good against the volume of heat generated. When this happens we do not cast these cards aside, no, we hold fast to the moorings. They can be restored to their earlier function by simply reseating the heatsinks with new thermal paste and cleaning off any of the thermal tape or pads that were in there previous. The Quadro FX 4800 teardown was relatively painless, and totally solved all my problems with heat, freezing and bluescreen’s of death.
It’s too damned hot…
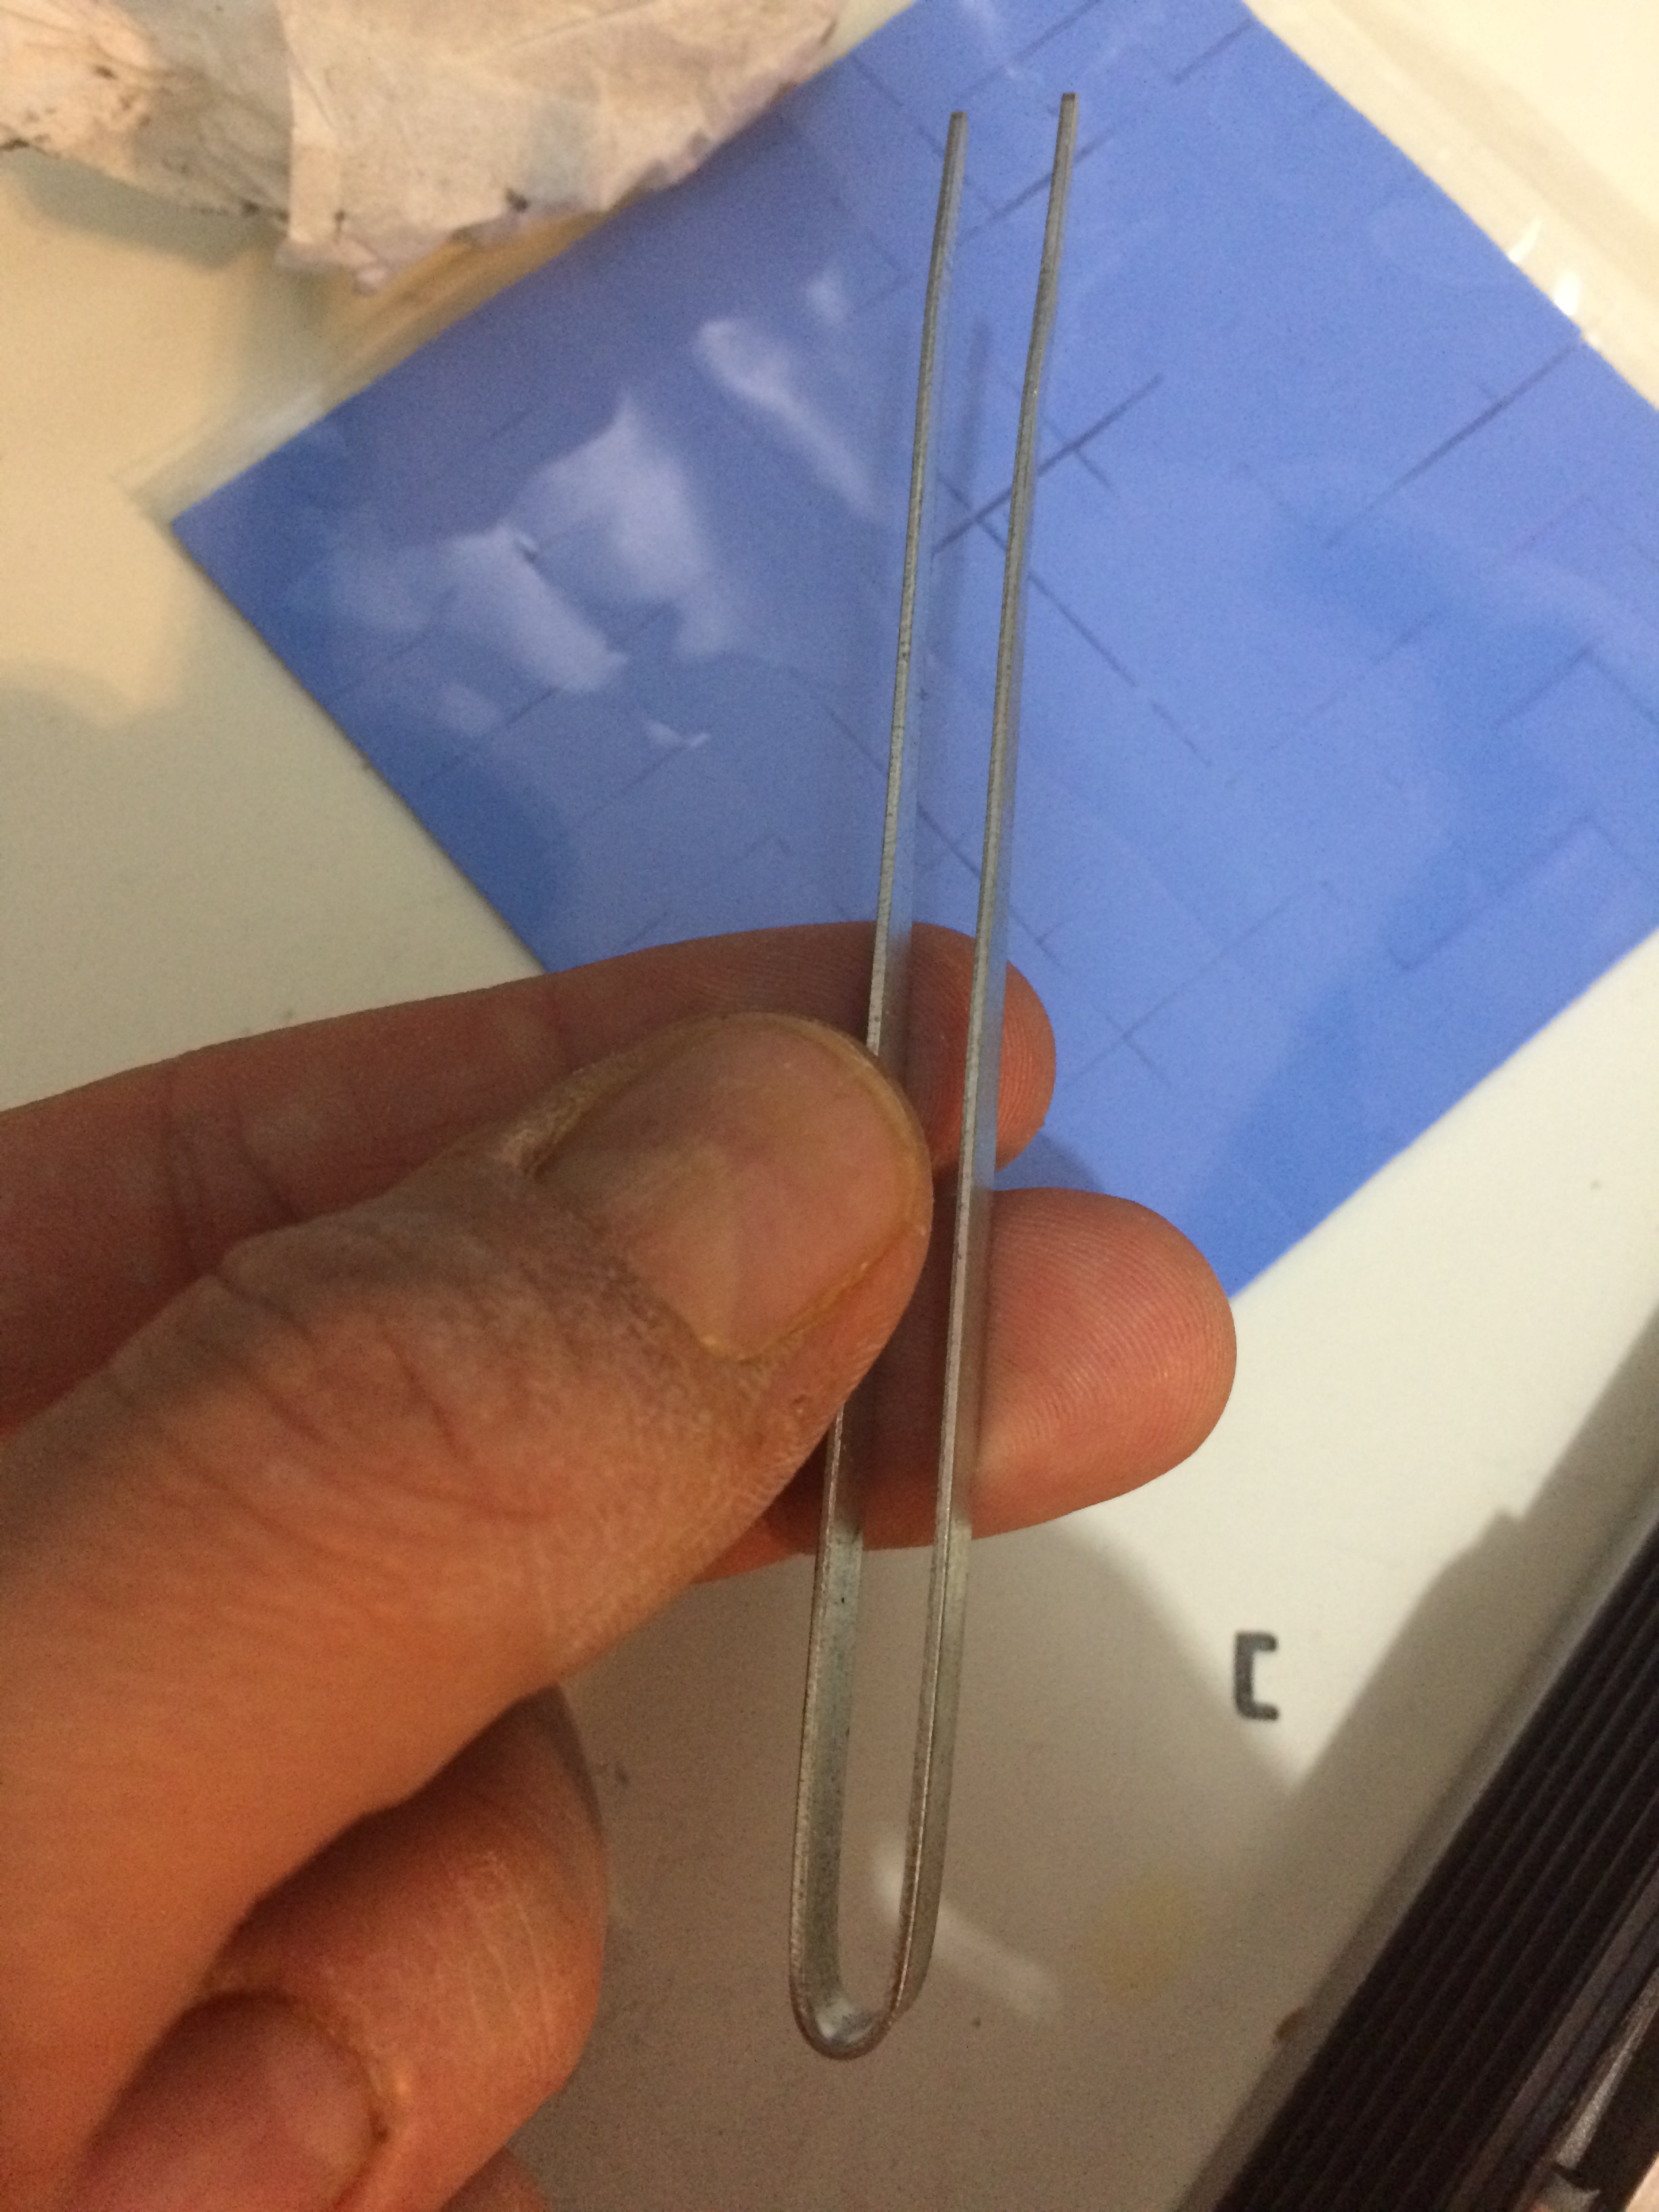
There wasn’t a lot of documentation on opening this specific card but with a little sleuthing, you can figure out how to disassemble and restore your card to it’s previous glory. You will need thermal paste, I use Arctic Silver 5 because I’m a f4n 30y. It really does work and I see a few degrees difference in real world tests, so sue me. Other than that I needed some thermal pads which are a silicon pad that has a light adhesive on either side. They are used for workstation installations and reliably move heat from components to heatsinks that are buffered by a large gap. They come in various thicknesses and it is important to make sure you get ones that are thick enough. There was one spot on my card where I had to double up just to fill the gap. The pads are available on e-bay or at very specialized computer repair stores. I also can’t stress my recommendation enough for some plastic spudgers. They are used for decoupling sensitive parts you don’t want to maim or scratch. For uncoupling the molex connectors that are so fragile, it is absolutely pivotal. Having some rubbing alcohol or JY-8 to clean up is something you should have on your list along with coffee filters or some other lint-free disposable cloth.
And now, as promised, the Quadro FX 4800 teardown…
[box color=”green” icon=”bookmark”]Please read the instructions carefully. This is a simple teardown but there are ways you can be too rough with the small fragile parts. Take care not to strip screws or break any cables.[/box]
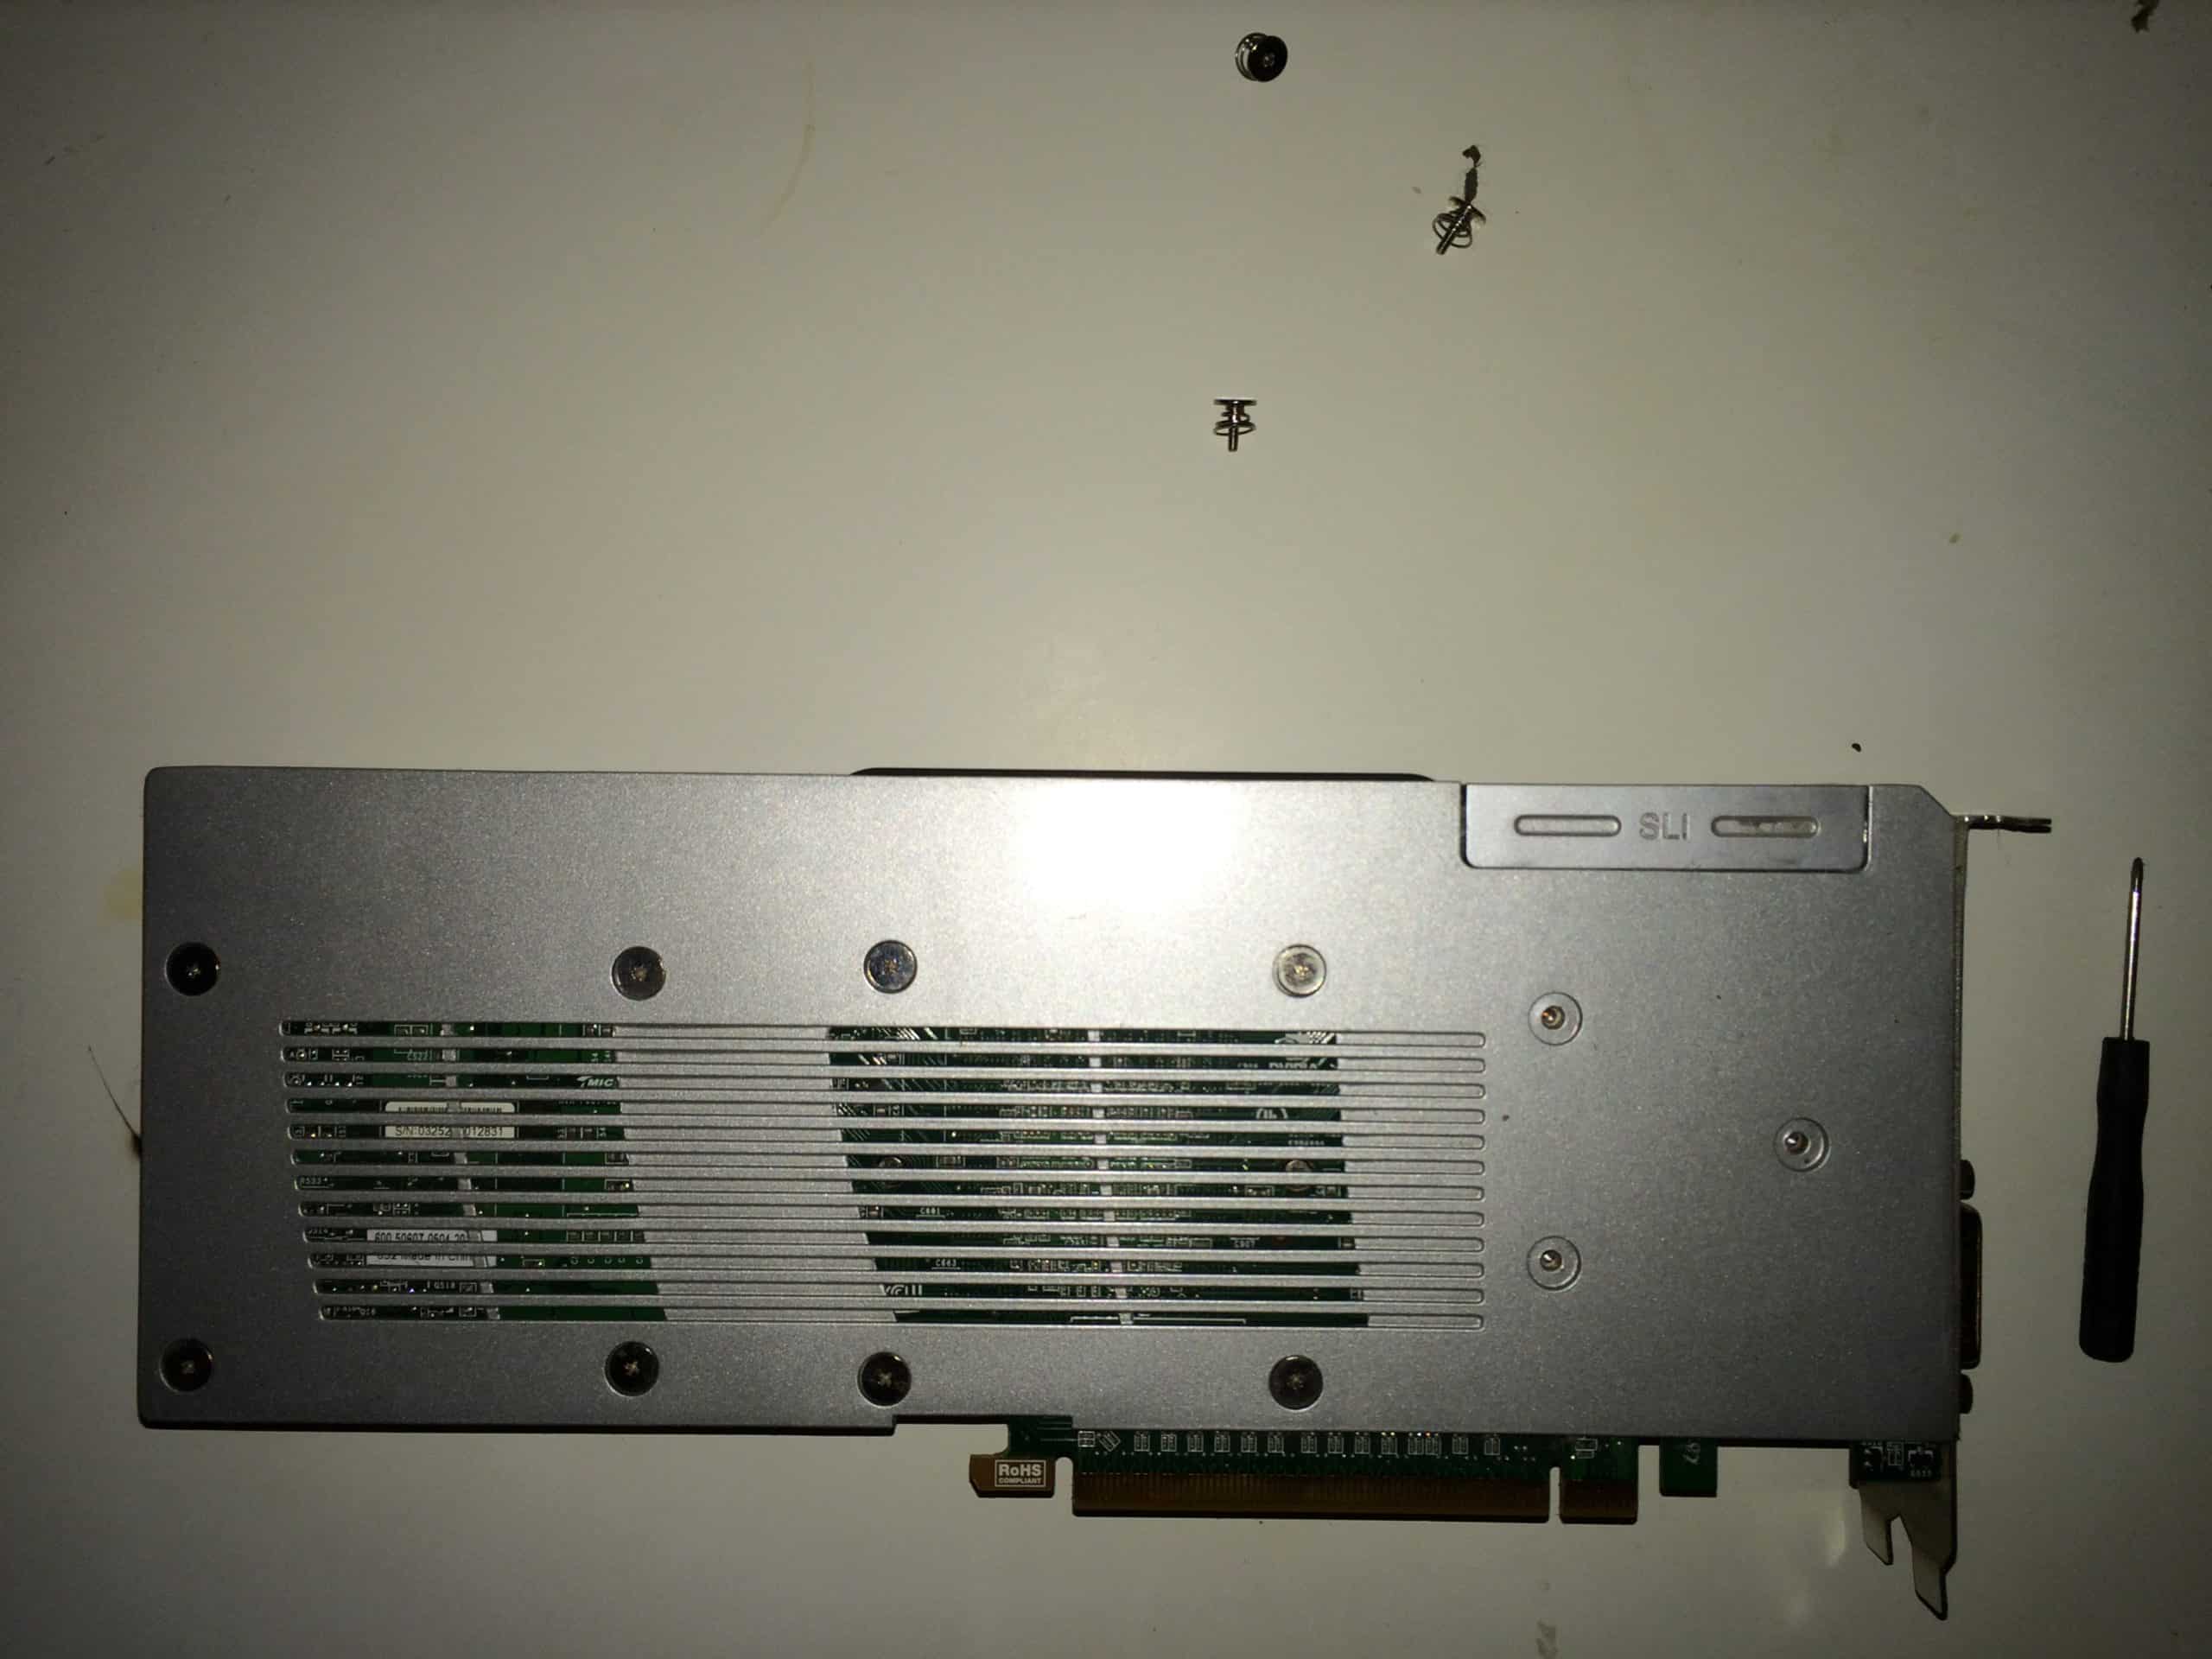
1.
Removing the first set of screws…
There weren’t any guides online but this wasn’t my first rodeo so I decide to map the route myself. The Quadro FX 4800 teardown wasn’t that difficult, if you take care. First, there are eleven screws on the back holding the rear heatsink to the card.
2.
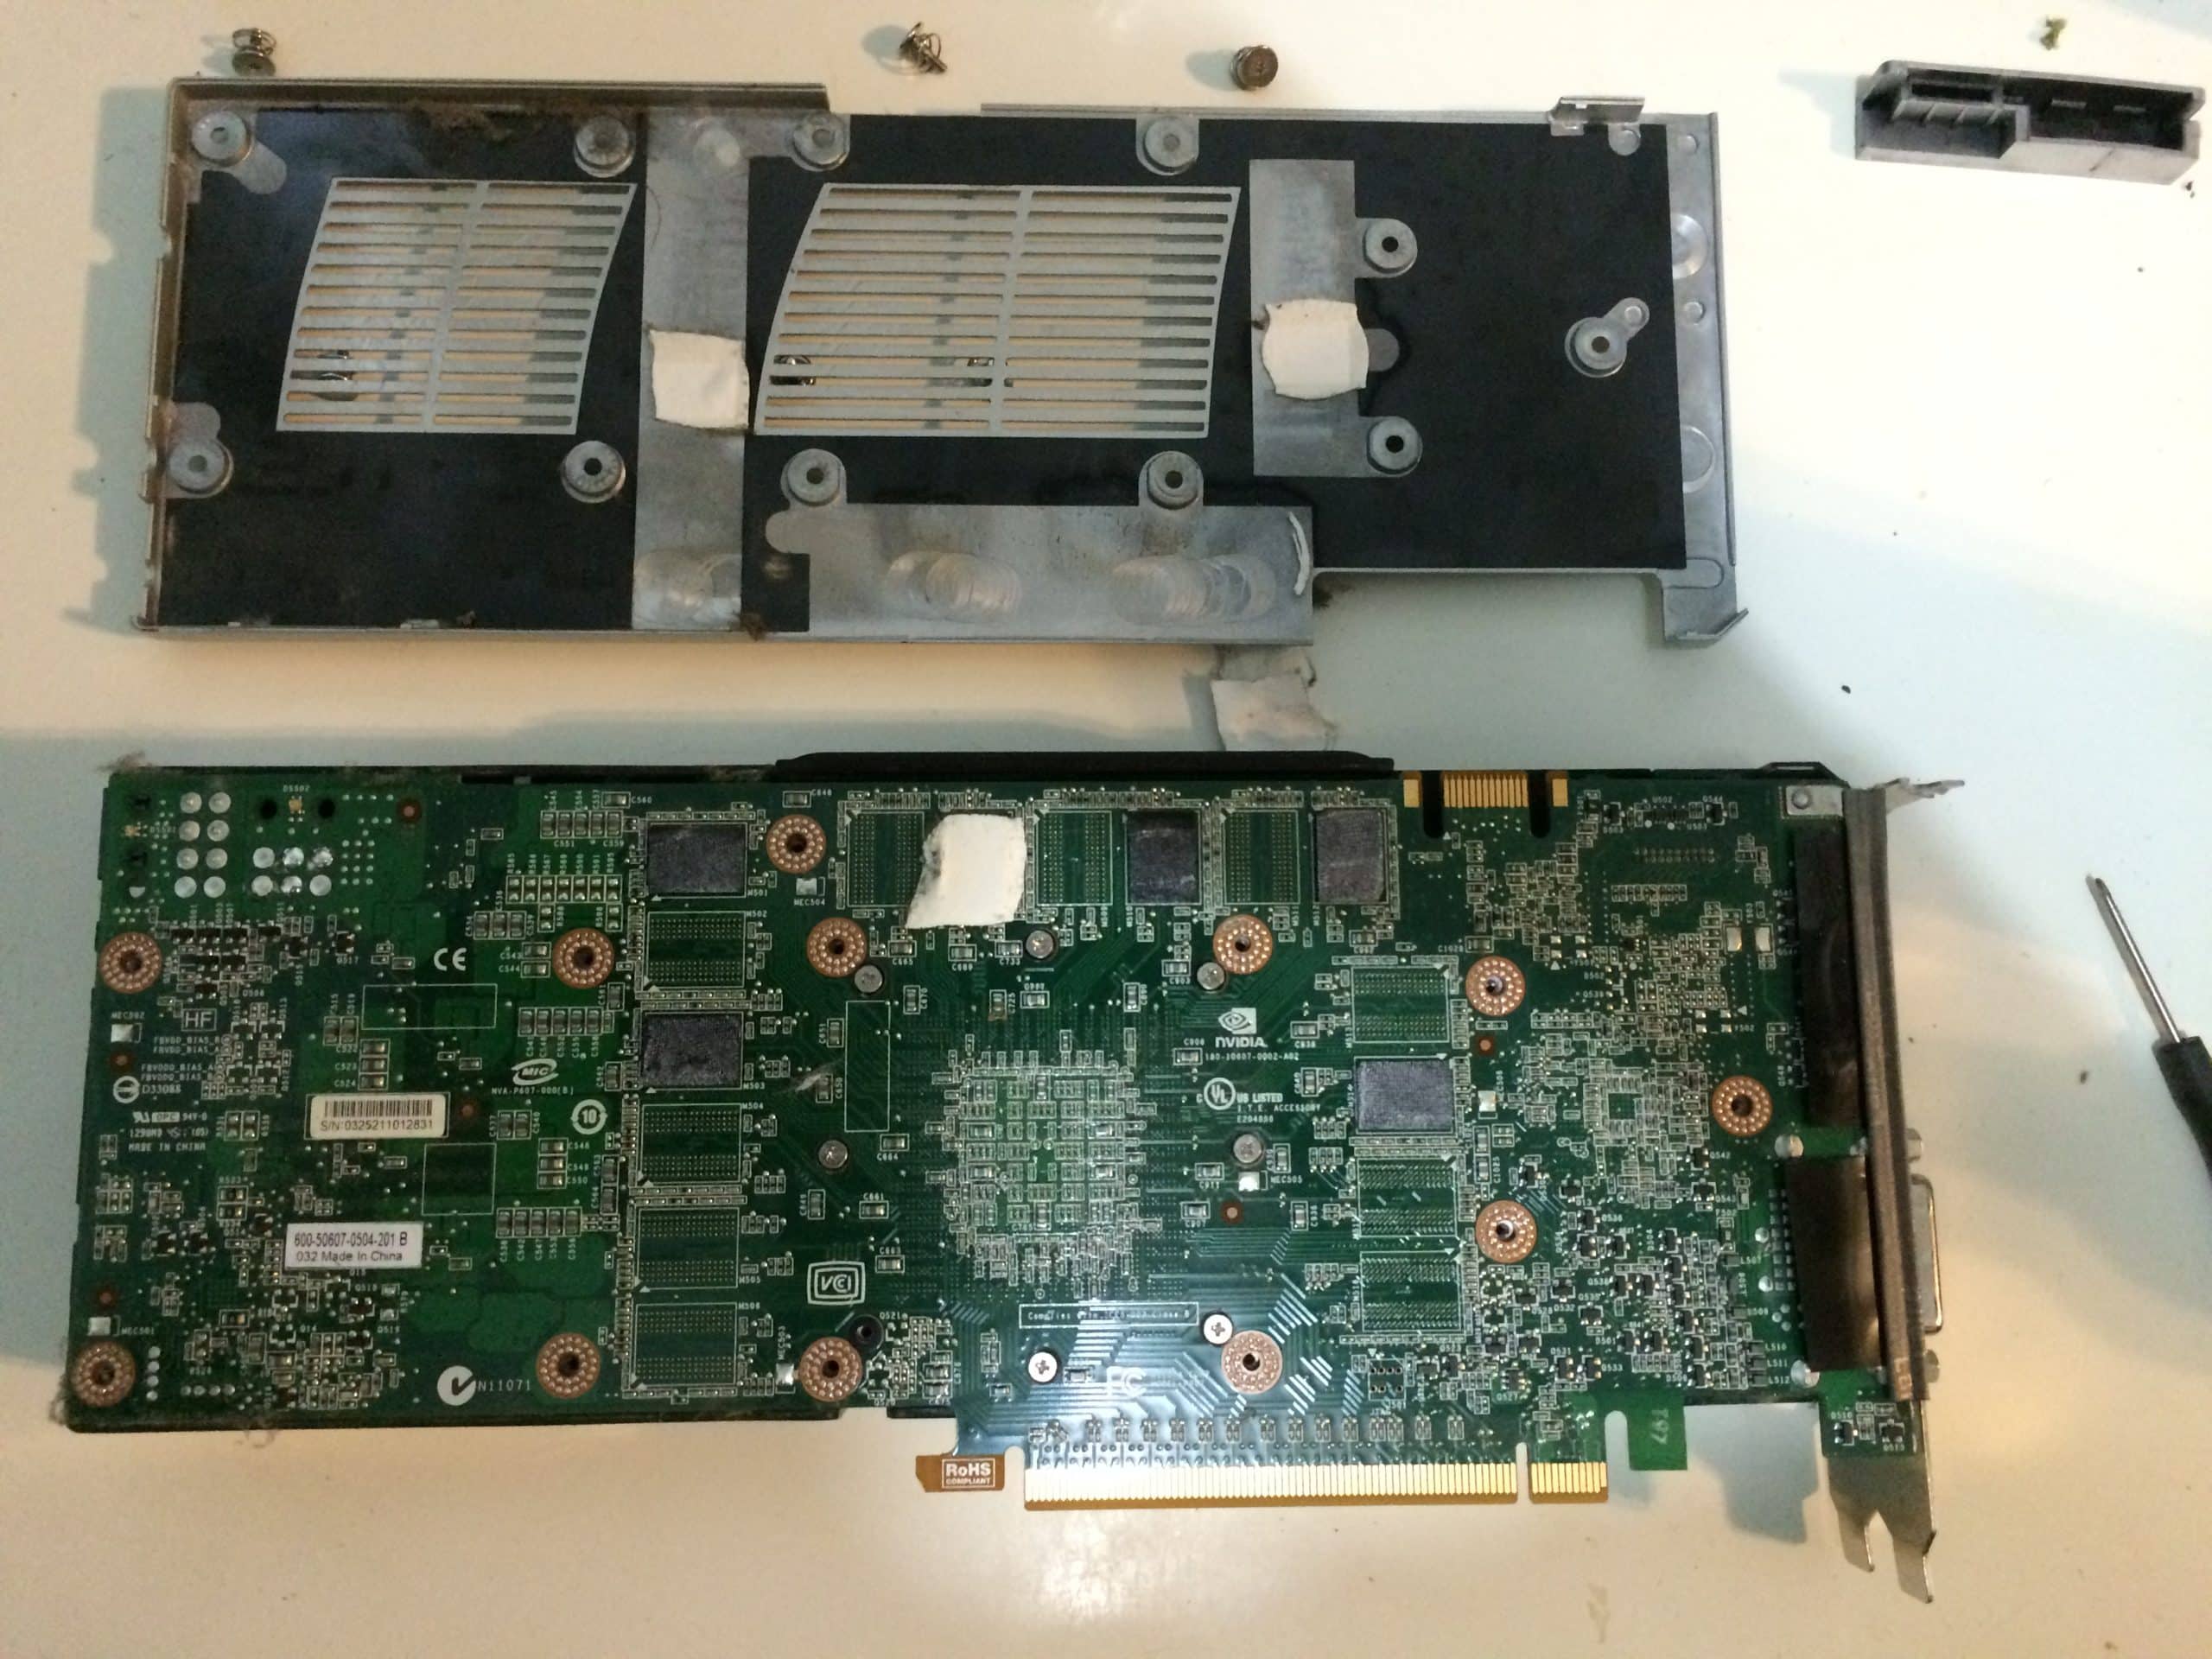
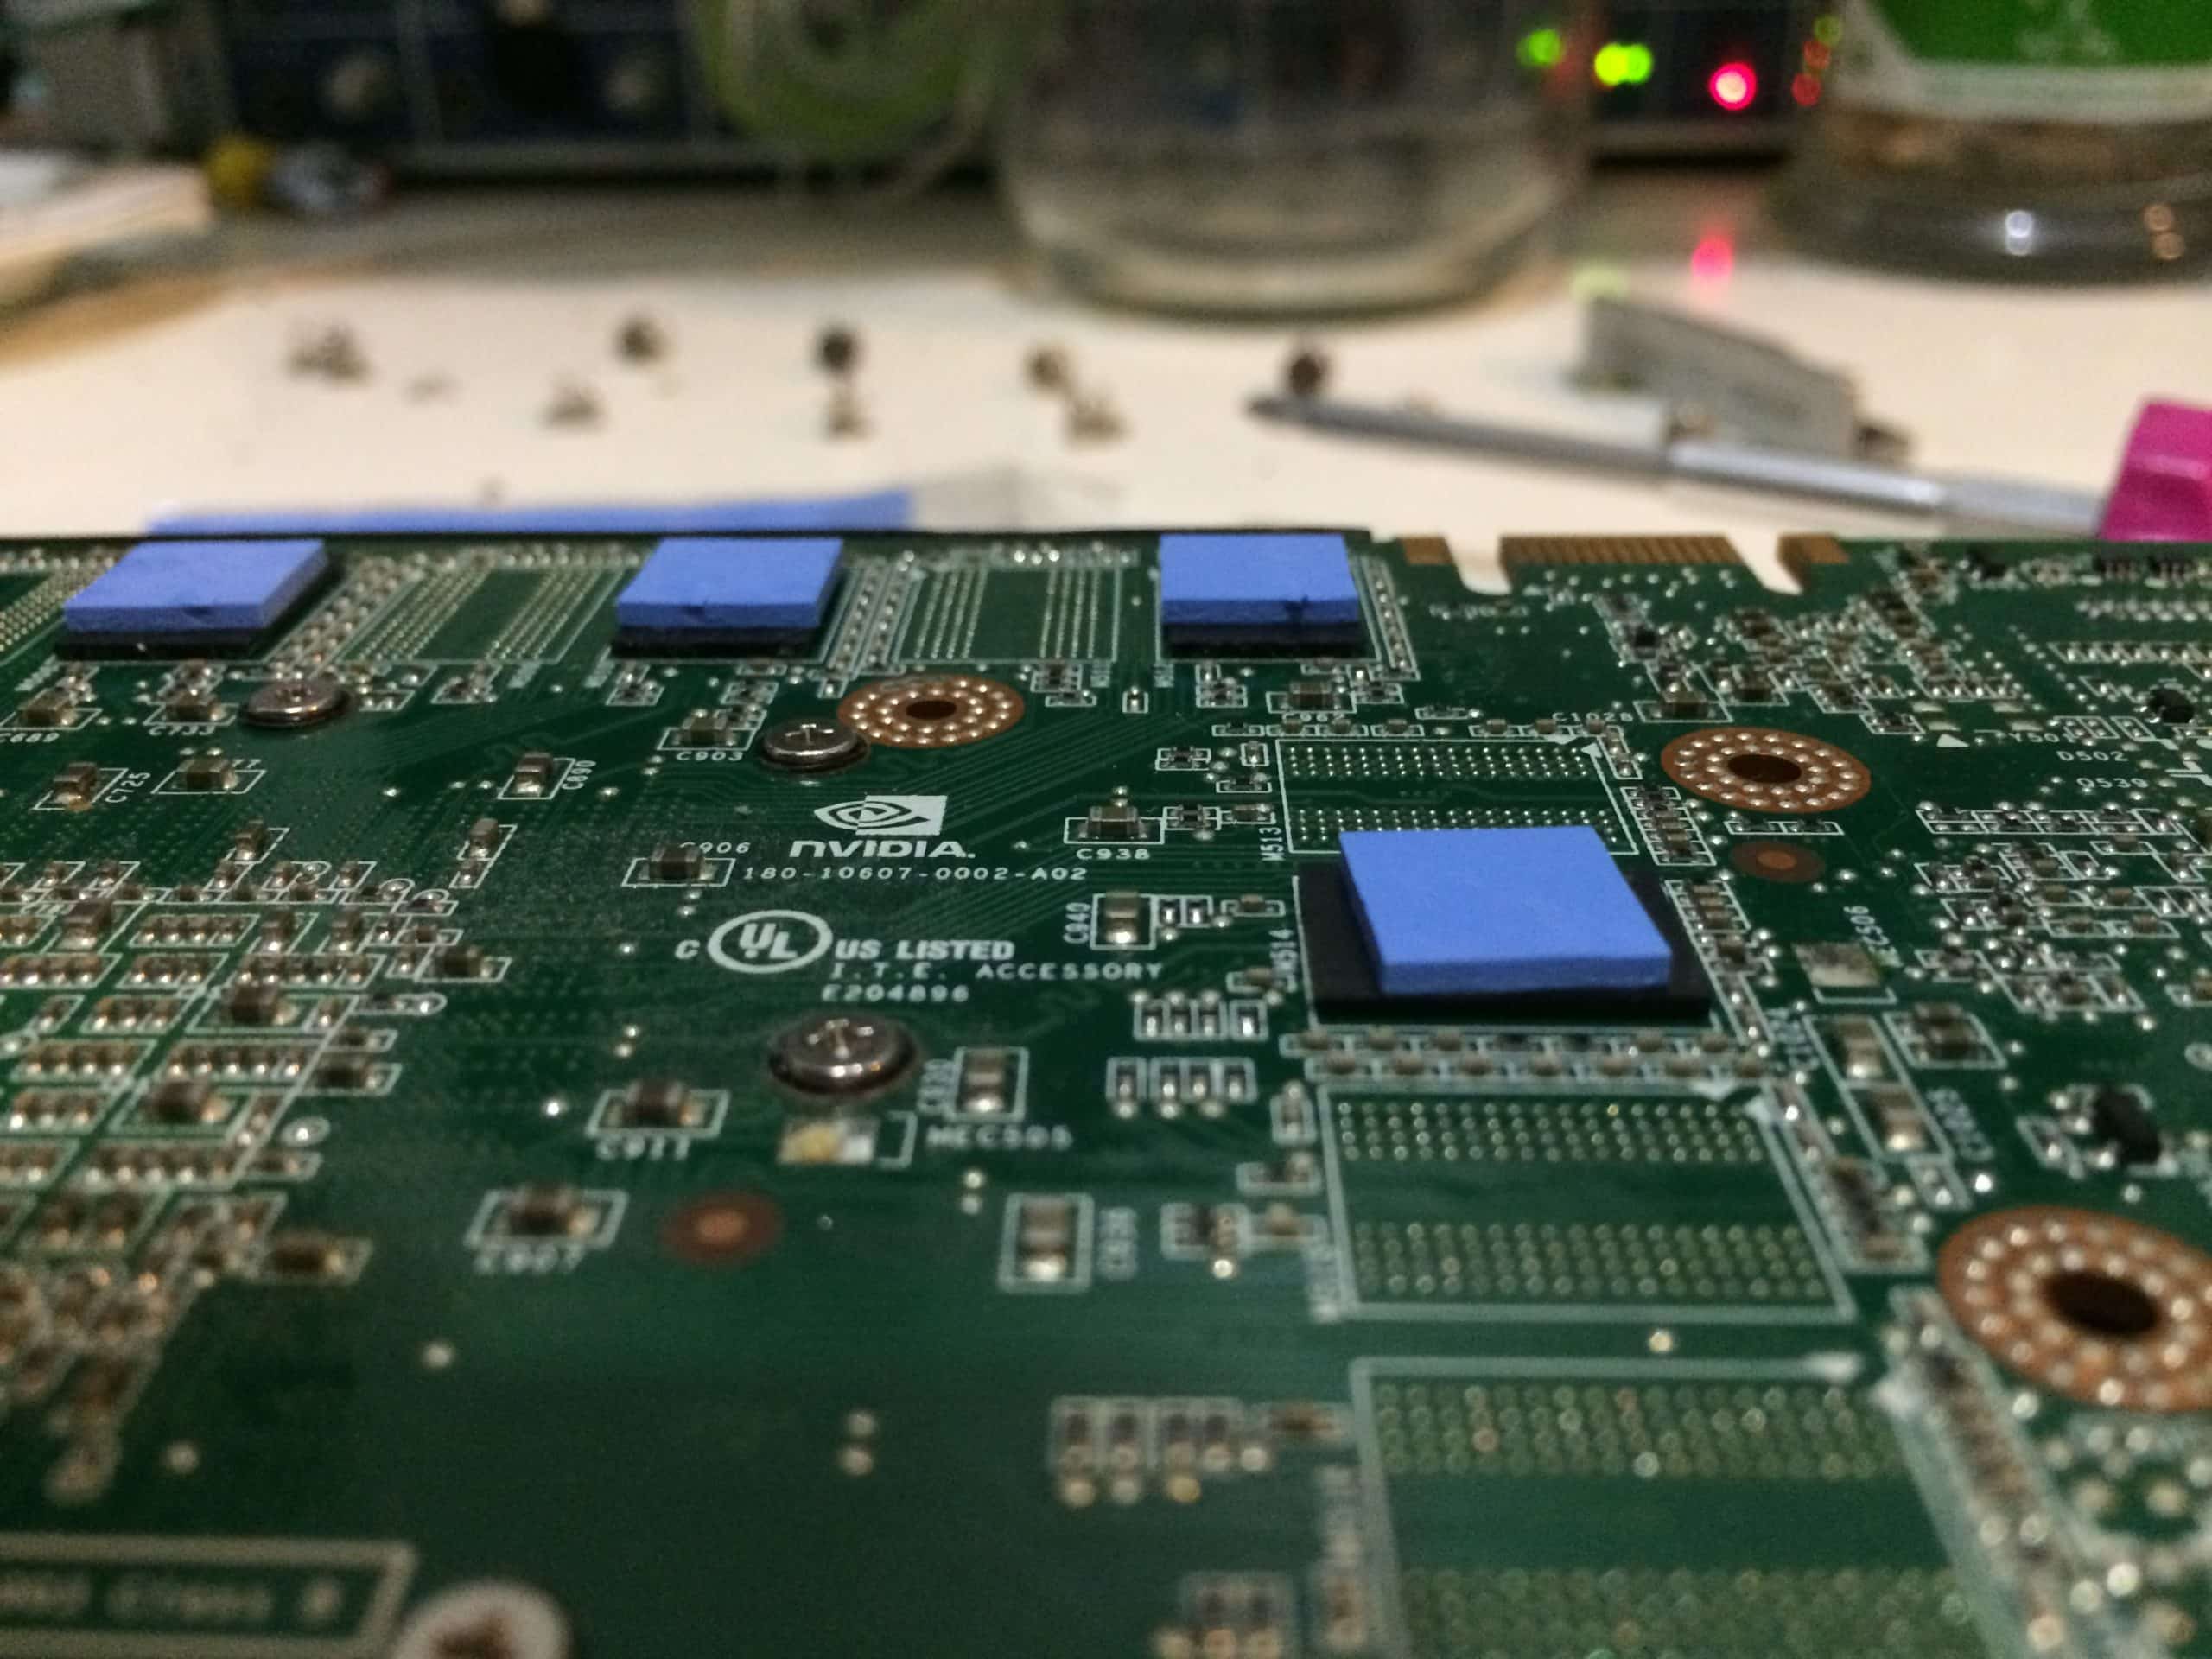
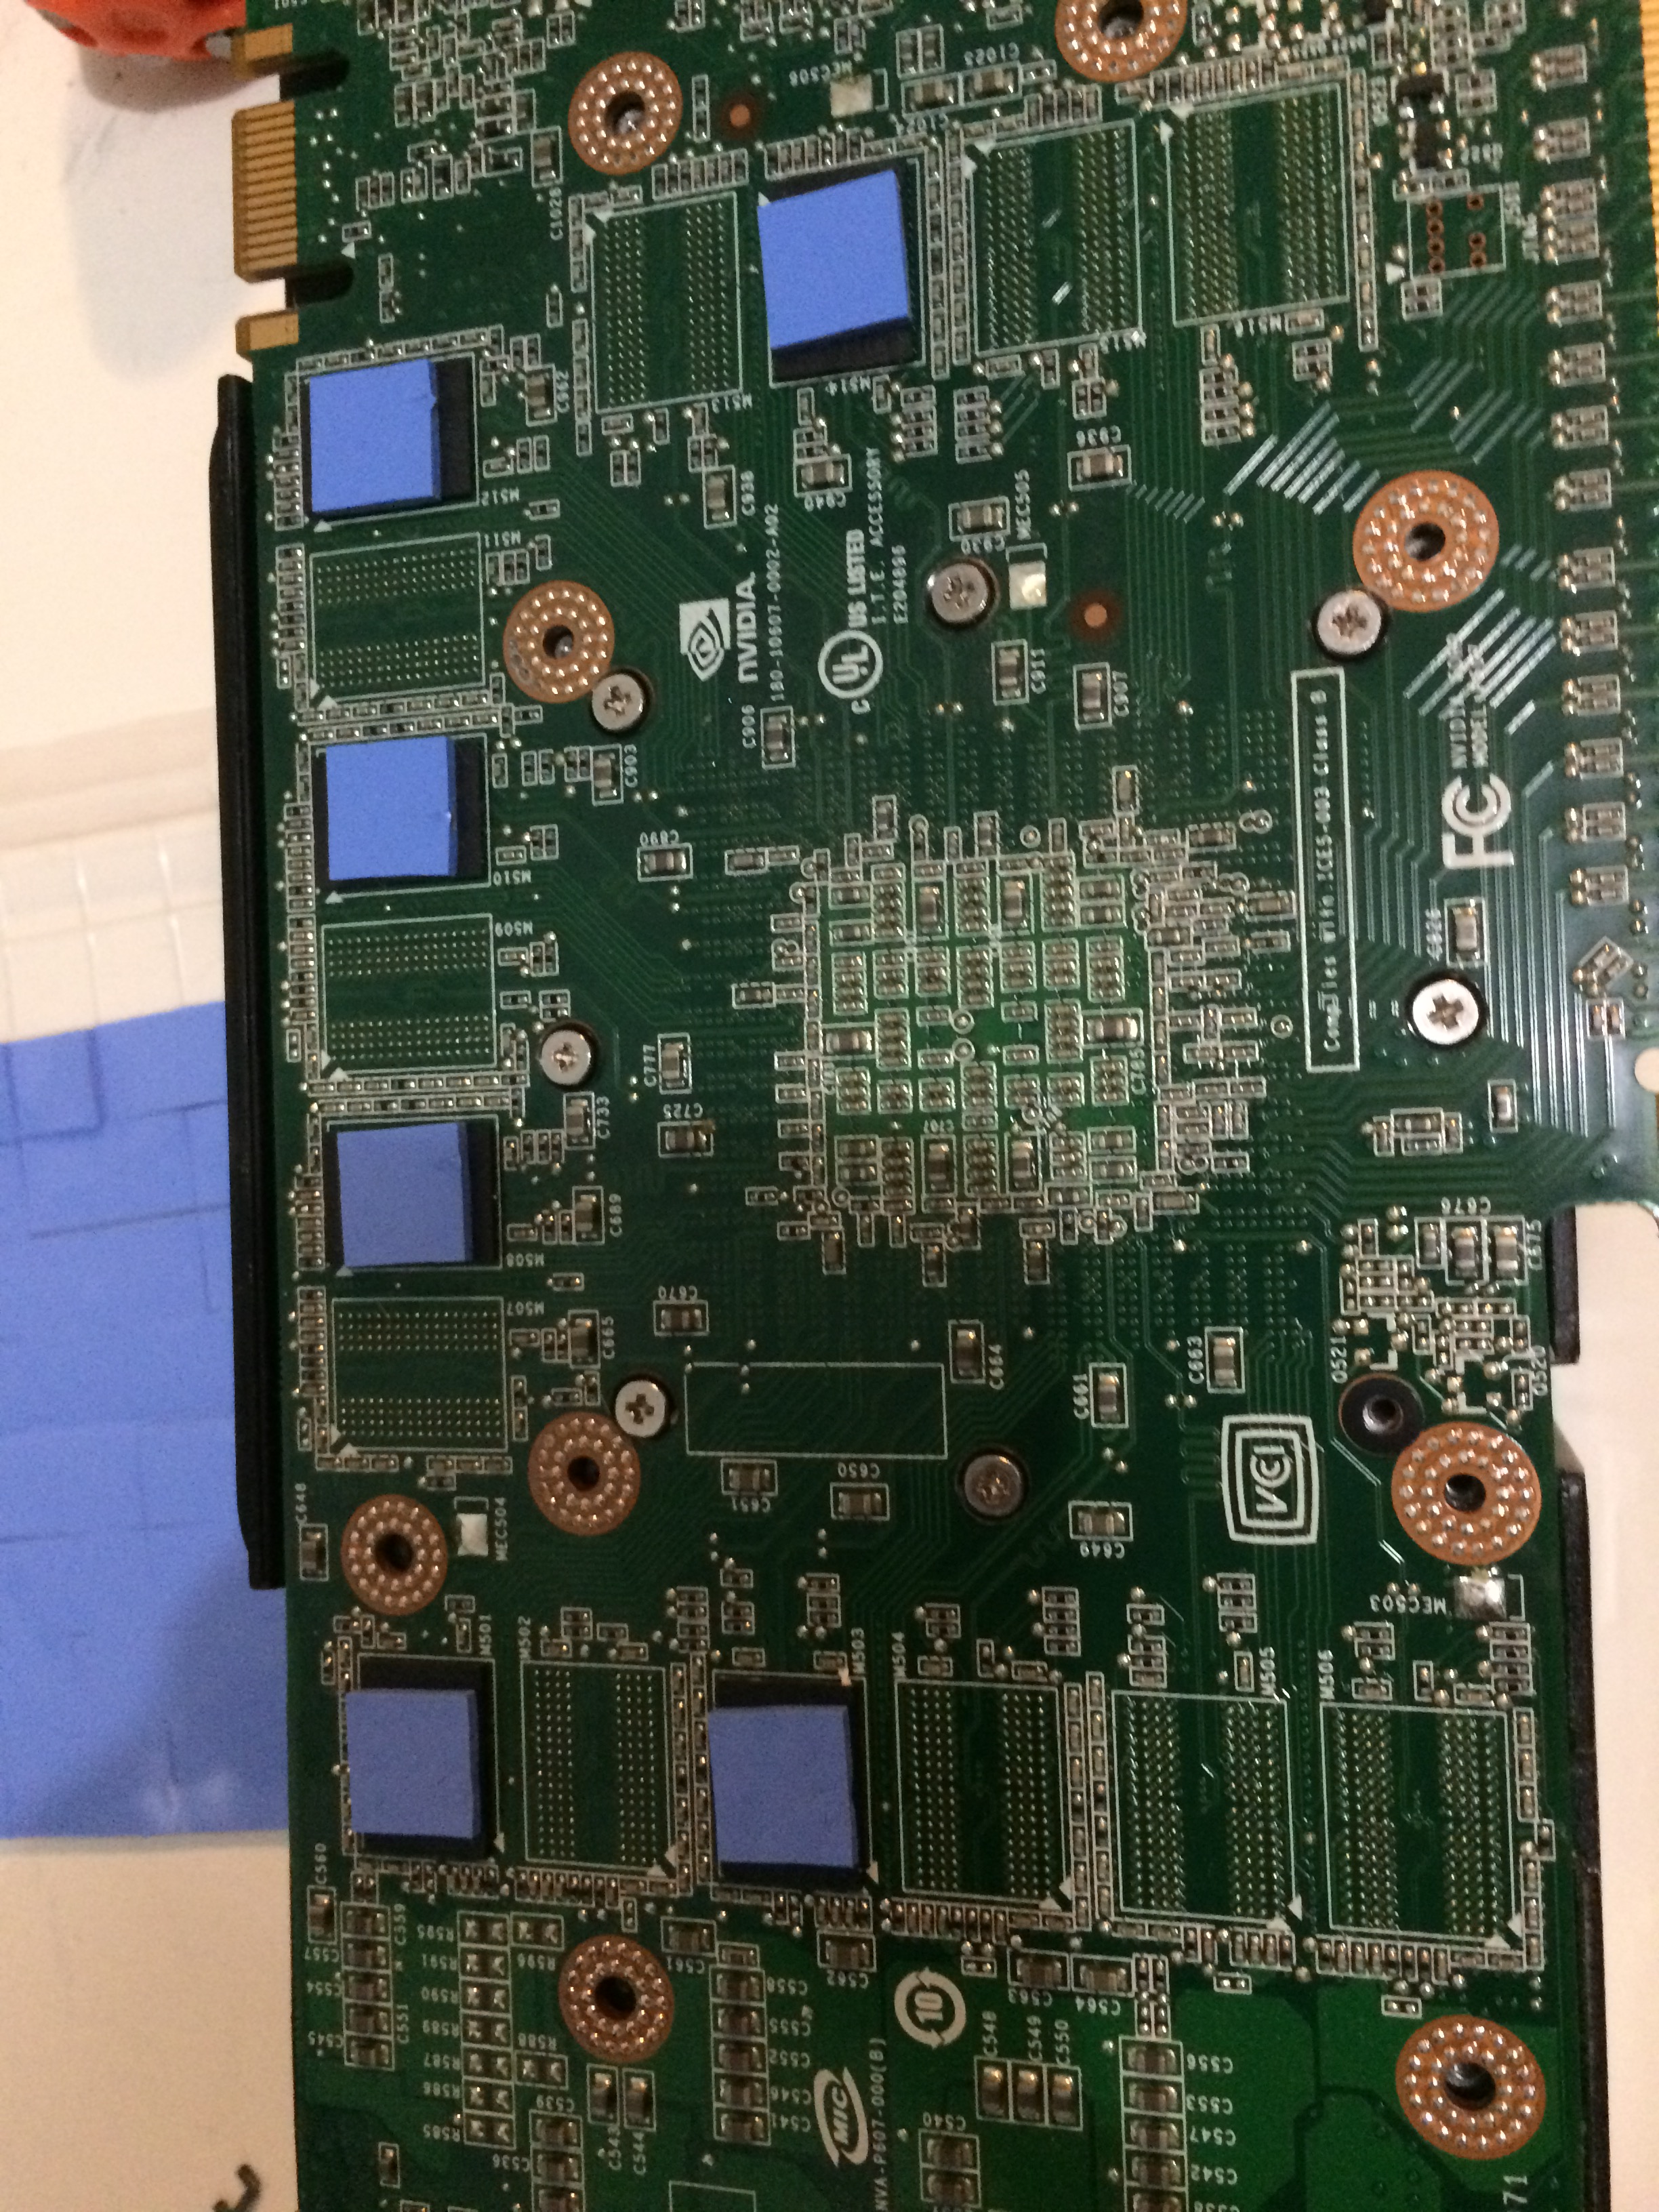
Prying this part away carefully is the easiest part of the disassembling this card. Once you get it off you get a good luck at what your thermal coupling looks like. Mine were smeared a bit and definitely a bit melty. Below you can see some of the pads stuck to the memory or the heatsink. A few were removed before I snapped this photo.
3.
So this is what we are going to replace. With a little alcohol you can easily degunk the chips and heatsink, this is important so that the old material doesn’t create air gaps. The thermal tape they used left a slimy residue.
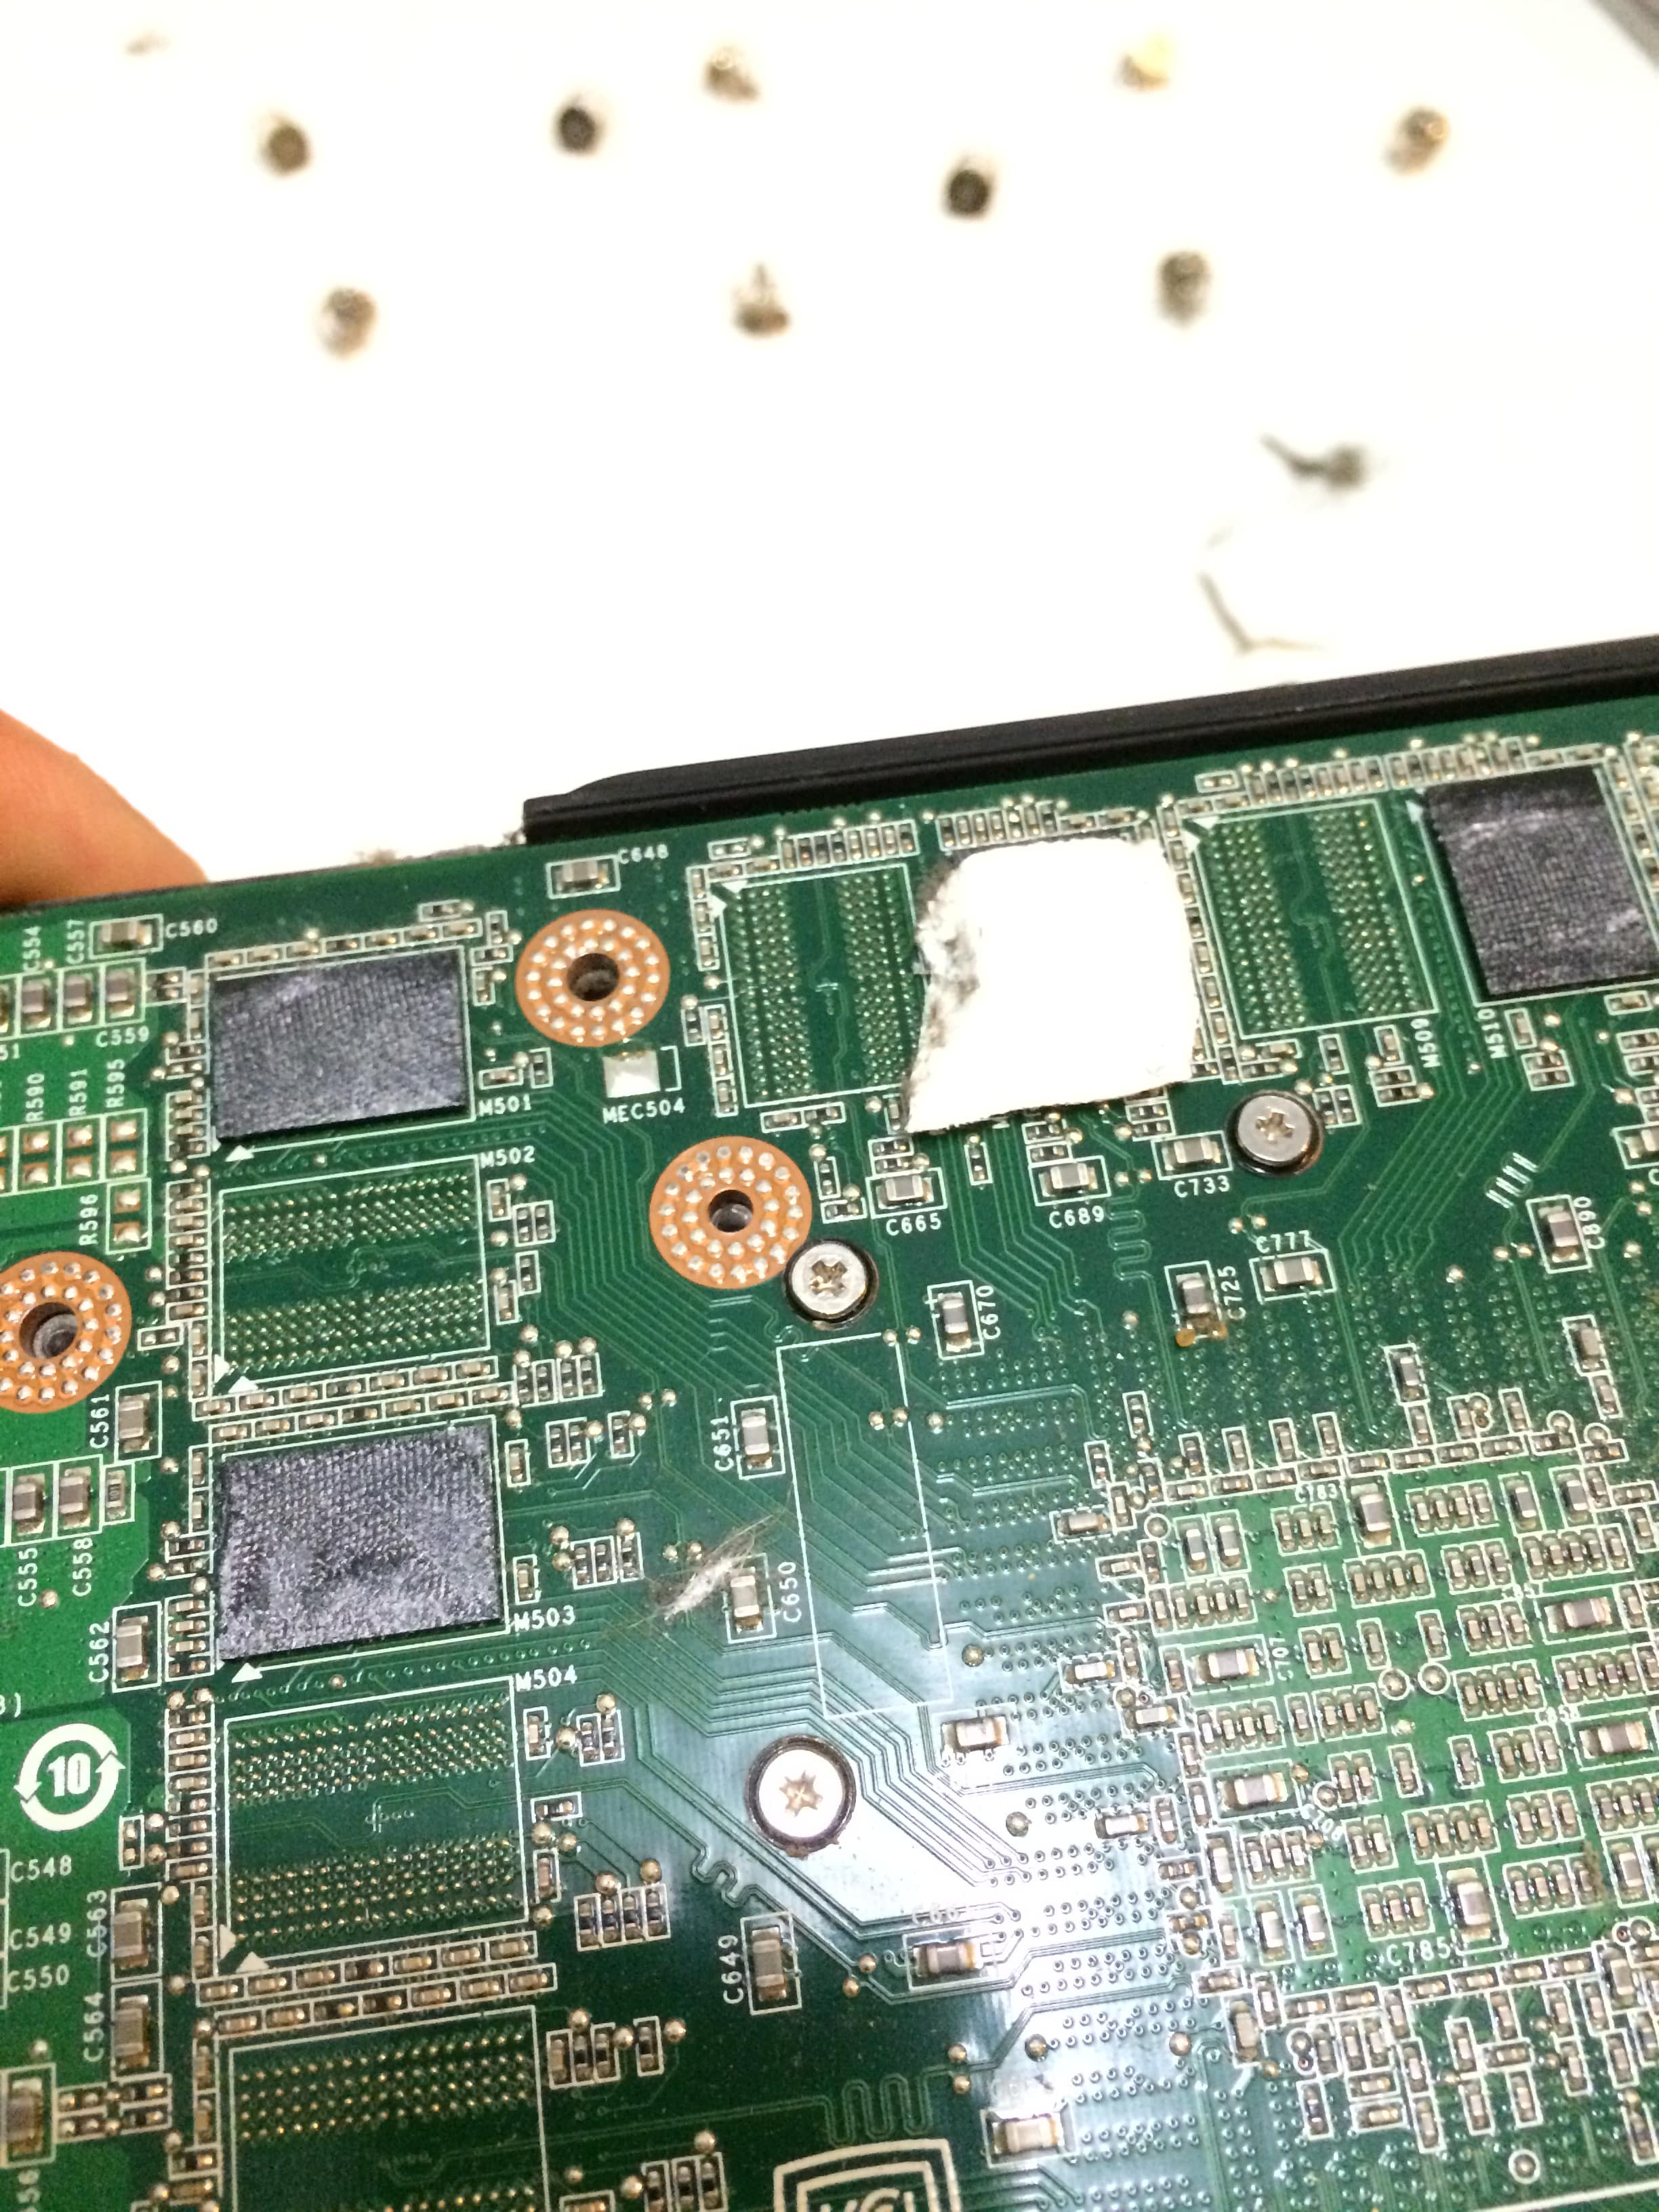
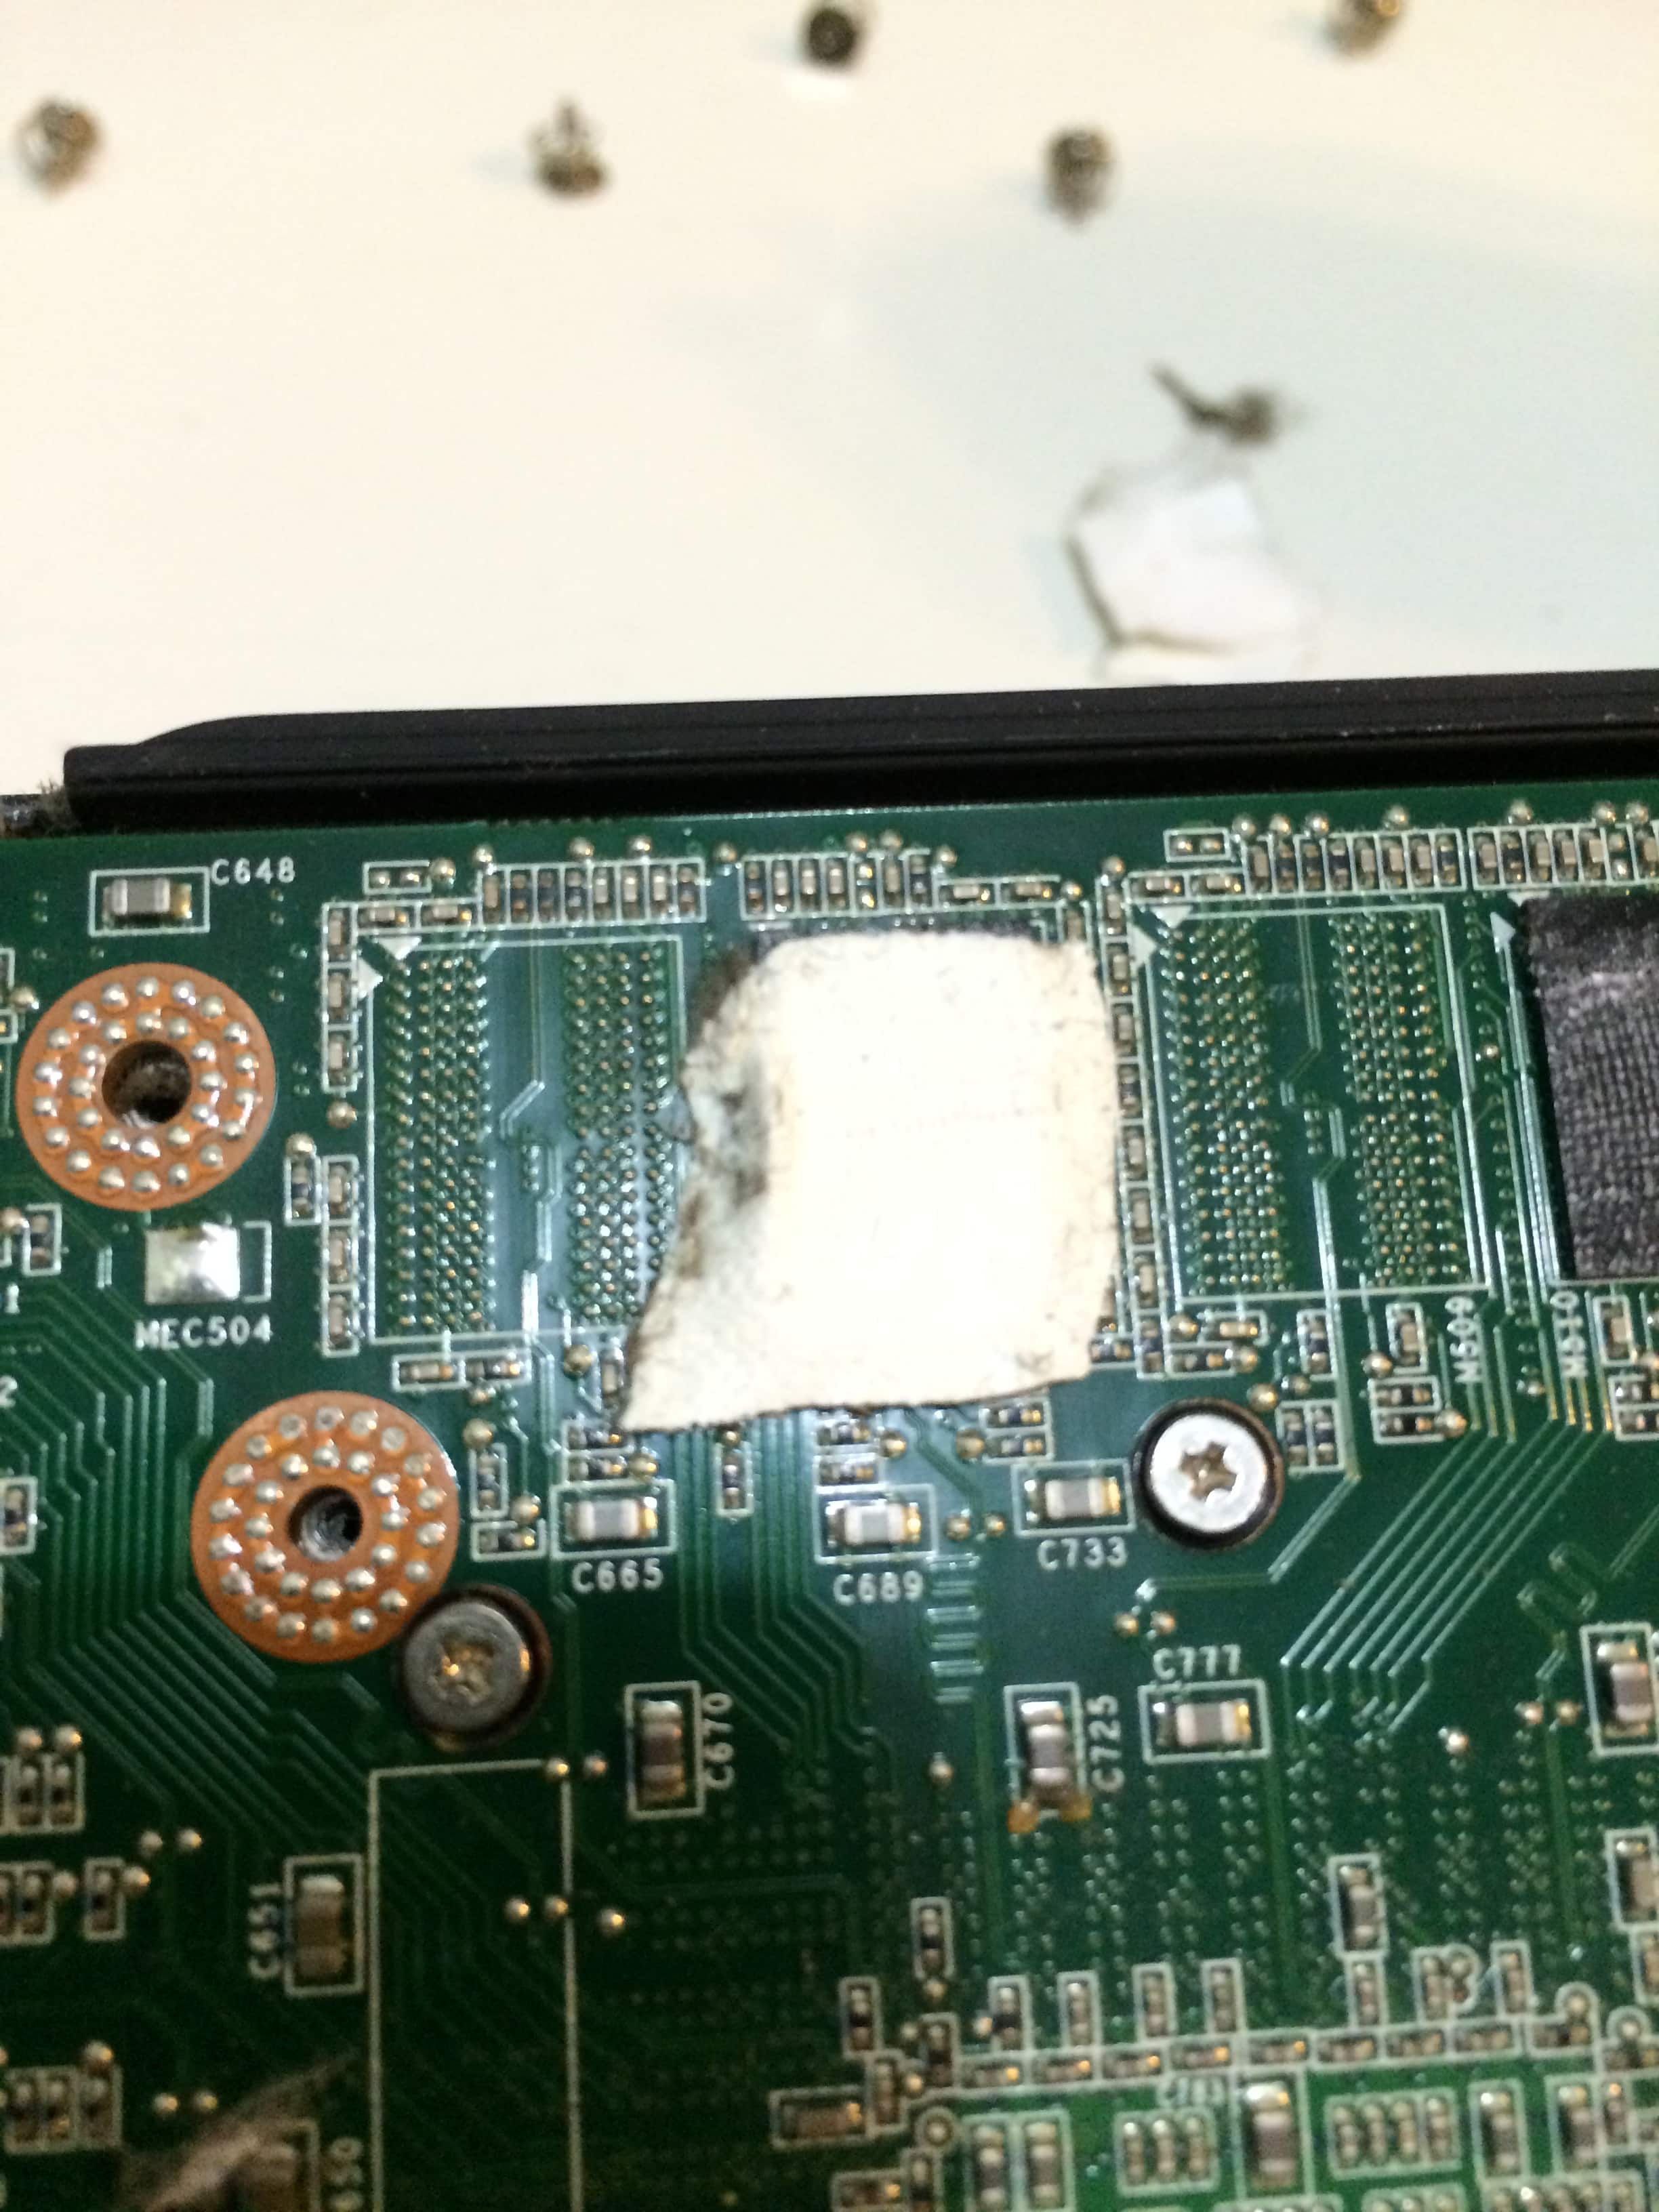
Here you can see they did migrate a little and this is probably why they aren’t working so hot right now. 😉
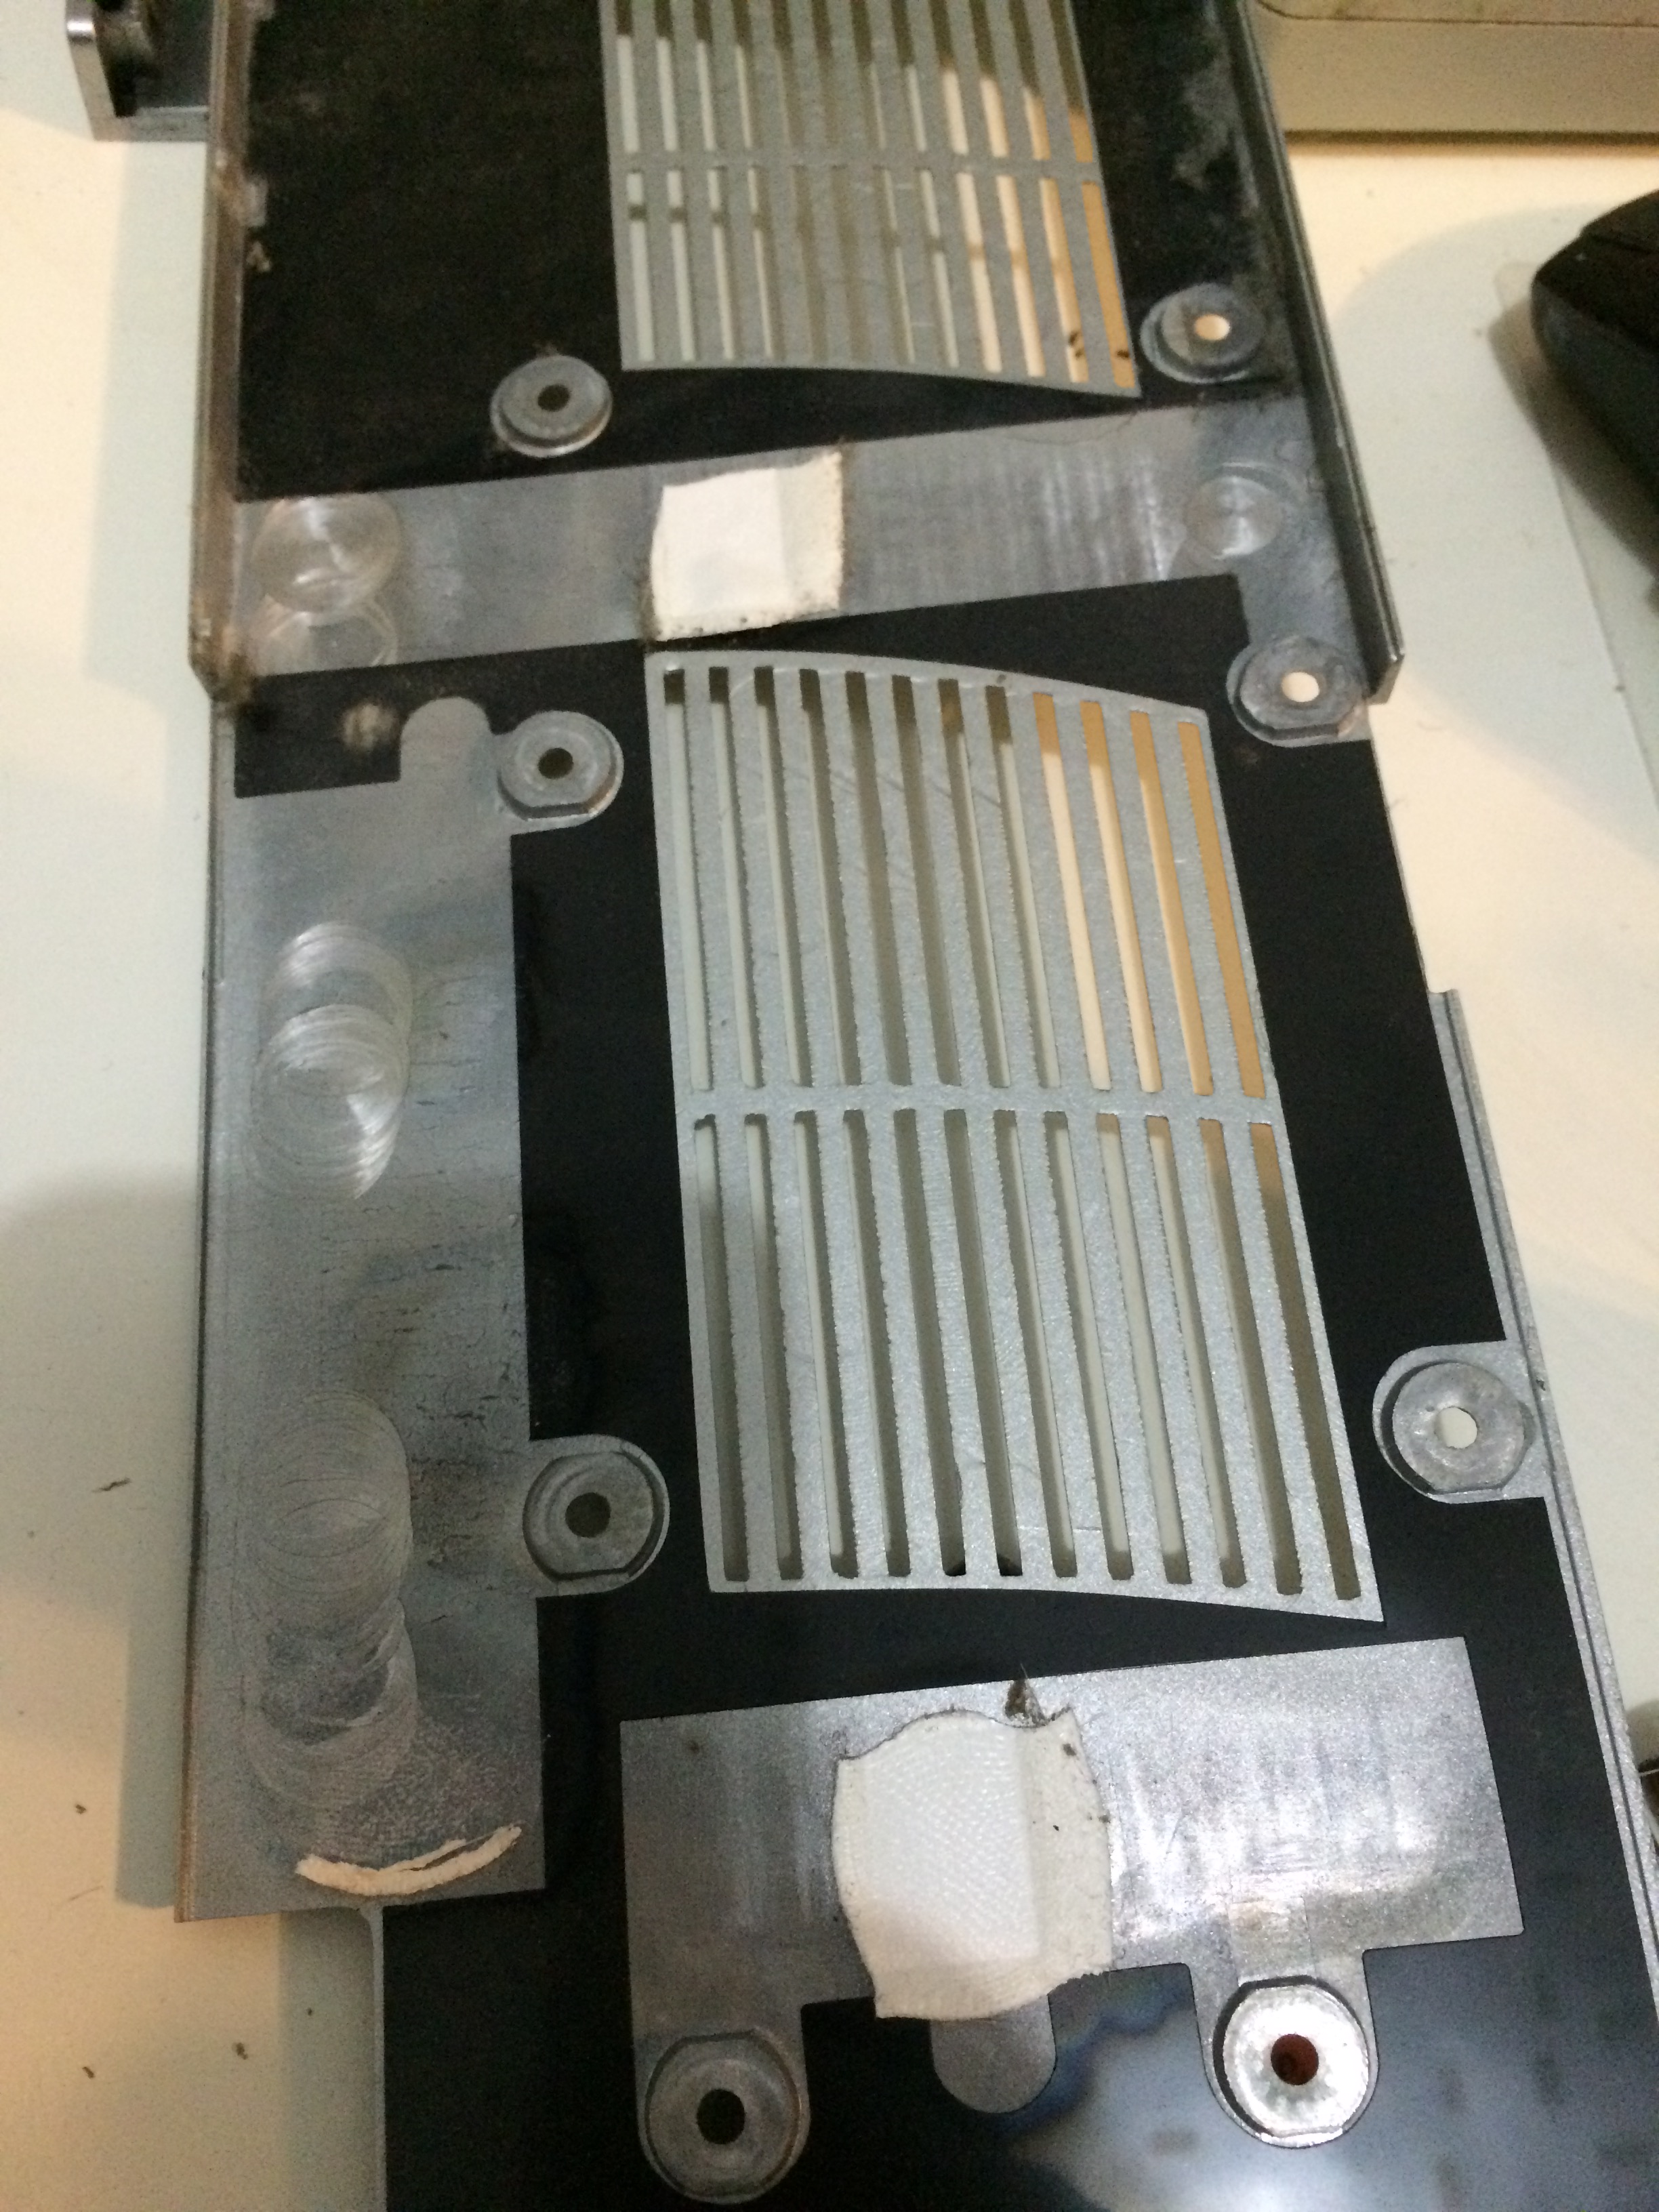
Don’t forget to shine up the heatsink when you wipe each component gently.
4.
Now remove these screws holding the heatsink firmly on the integrated heat-spreader.

5.
Here you can see two more screw holes that hold the front heatsink and fan assembly to the board at the rear of the card.

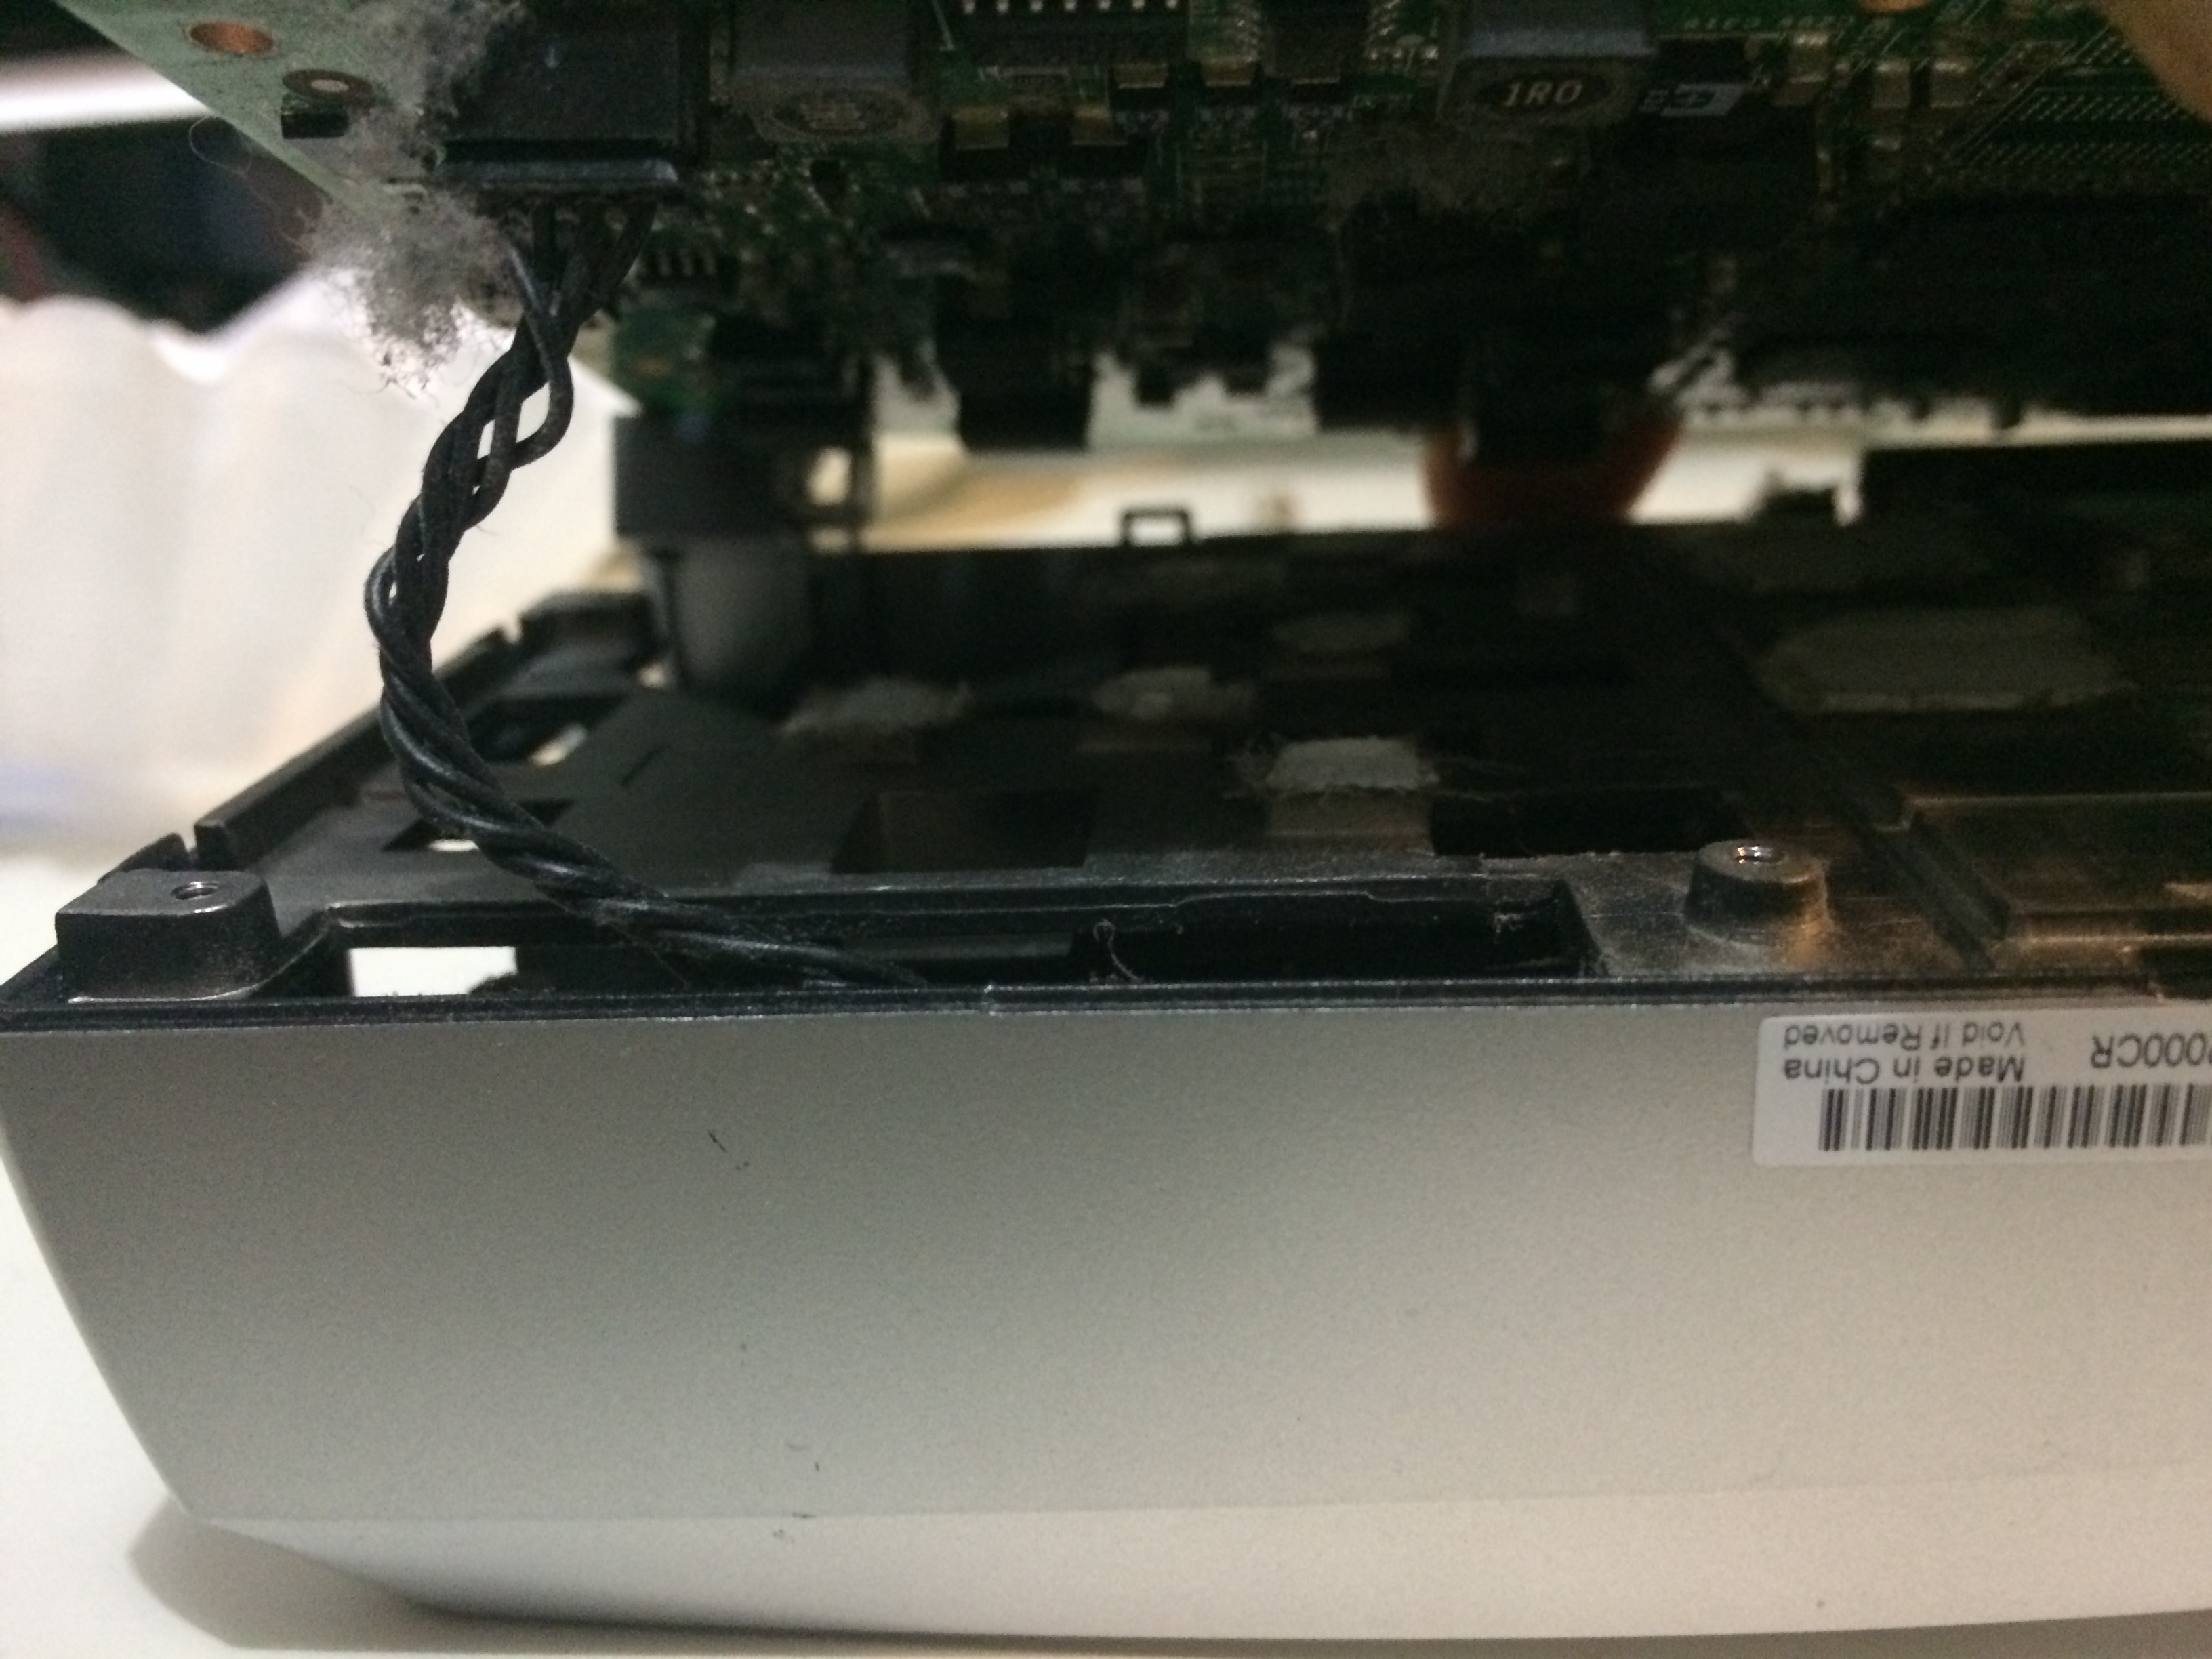
6.
Before you pry the case away there are two cables connected. One of these cables is opposite to your 6 pin PCI-E power rail. Make sure not to open the case to far and be gentle unseating those guys by gently prying and rocking them out with a spudger (on each side) gently till you can grab them firmly without touching the thin cable.
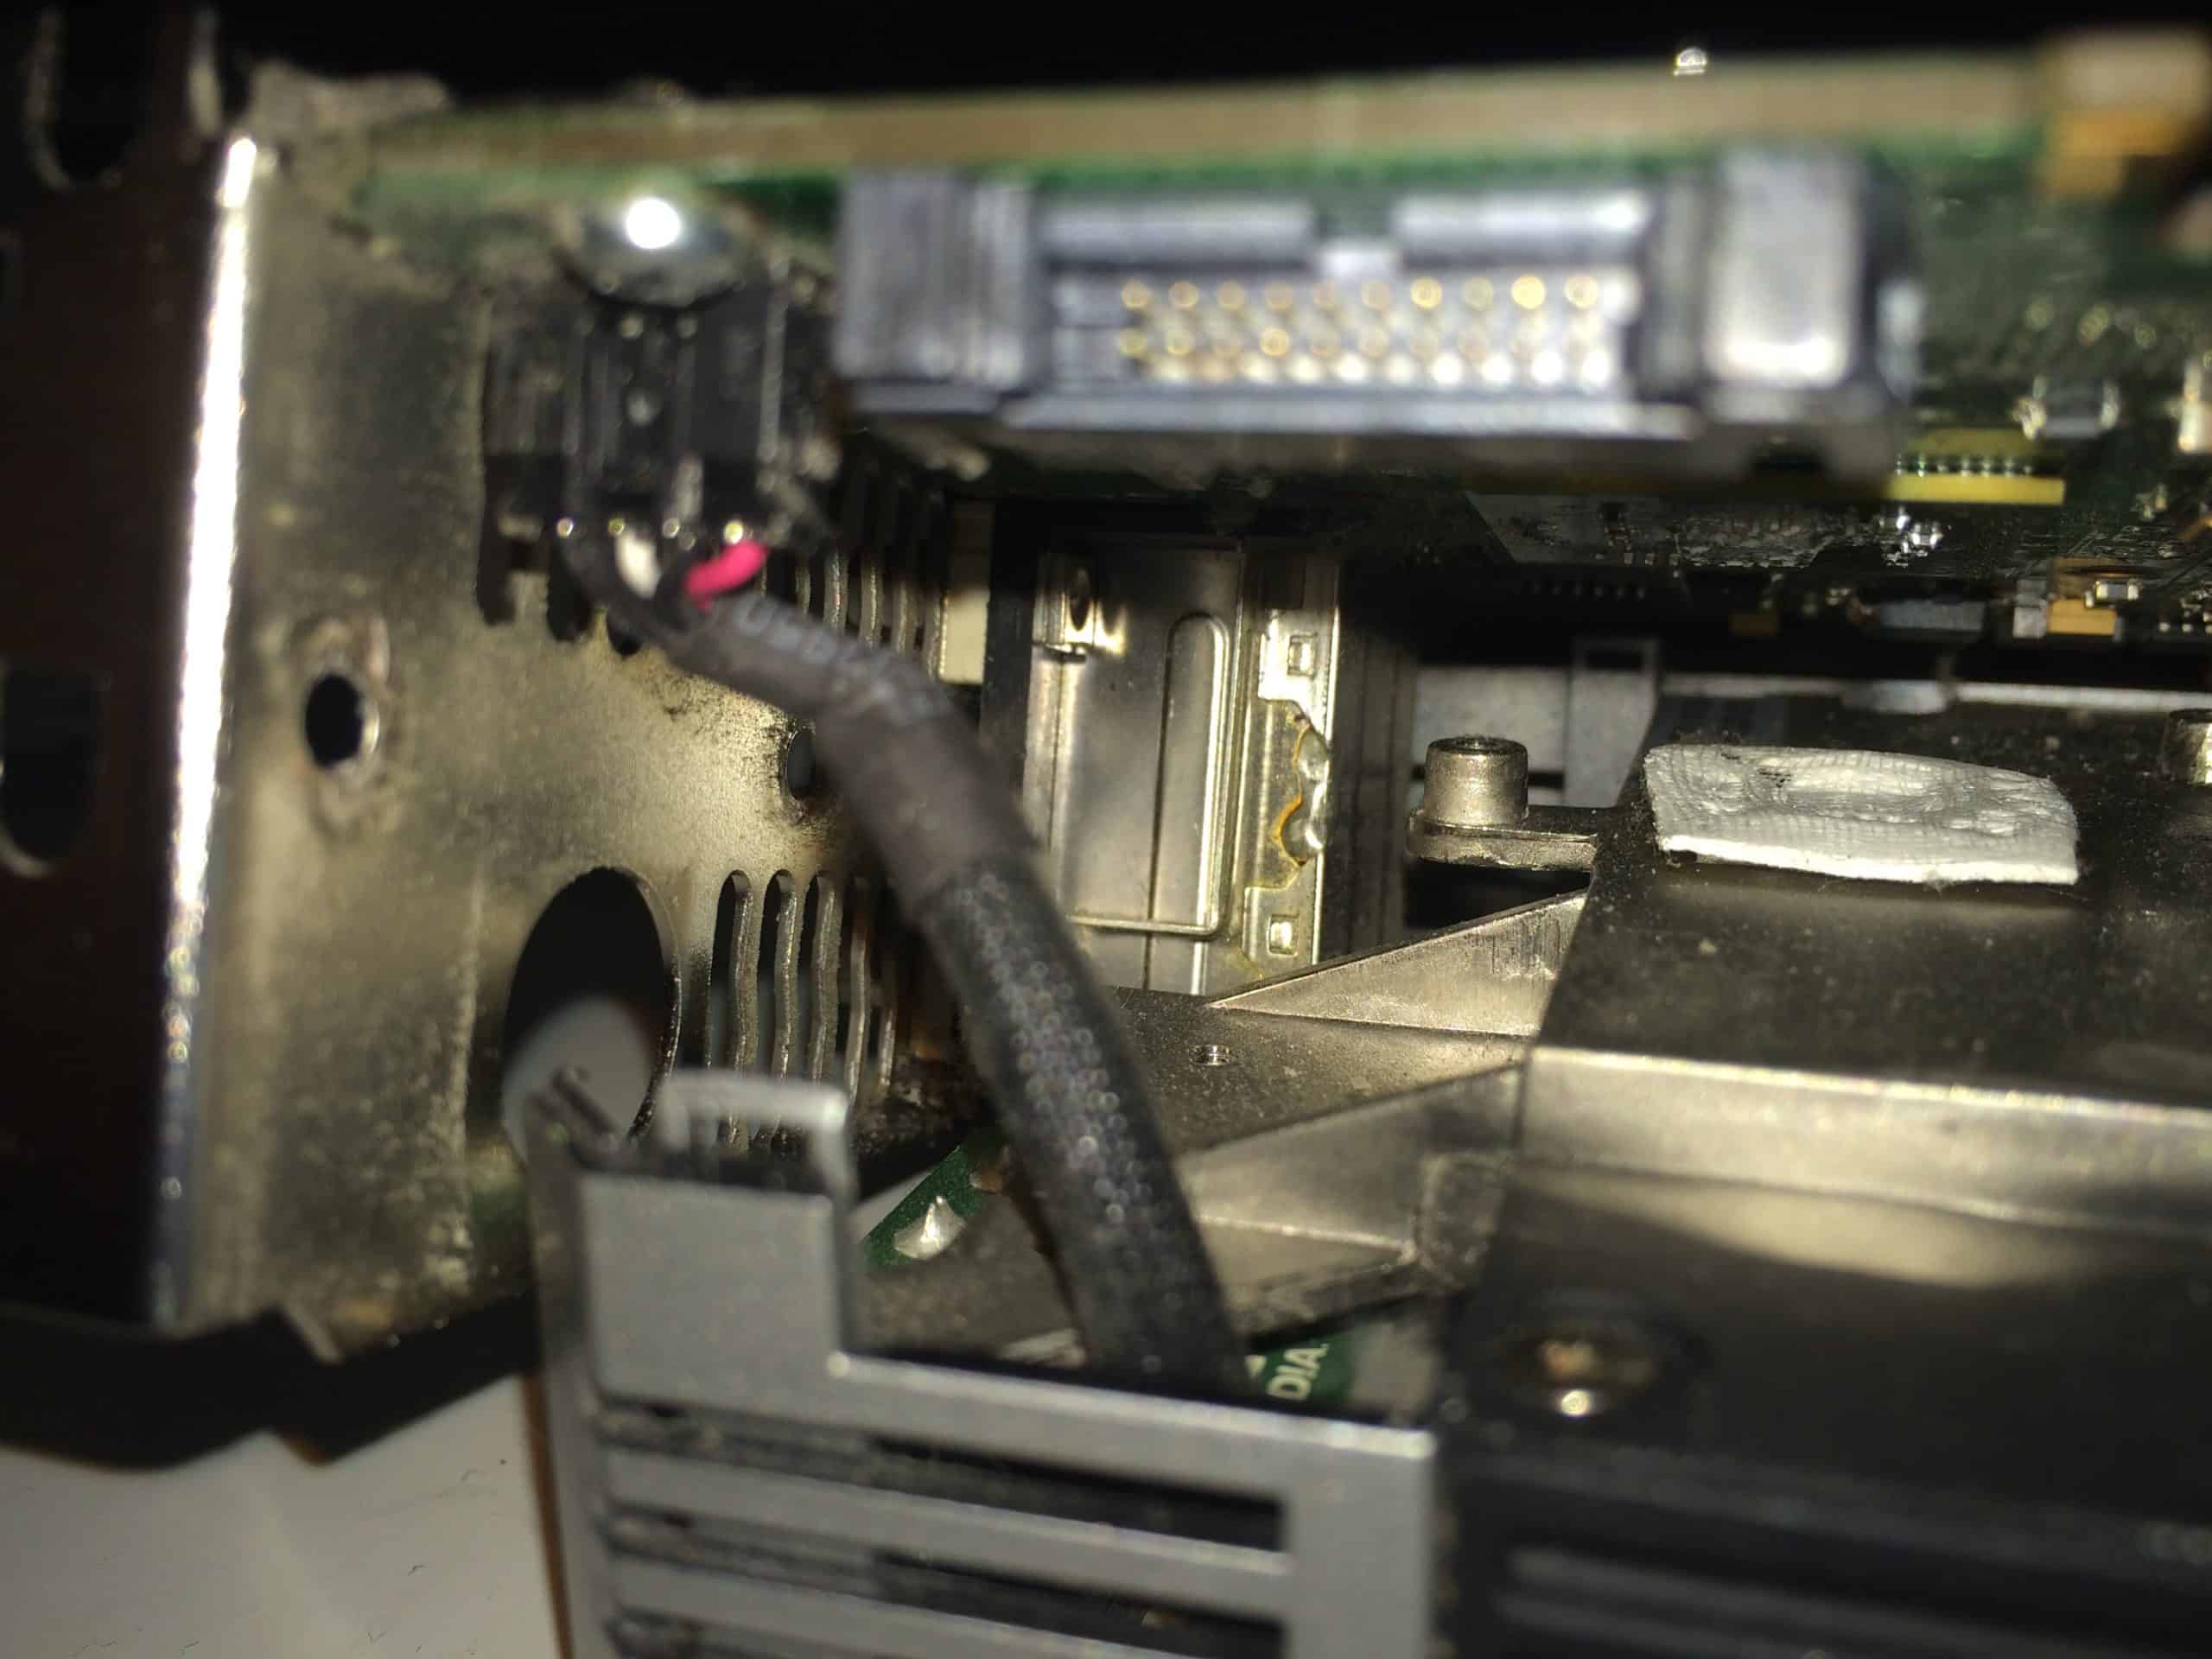
7.
There is another near the S-Video port, use the same smooth motion to remove it.
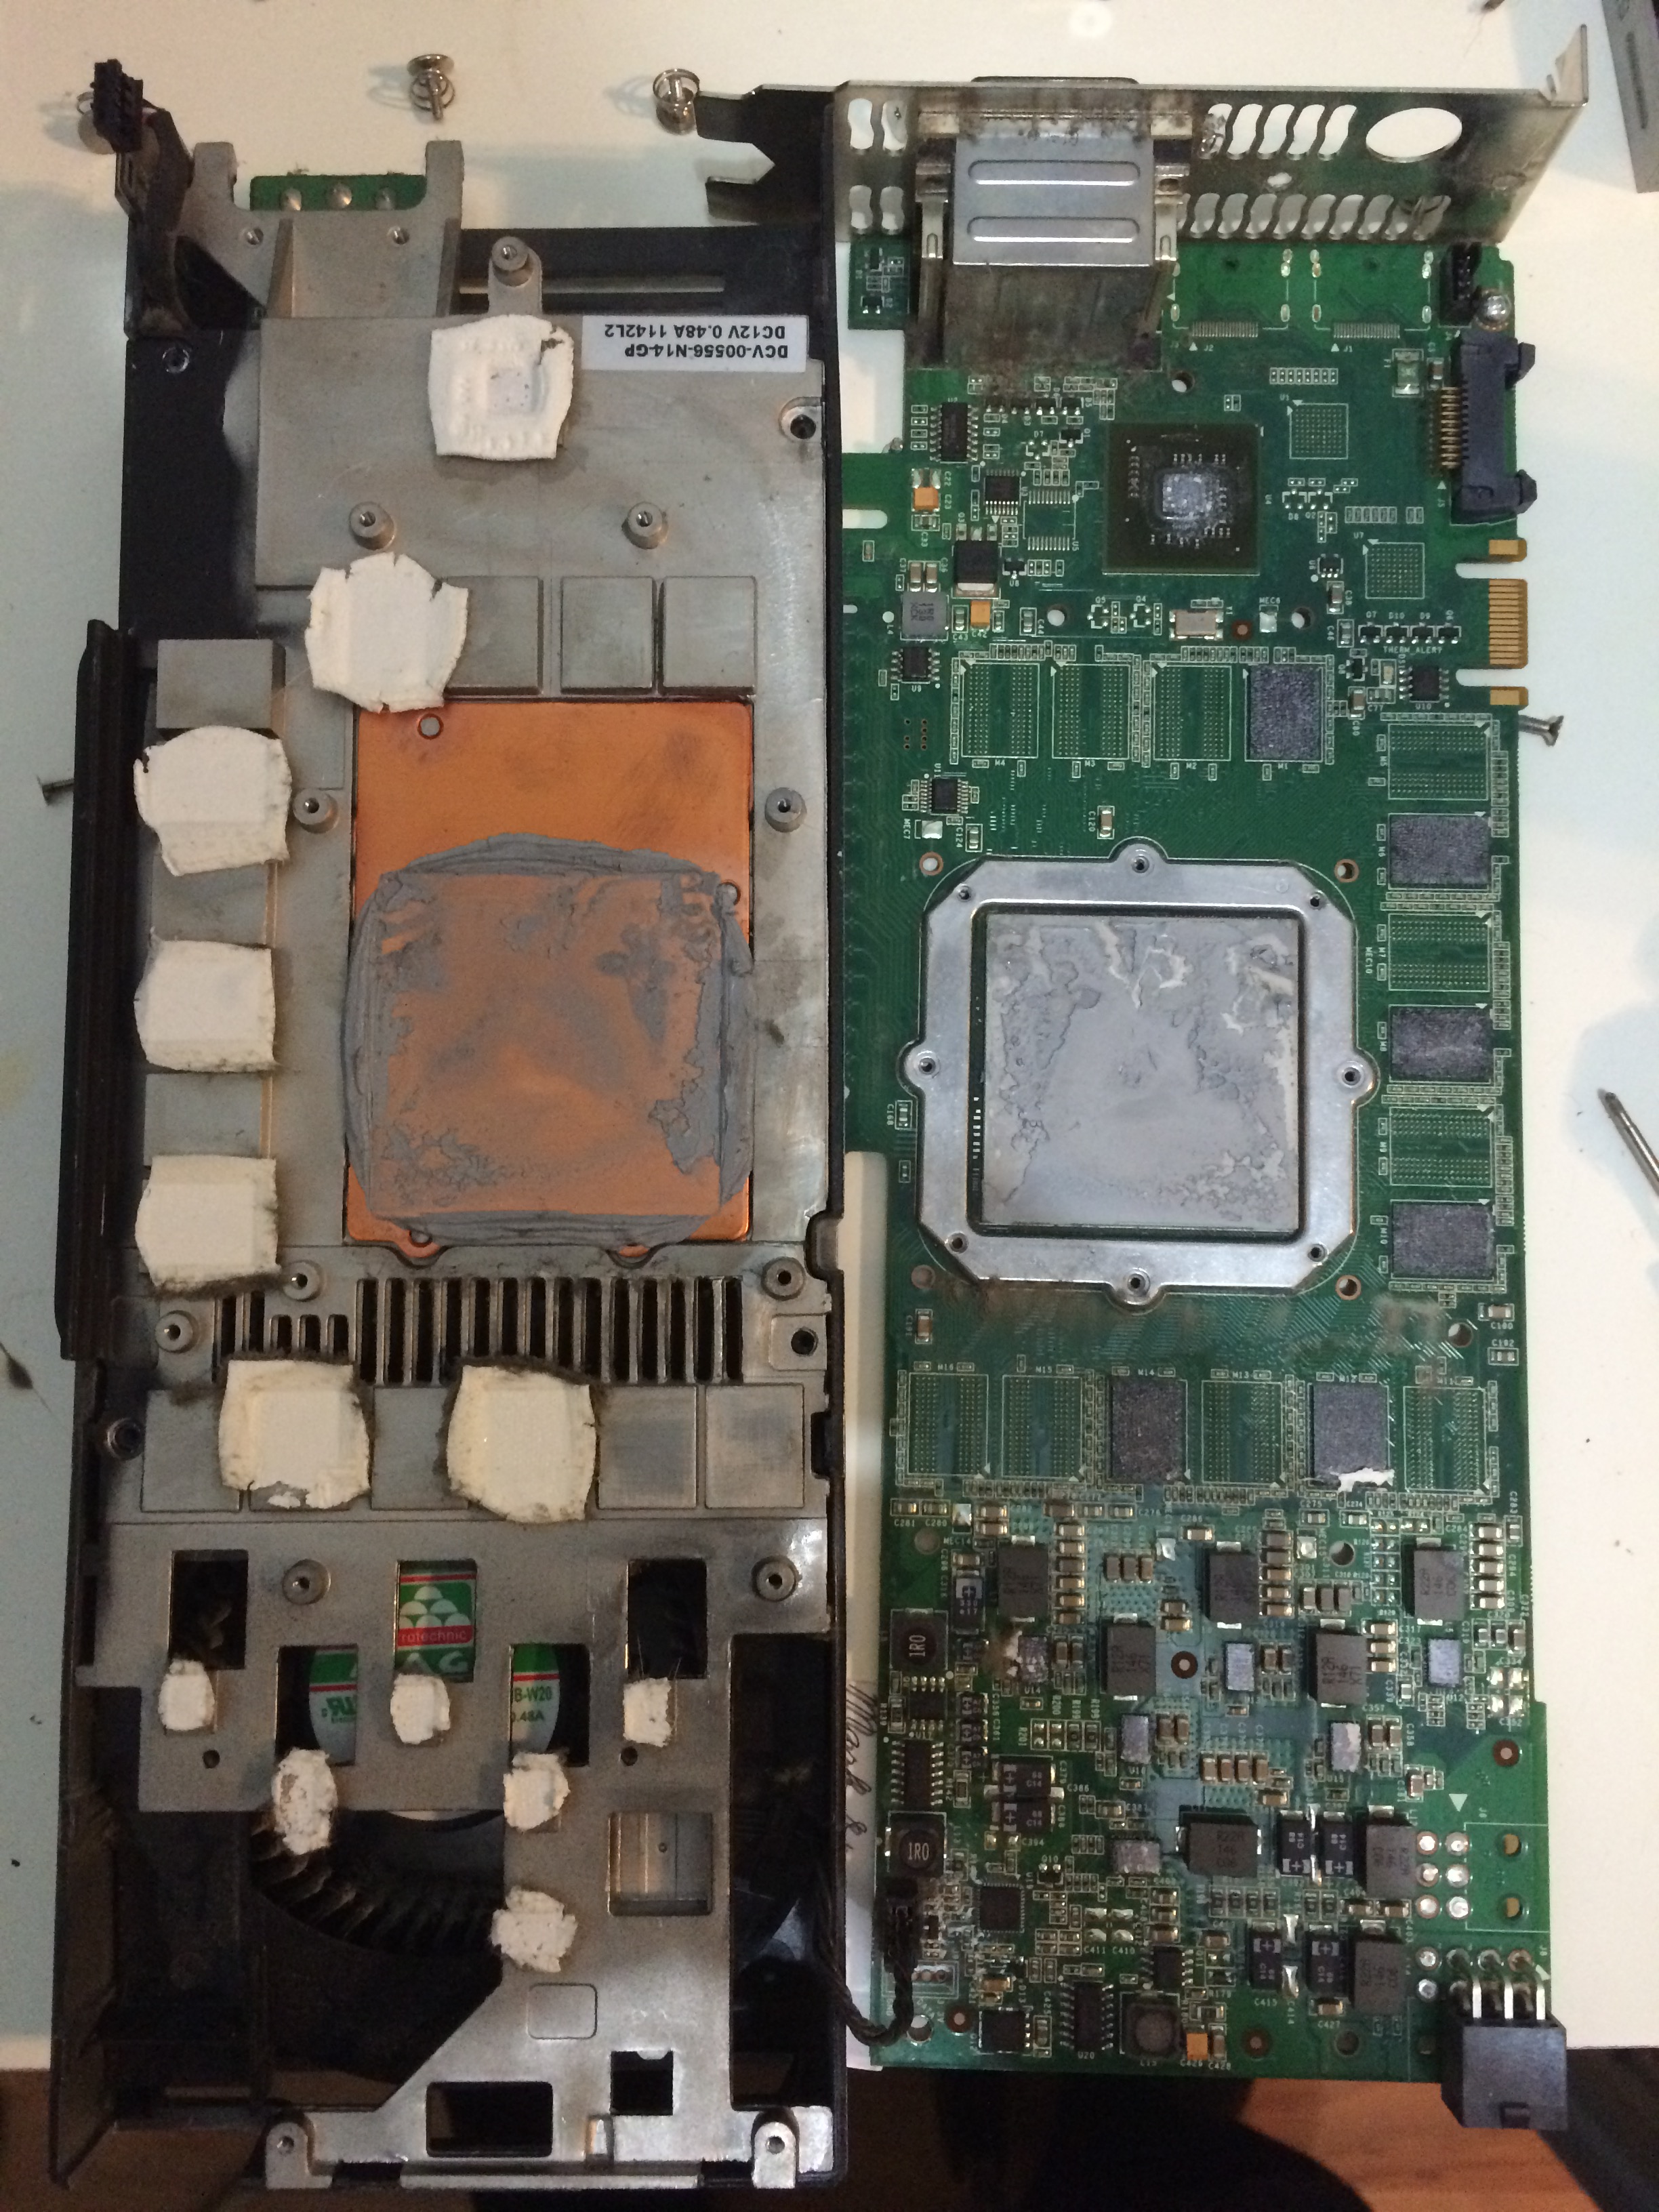
8.
Now pull the card free, gently rock it off the face of the chip. There, pat yourself on the back, you have succesfully completed the Quadro FX 4800 teardown. The thermal paste wasn’t too tough to pull apart for me but I have heard that it can be a pretty sticky. Now you can visually tell what components had thermal coupling on them by which chips are gooey. Take a photo for reference, it’s just good to feel secure that you didn’t leave one out. Clean everything up and get rid of any dust.
9.
Once you have everything cleaned up reapply arctic silver thermal compound on the heat spreader and start placing the thermal pads on the components with tweezers. Make sure you pad everything that had thermal tape removed.

10.
Revers the steps and put everything back together!
After this I had no issues with crashing. This card idles at fairly high temperatures and is rated for 90˚C but I was hitting 65˙C shortly after booting and hurtling upwards during h264 playback. Let me know if that helped and as always donate BTC if you feel generous!
Please Donate To Bitcoin Address: [[address]]
5 Comments
Thanks Mate, Nvidia Quadro FX 5800 is exactly the same. Just done mine.It was throwing snow all over the screen now works like a charm .
Hey Josh, thanks for the helpful teardown guide. I’ve just used it to dismantle, clean and revitalise a Quadro FX 5800 that I got with a Mac Pro tower.
One question, what temperature did you see at idle once you’d finished? My card settles on 48 Celsius, a few minutes after booting, and I was wondering if that fits with what you remember.
Cheers,
J.
Sorry, I saw roughly a 10°C difference and I think it was around the 50-60°C range. I have moved to a different GPU and AIO cooler now.
Hola, queria saber de que medidas o espesor son los pad termico para esa Gpu porque eh visto en 0,5 mm 1 mm 1,5 mm 2 mm 3mm
Gracias buen desmontaje me ayudo mucho
Hola, gracias por venir a mi página. Trataría de medir la brecha con un vernier. Usé 1.5mm en esta GPU. Si no llenan el hueco podría destruir la tarjeta. Perdona mi español.